How to Change macOS Keyboard Shortcuts for Window Management
Or Any Other Keyboard Shortcut, for That Matter (With Extra Added Fun for Multilingual Users)
This year, Apple decided to upgrade the default window management on macOS, from terrible to OK. However, I’ve heard some complaints about the keyboard shortcuts, as they use the Globe key, which can cause some problems if you want to automate the hotkeys somehow.
But I have good news: You can change these, and any* other, keyboard shortcuts!
16/10-24: Now updated to work with weird apps, like Discord!
Here’s (one way) how:
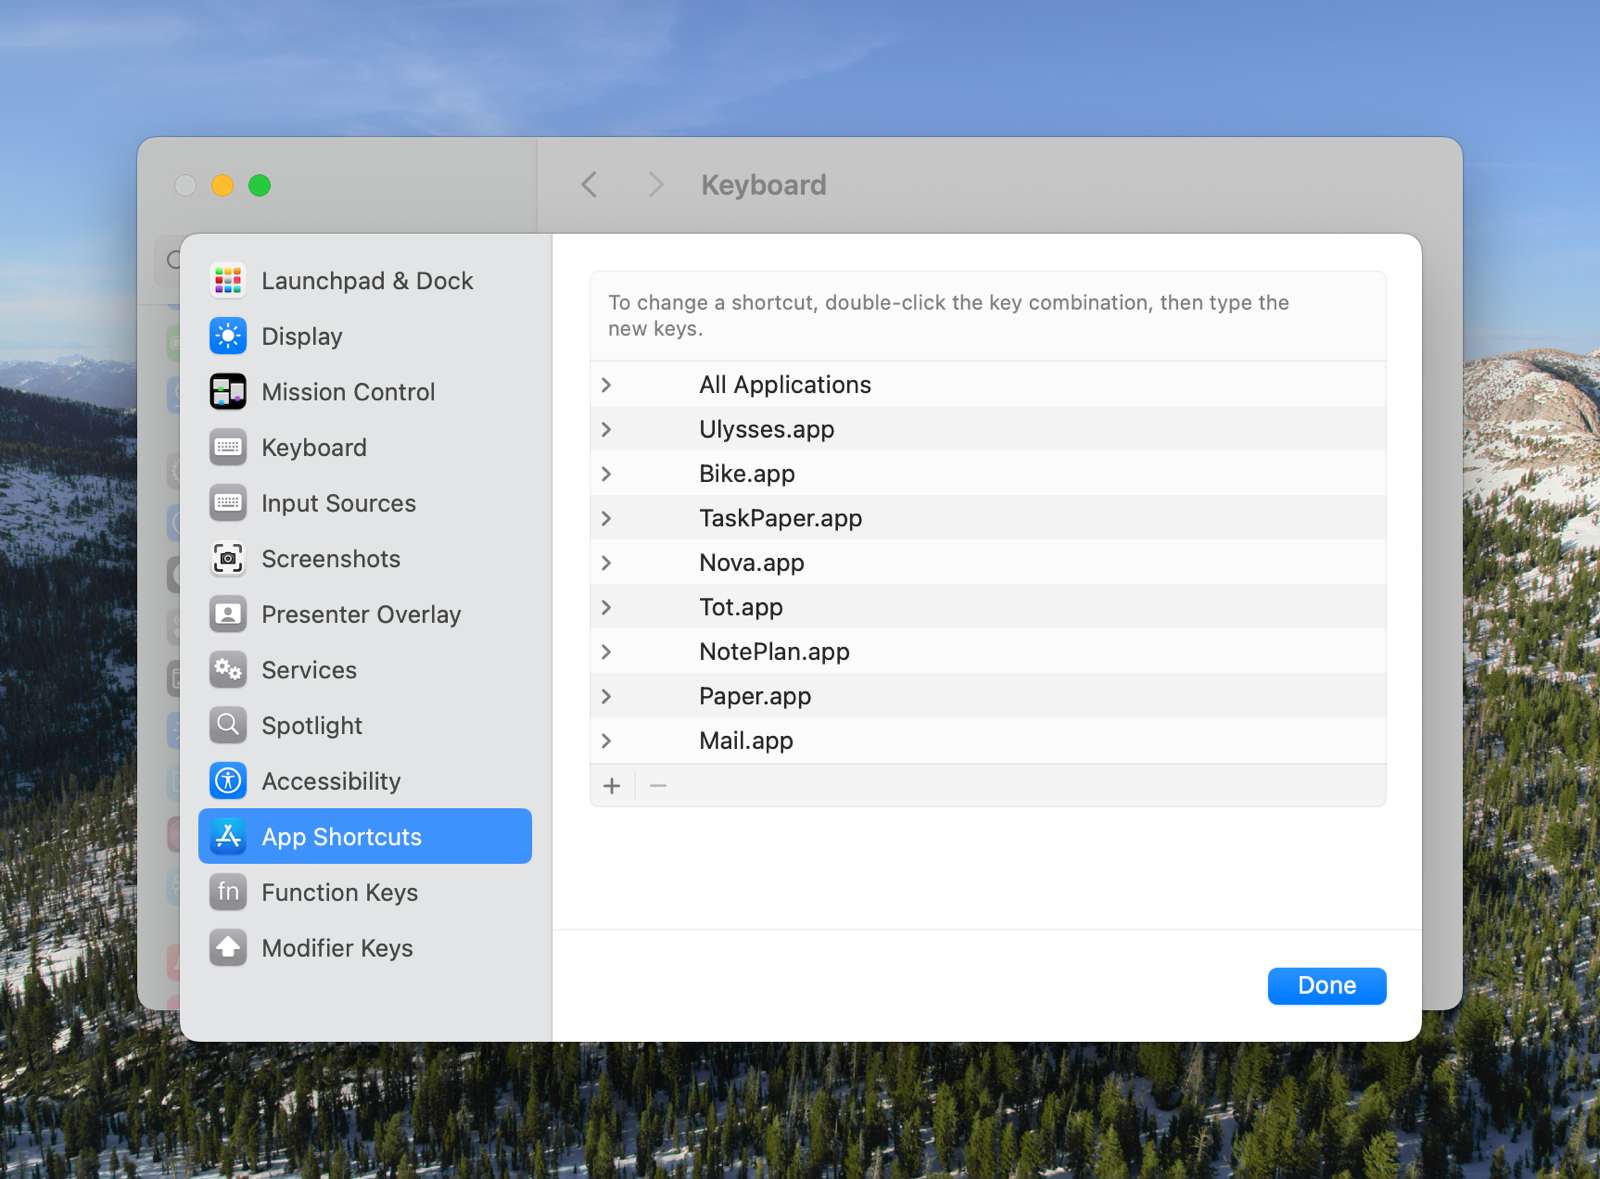
If you go into the System Settings app, hit Keyboard and then the button Keyboard Shortcuts…, you’ll open up a screen. In this, you can then hit App Shortcuts to come here:
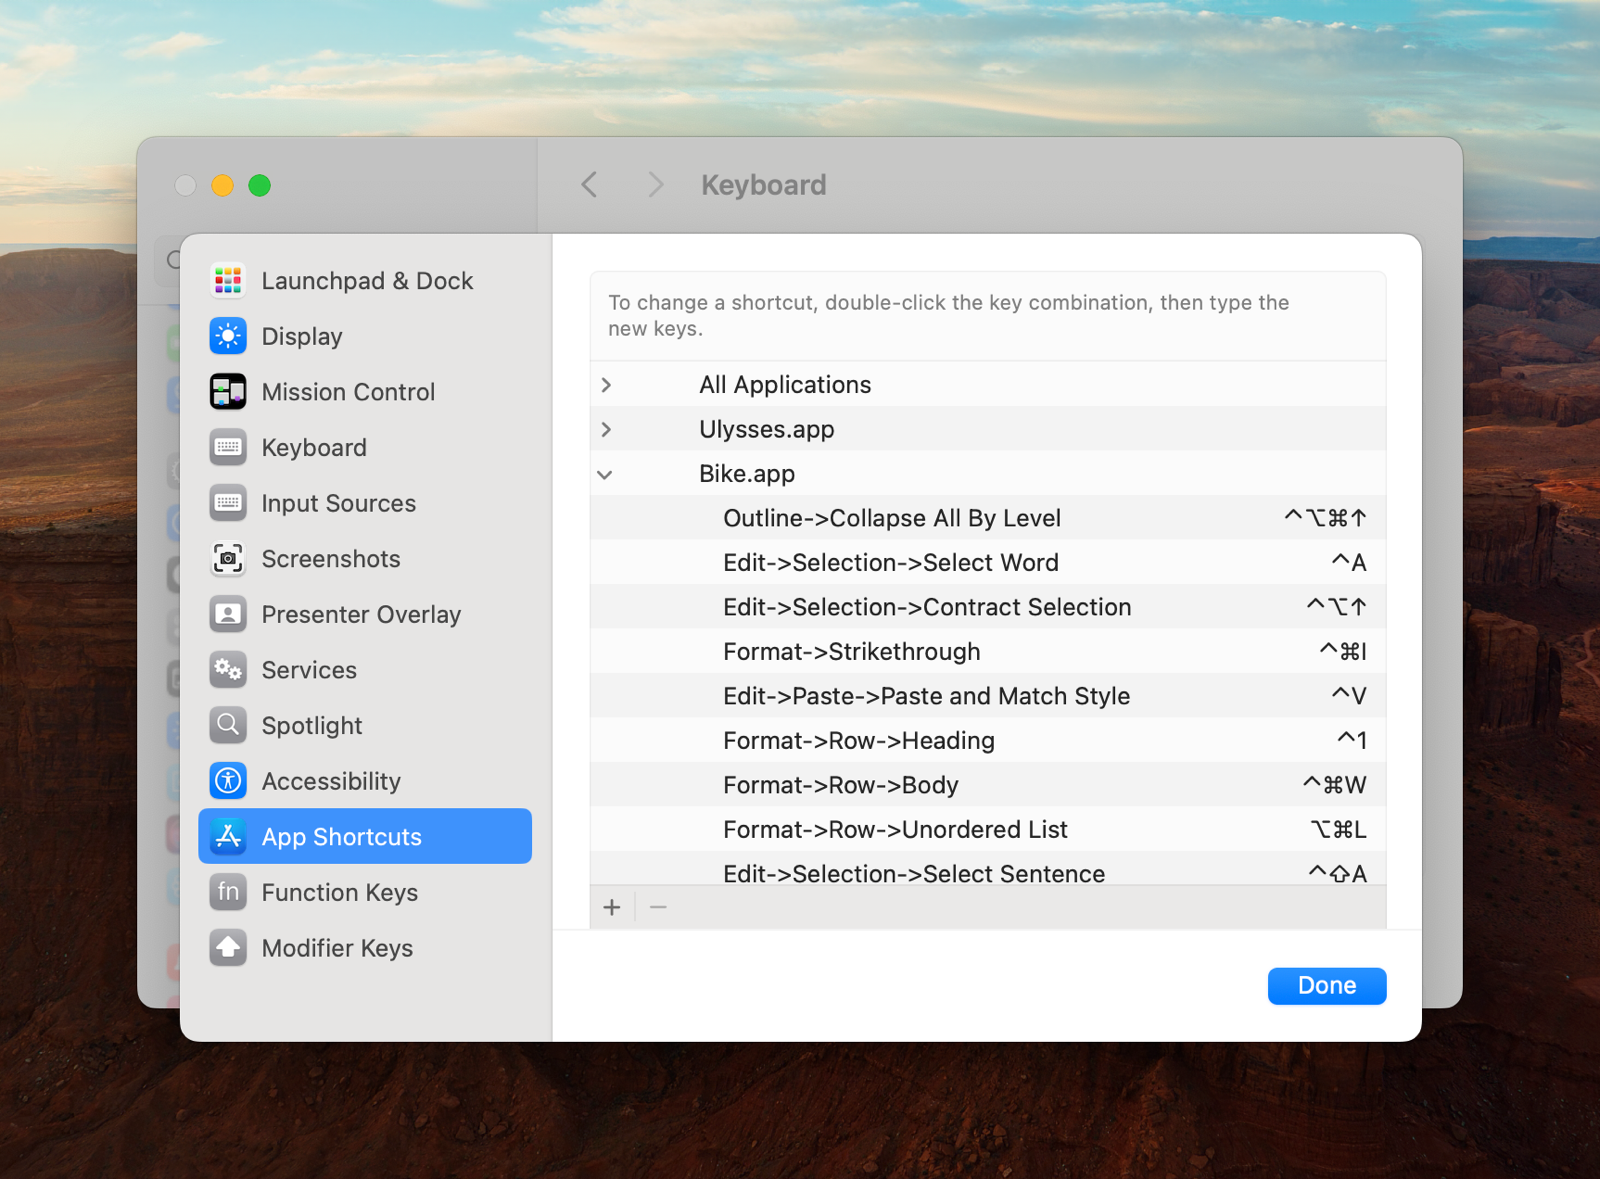
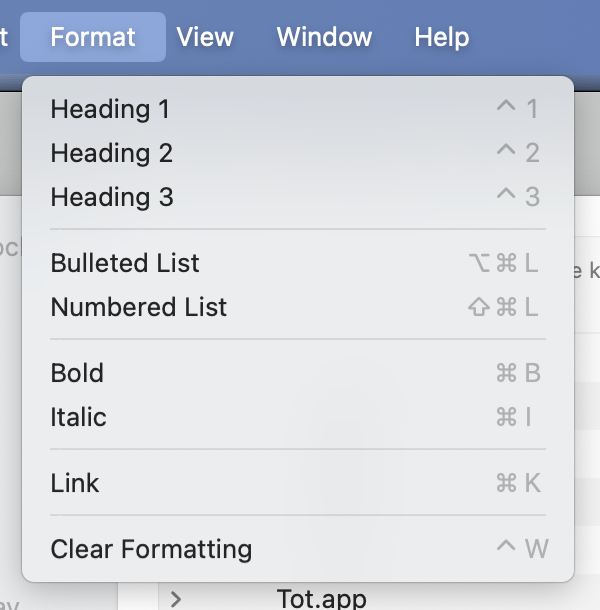
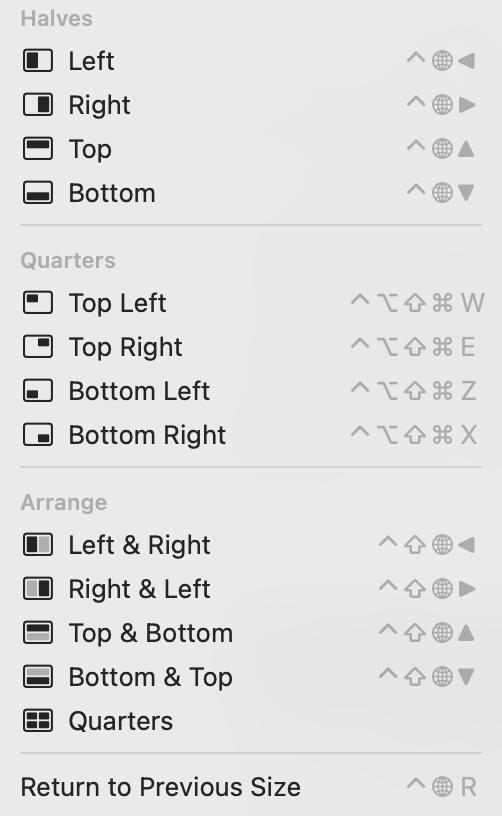
This screen is for changing the keyboard shortcuts to the items in your menu bar (or adding to those who don’t have one already), like those shown in this image:
You can either add them only to specific apps (like you can see I’ve done), or to All Applications – and when we’re dealing with this window management, we need to do the latter.
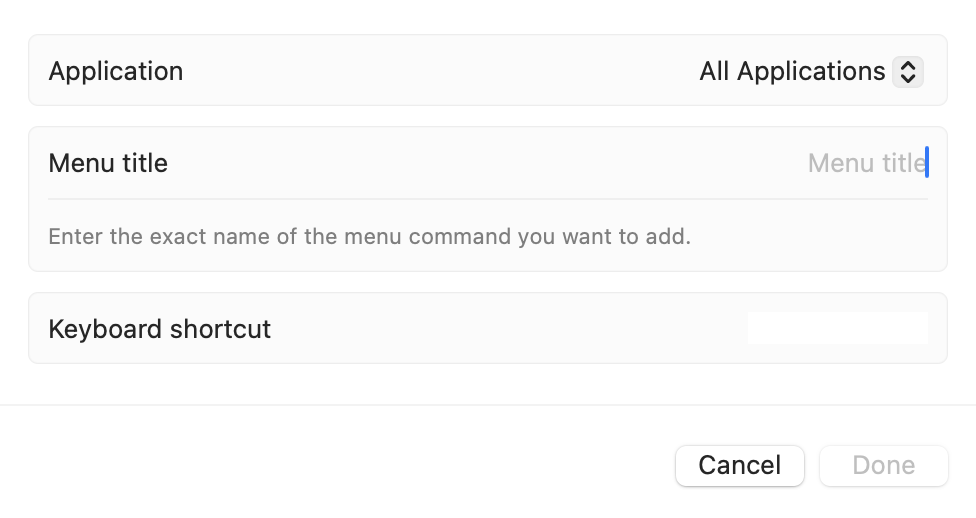
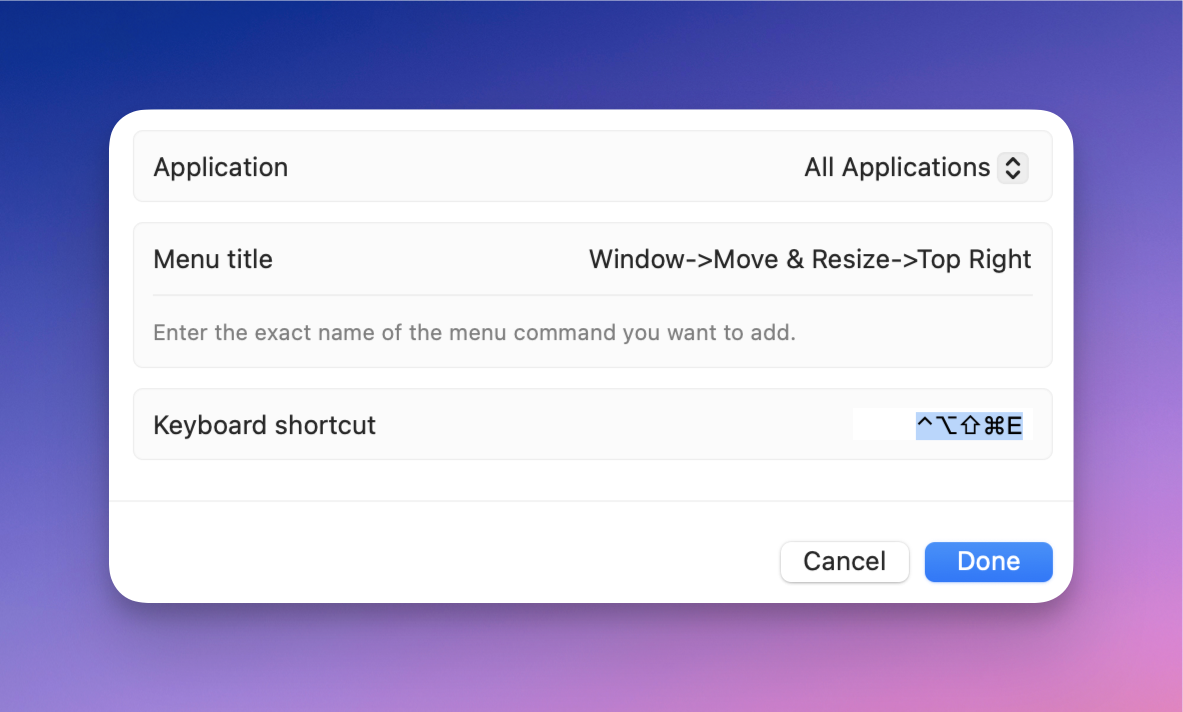
Hitting + gives us this screen:
When writing the menu title, you have to be very specific. Here’s what it could look like: Format->Bulleted List
The spelling and capitalisation has to be exact – and you need to separate levels with a - and > and no spaces.
Here’s what it looks like if I want to set a hotkey for tiling a window top left:
Window->Move & Resize->Top Left
As the option sits two levels deep, I have to add a bit more – but it works!
Yes, the hotkey is Shift + Ctrl + Optn + Cmd + E, heh. But I use Karabiner-Elements to set up Caps Lock as all of those keys at once.1 Doing that creates a separate modifier, not used by any apps. A word for this, is Hyperkey, and it’s sometimes denoted by this symbol: ✦
The easiest way to set it up is probably with this little utility by Ryan Hanson, and I greatly recommend doing it.
I go more into how I manage windows here – but this is the short version:
- I always resize with just my left hand
- I’ve made a “grid” that uses Hyperkey (Caps Lock) + a letter:
WandEis Top Left Quarter and Top Right QuarterAis Left Half,Sis Maximise/Fill, andDis Right HalfZandXis Bottom Left Quarter and Bottom Right Quarter
The grid isn’t perfect, as I couldn’t set Hyper + Q as a hotkey, and I like to keep Hyper + C as OCR Copy. But I still really recommend this setup! For the rare cases I need something else, I use Lasso (launced with Hyper + Space).
Cons of the System Settings method:
- Pretty fiddly – you can’t even paste text, as it will think you’re trying to set
Command + Vas the hotkey - Doesn’t get backed up – you have to do it again if you reinstall macOS (Pro tip: Take a screenshot to “back up”!)
- Only works on menu bar items
Pros of the System Settings method:
- Works without third-party software
- Will change the displayed hotkey in the menu bar – making it easier to remember
An alternative: Keyboard Maestro
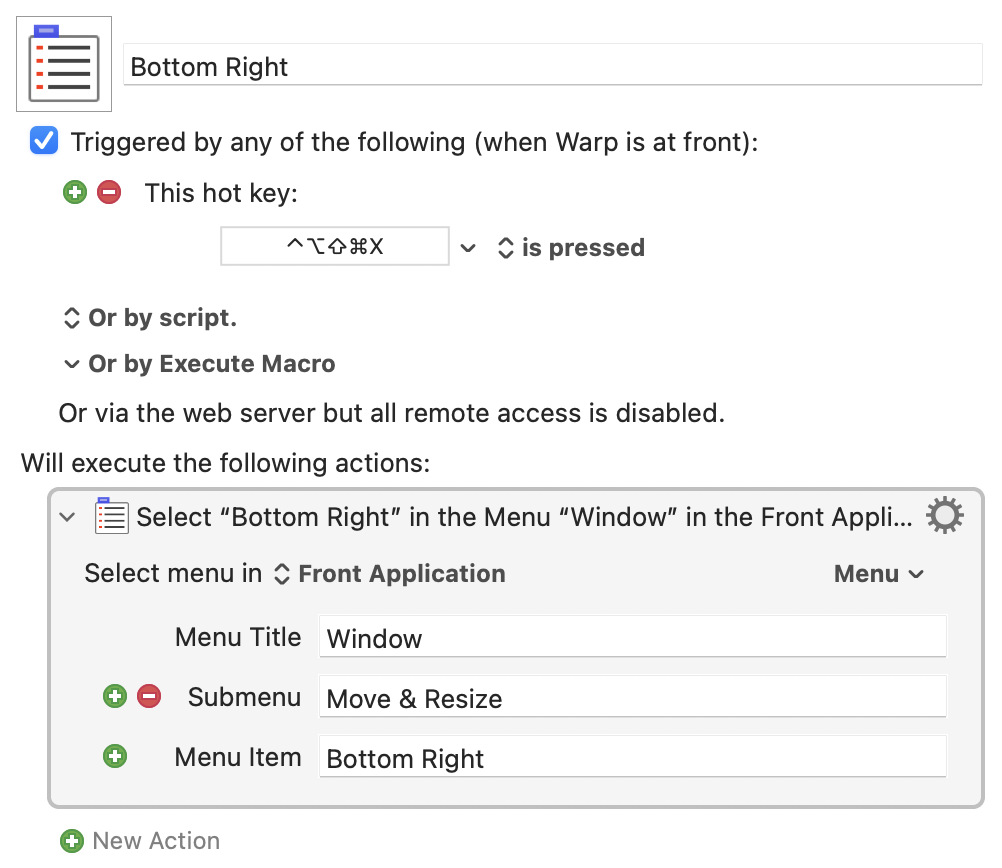
You can also use the excellent Keyboard Maestro for the same task.
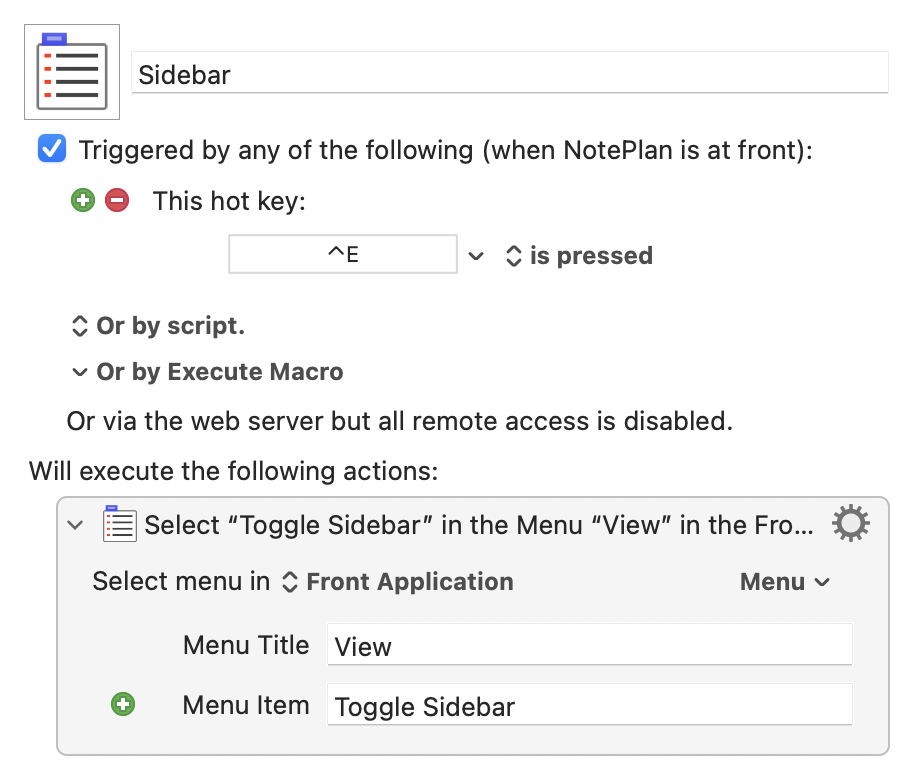
Here you can see I’ve set it so hitting Ctrl + E will perform the View->Toggle Sidebar action. I think this would work on the window management as well. The Keyboard Maestro action you’re looking for is called Select or Show a Menu Item.
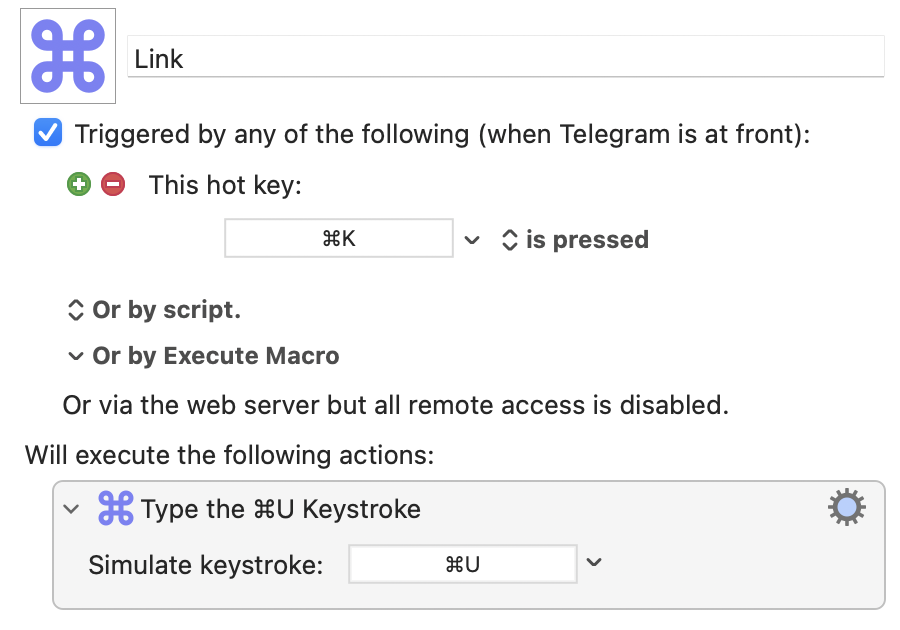
However, sometimes the hotkeys aren’t in the menu bar. And then you can use Keyboard Maestro to simulate a different screenshot. In the example above, hitting Command + K will simulate Command + U in a specific app.2 However, I don’t think you can use this method to simulate the Globe key – as it isn’t available to third-parties. This Keyboard Maestro action is called Type a Keystroke.
Cons of the Keyboard Maestro method
- Needs third-party software
- Doesn’t change the displayed hotkey in the menu bar
Pros of the Keyboard Maestro method
- You can duplicate actions, etc., to make the workflow easier
- Keyboard Maestro setups can be backed up and shared
- Other powerful features are also readily available
For multilingual users (like me)
As could be seen in the screenshots, I’ve only added hotkeys for the corner options 3 I added these because they have nicer animations than what Raycast 🖇️ has access to – which I use for the halves. The reason is that it’ll cycle between 1/2, 2/3 and 1/3 when you repeat the hotkey. 👌🏻 Please add this within 10 years, Apple!
But anyway – my settings, for Top Left, look like this:
Window->Move & Resize->Top Left
Vindu->Move & Resize->Top Left
Window->Flytt og endre størrelse->Øverst venstre
I had to add all three version separatly – because, for some reason, the wording isn’t consistent depending on whether the app in question is in Norwegian or not. And I’ve no idea why there are two versions with a mix… If I wind an app where it doesn’t work, it’ll probably be one where everything is in Norwegian.
The morale is: You have to check what your menu says.
For apps that doesn’t have the menu options
Update: OK, so I’ve been running my setup for a couple of weeks now. And while the addition of the nicer animation has highlighted the lack of them in Raycast, it has worked perfectly… until I used Discord. For some reason, the (crappy Electron app) doesn’t have the windowing options in its menu bar. 🤷🏻♂️ However, Raycast can resize it!
So, here’s the workaround:
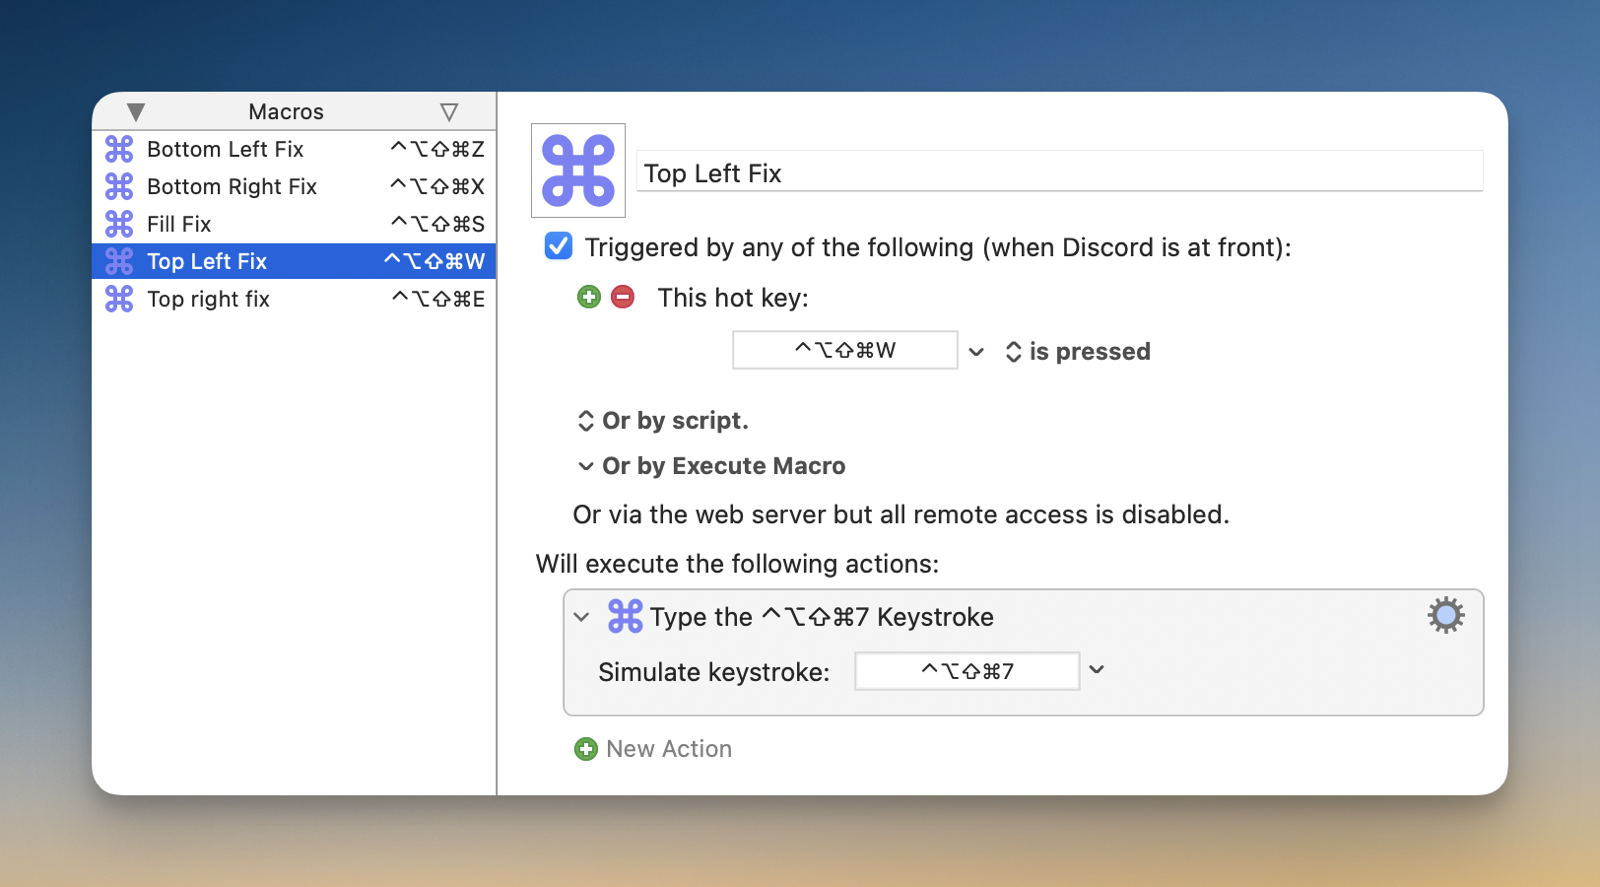
First, I added back the corners (and fill) to Raycast, but on hotkeys I never use/don’t like. For Top Left I used Hyper + 7.
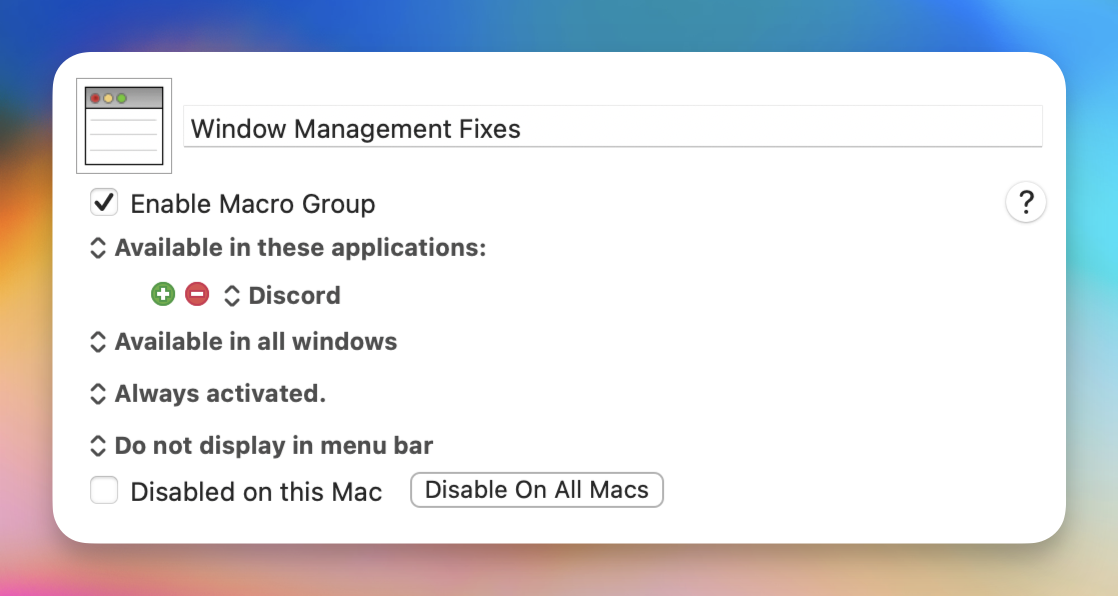
Then, in Keyboard Maestro, I created a group called “Window Mangement Fixes”, which I said should only work in certain apps. Currently the only inhabitant is Discord, but I’m sure I’ll discover others to add later.
Then I added macros for the broken hotkeys. Remember, Hyper + W is the hotkey I’ve set to be Top Left (the default way, with the nice animations) – but this doesn’t work in Discord. But hitting Hyper + 7 will work, as this uses the Raycast method. So, what I’ve done, is telling Keyboard Maestro: “When I’m in Discord and hit Hyper + W, please simulate Hyper + 7”. I do lose the animation, but it works!
