UniFi Wi-Fi for Noobs (Like Me)
Ubiquiti’s UniFi series is getting a lot of (deserved) hype these days. However, as the system is meant to scale all the way from a regular home to huge enterprise settings, the purchasing process can be perplexing. Recently, this got mentioned in one of my favourite podcasts, Hemispheric Views, where Andrew Canion said he didn’t even know how to buy it, let alone use it.1
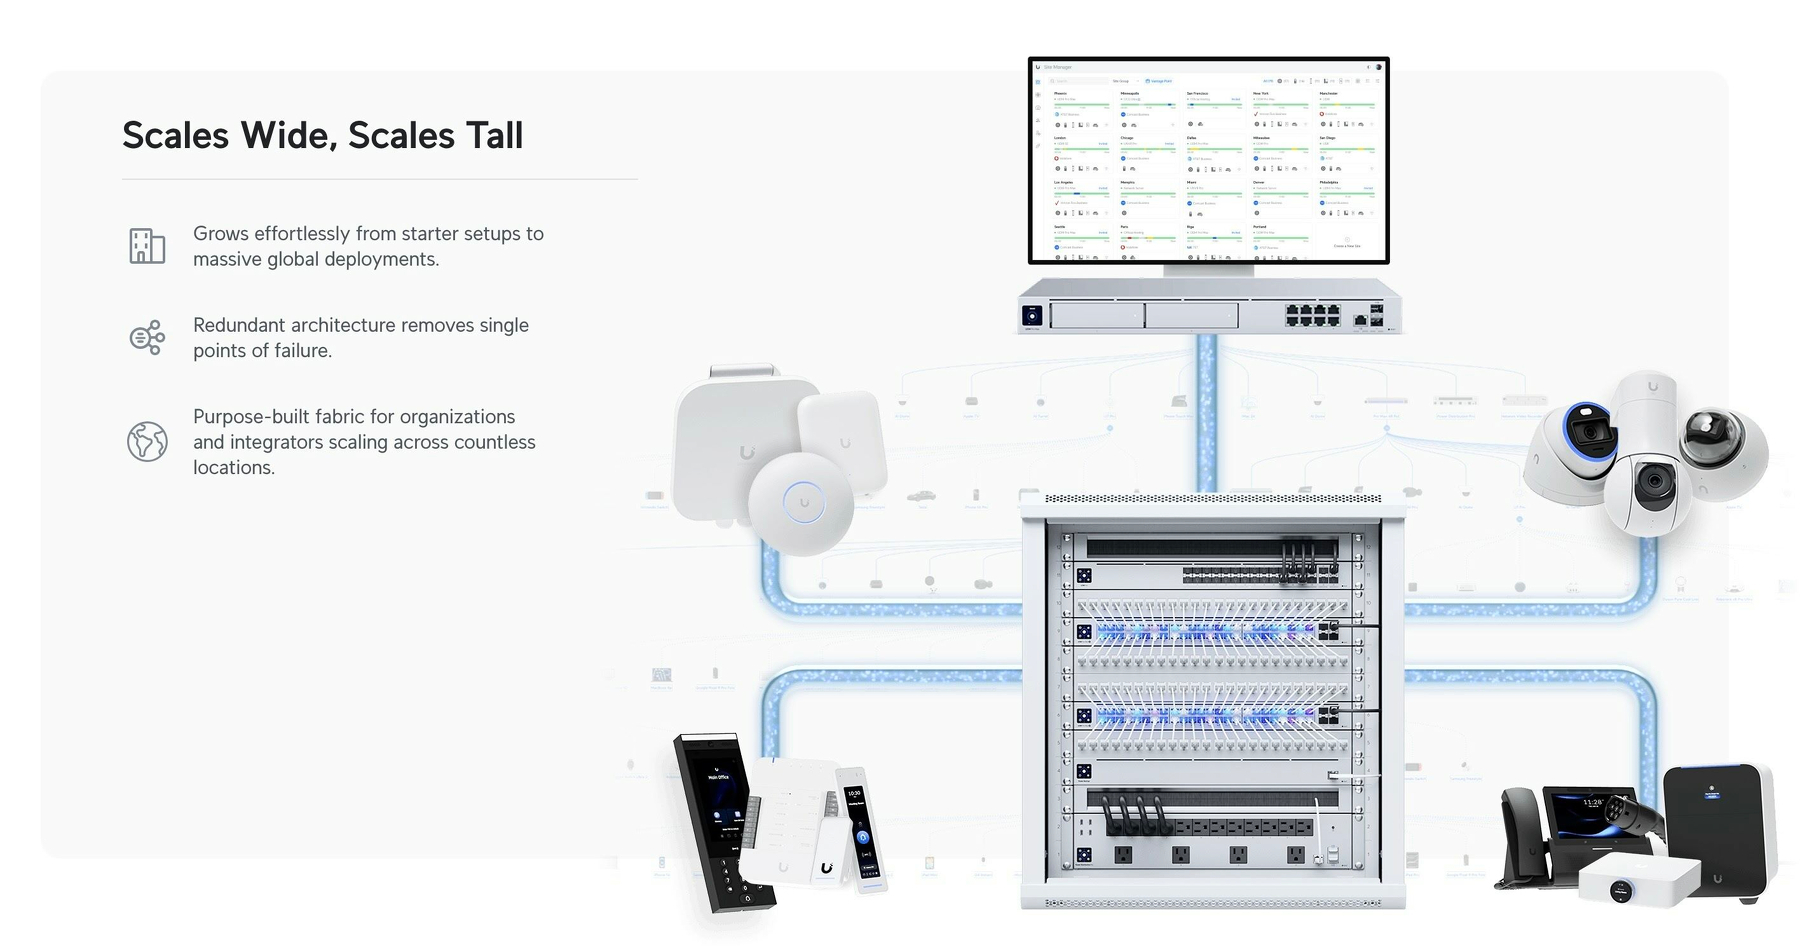
As a noob that actually managed to buy some of this stuff myself recently, I thought I’d do my best to give a layman’s explanation. Because it’s easier than you think! My target audience for this is someone who just wants a “good mesh wi-fi setup for their home."
But first:
Why did I want to get into UniFi?
Last year, I moved from a tiny flat to a large house. And it turned out that the wi-fi that was there didn’t quite cut it.
And the main reason I went for UniFi, is the modularity. It’s a bit like the difference between having an iMac and a Mac mini + display. With the latter, you could keep the screen and upgrade the computer if needed. Or you could get a larger screen while keeping the computer. And UniFi works like this. In general, they’ve separated the parts of a wi-fi setup into separate devices.
In addition to this, the software experience is pretty smooth, the hardware quality is supposed to be good, and it doesn’t hurt that it looks good as well!
The pieces you need
There are three pieces you require to complete the UniFi puzzle. And these can be had at different levels, supporting different standards. For instance, ethernet ports are usually rated for 1 Gbps, 2.5 Gbps, or 10 Gbps. And Wi-Fi varies between Wi-Fi 5, 6, 6E and 7 — and also between 2.5 GHz, 5 GHz and 6 GHz bands.
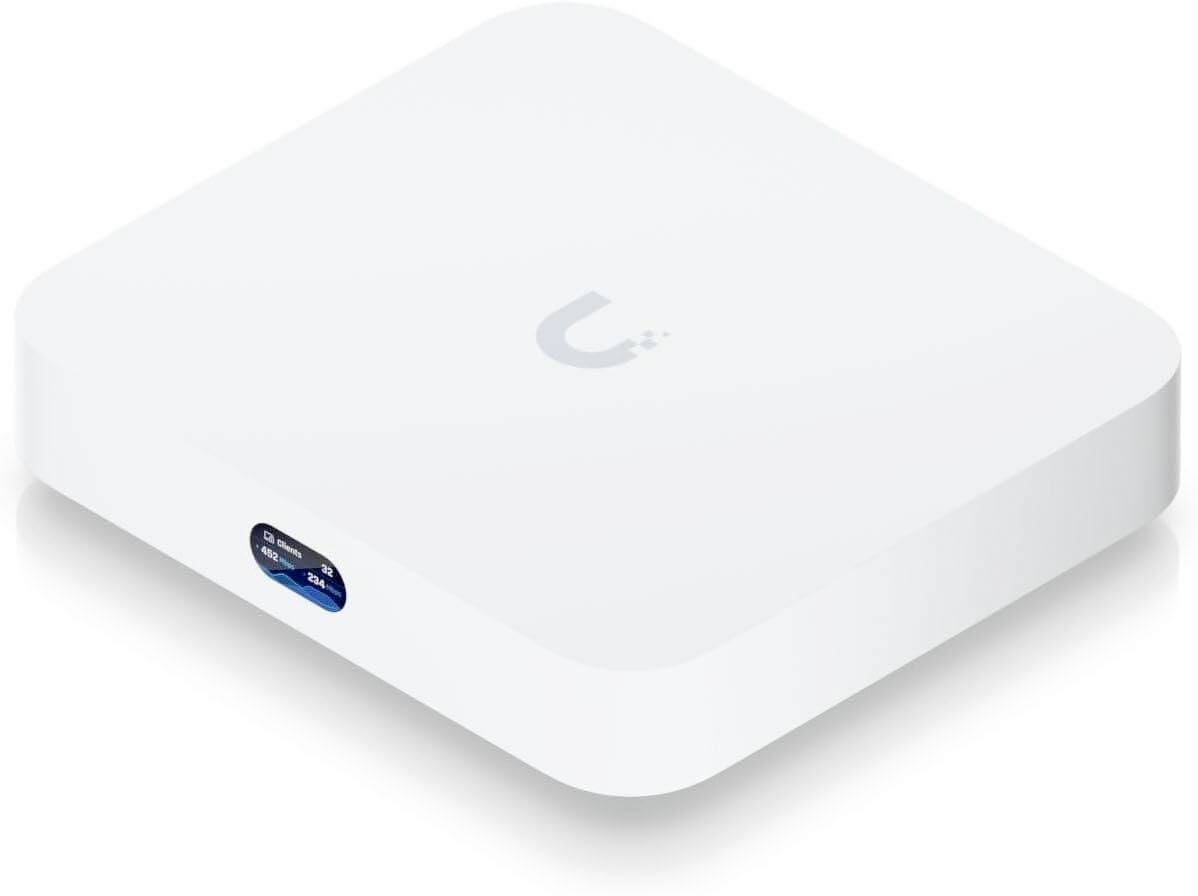
1) The brain
First, you need a brain to coordinate everything. This device is also what you connect directly to the part of your wall where you get your internet. In the UniFi world, this is called a cloud gateway. But it’s basically a router!
An example here, is the Cloud Gateway Ultra 🖇️:
Example of what you can get if you upgrade:
What would you get if you go for the next tier, the Cloud Gateway Max 🖇️?
While the cheaper one can only run Wi-Fi, the Max can also be the hub for UniFi security cameras, phone service and more. So, if you want more than just Wi-Fi (I did not) you need to have a gateway that supports this.
The Max also supports higher ethernet speeds (2.5 Gbps — but they both have 4 Ethernet outputs) and has a slot for an SSD (for video recordings).
This is an example of how you can buy exactly what you need. But you can also upgrade pieces later on if you’d like.
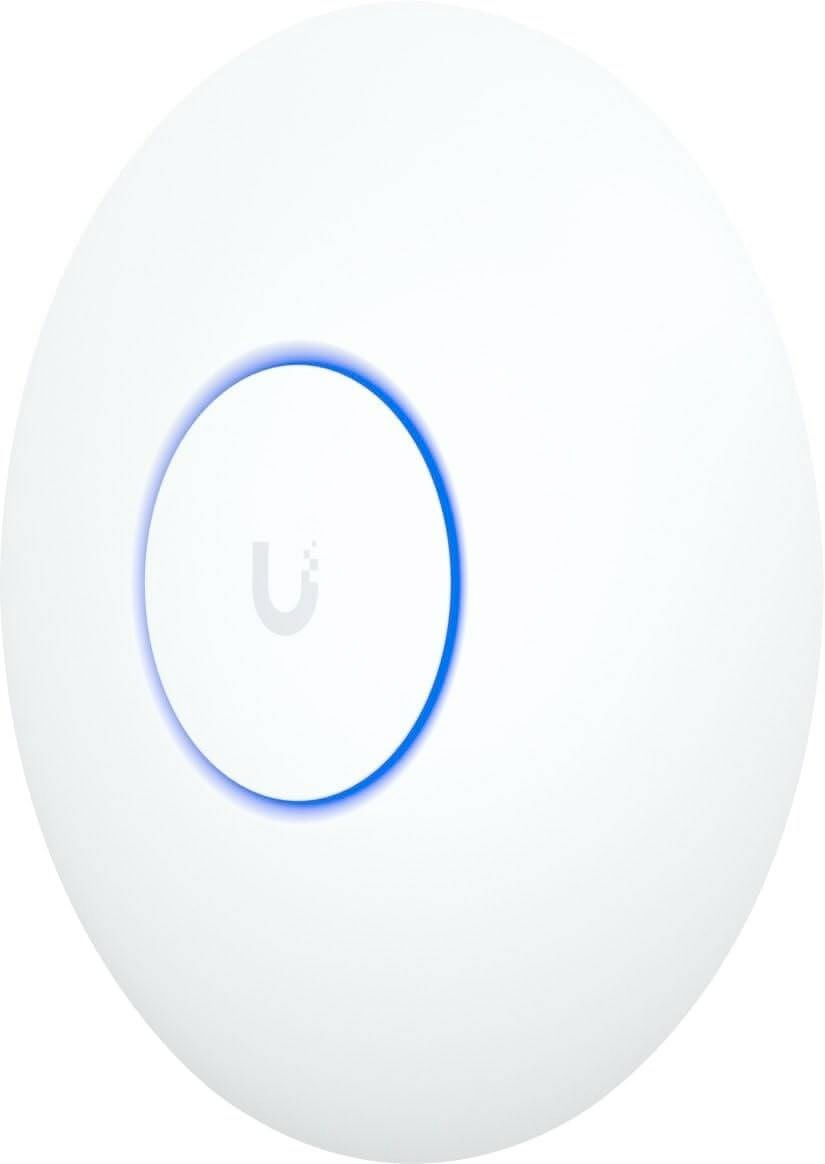
2) The hands
The Gateway Ultra has four ethernet ports we can use to connect devices to the network. However, we came here for the wireless! And the hardware that actually wirelessly connects client devices (like phones and laptops) to the network are called access points.
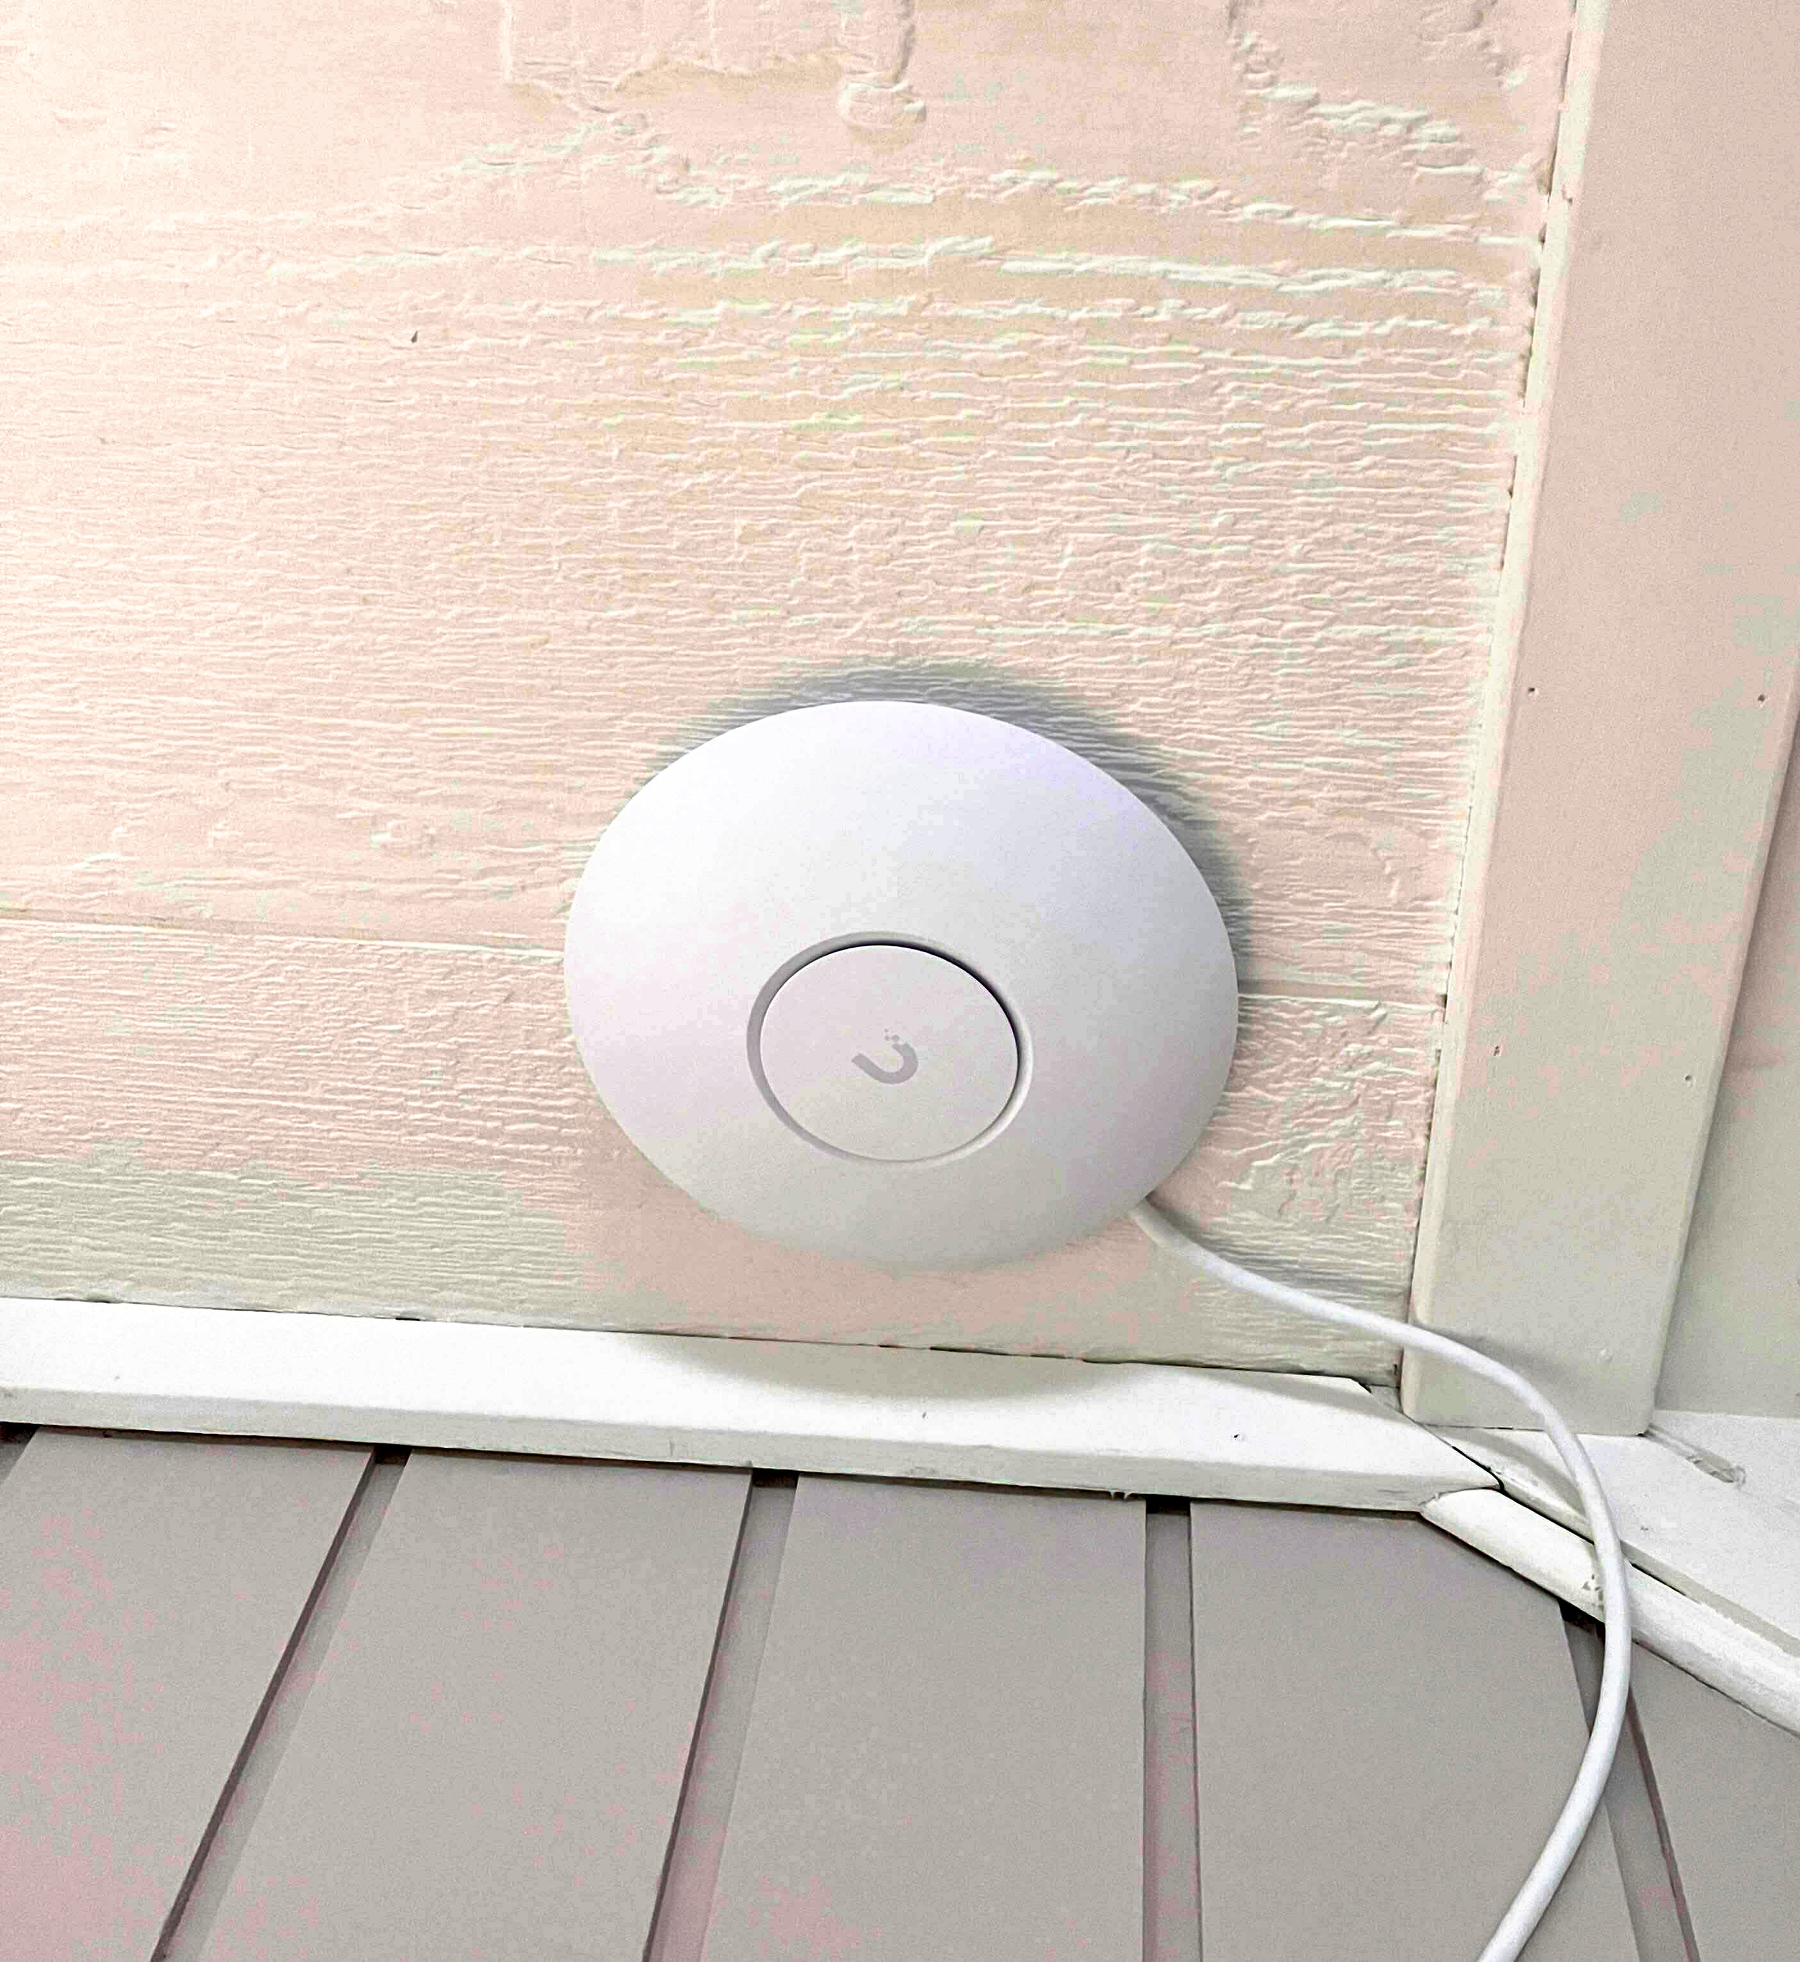
Personally, I went for the cheapest option I could find: U7 Lite.
Example of what you can get if you upgrade:
While the U7 Lite supports Wi-Fi 7, it has only 2.5 and 5 Ghz bands.2 It also doesn’t have great range. Going for the U7 Pro 🖇️, or the newer U7 Pro XG 🖇️, would get you 6 Ghz, more spatial streams (whatever that means), better range, and higher device capacity.
3) The nervous system
The last thing we need is a way for the brain to communicate with the hands. Ubiquiti really believes in not wasting wireless capacity to have the access points talk to the cloud gateway that way. So ethernet is the name of the game.
Let’s say we bought two U7 Lites and a Cloud Gateway Ultra. Then we would get this setup:
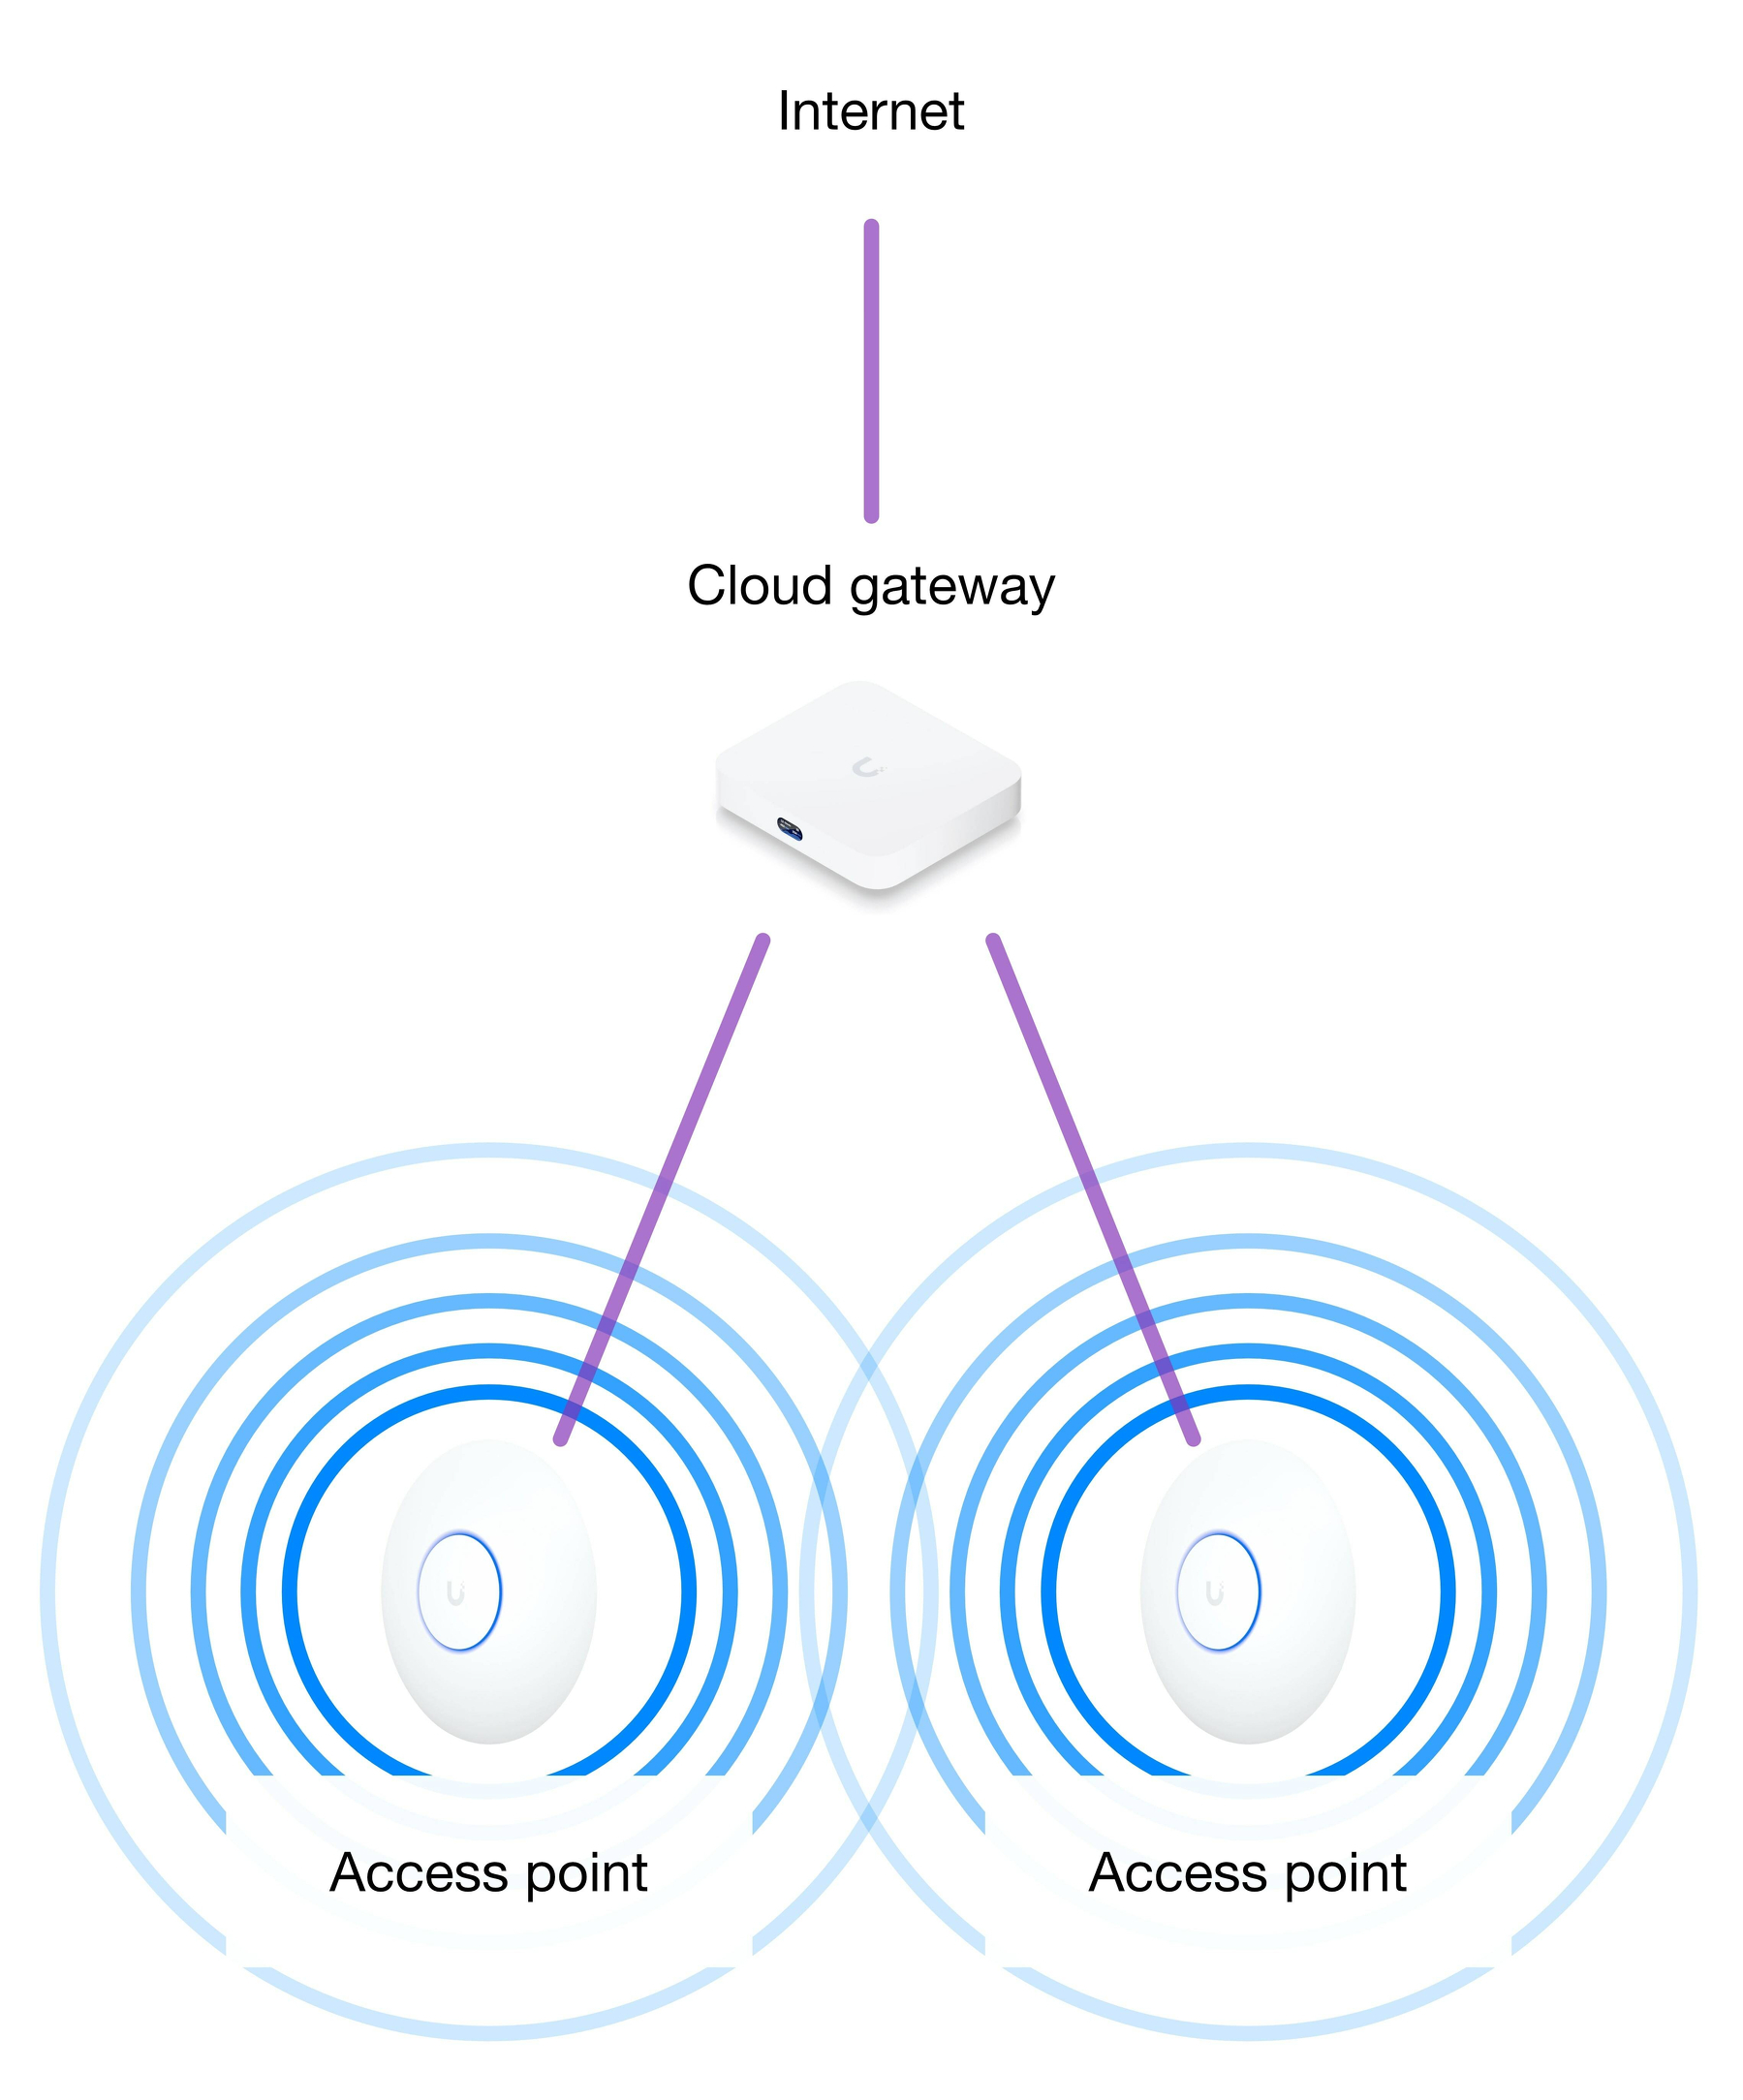
The access points would need two things to work:
- Power
- Data connection to the cloud gateway
To make things practical, especially because the access points likes to be mounted on the ceiling, Ubiquiti does both with one cable: Power over Ethernet.
Sadly, the Ethernet ports on the cloud gateway doesn’t provide power. One way to fix that is to get a power injector like this 🖇️. This one provides regular Power over Ethernet (PoE), through 15W. This is enough for the U7 Lite.
However, had we got the U7 Pro, we would need something that provides more power; PoE+. Like this 30W injector 🖇️.
Our complete setup would then look like this:
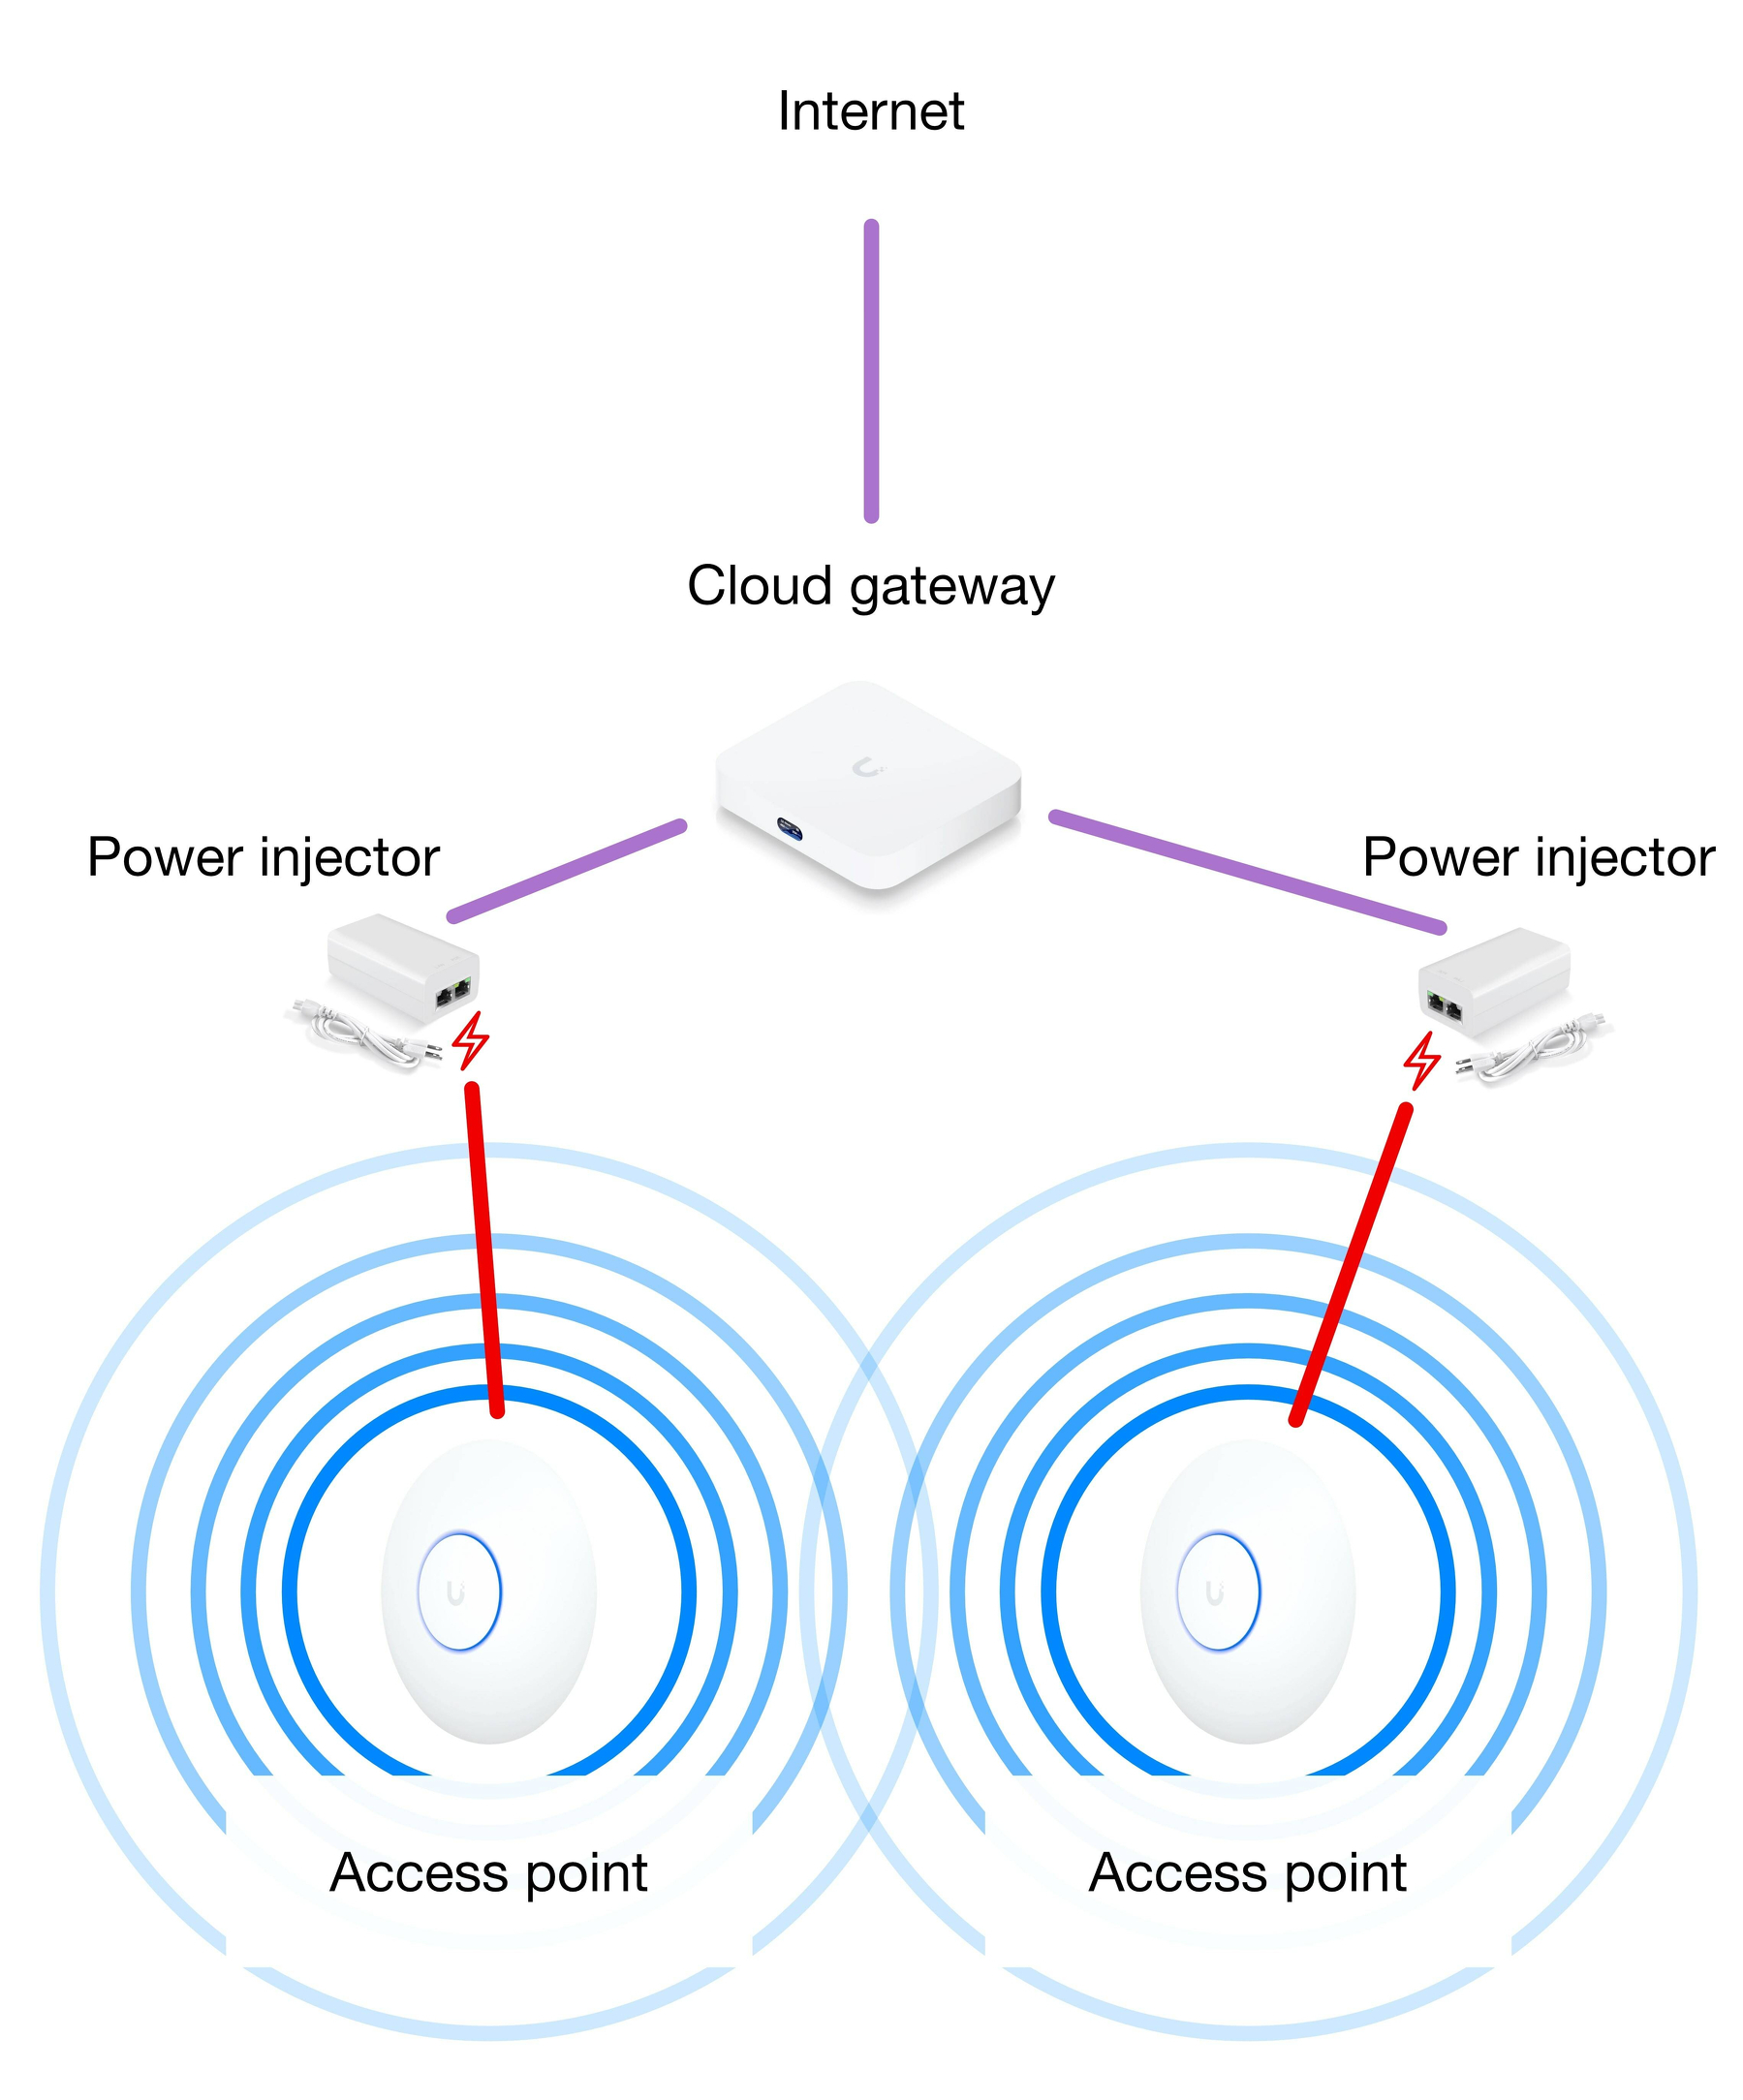
- You need a brain, that’s connected directly to your internet provider.
- Then you need access points to actually provide the wireless network.
- And lastly you have to get power and Ethernet to where you need it.
My actual setup
Now, let me show my actual network setup! This will also highlight some alternate solutions.
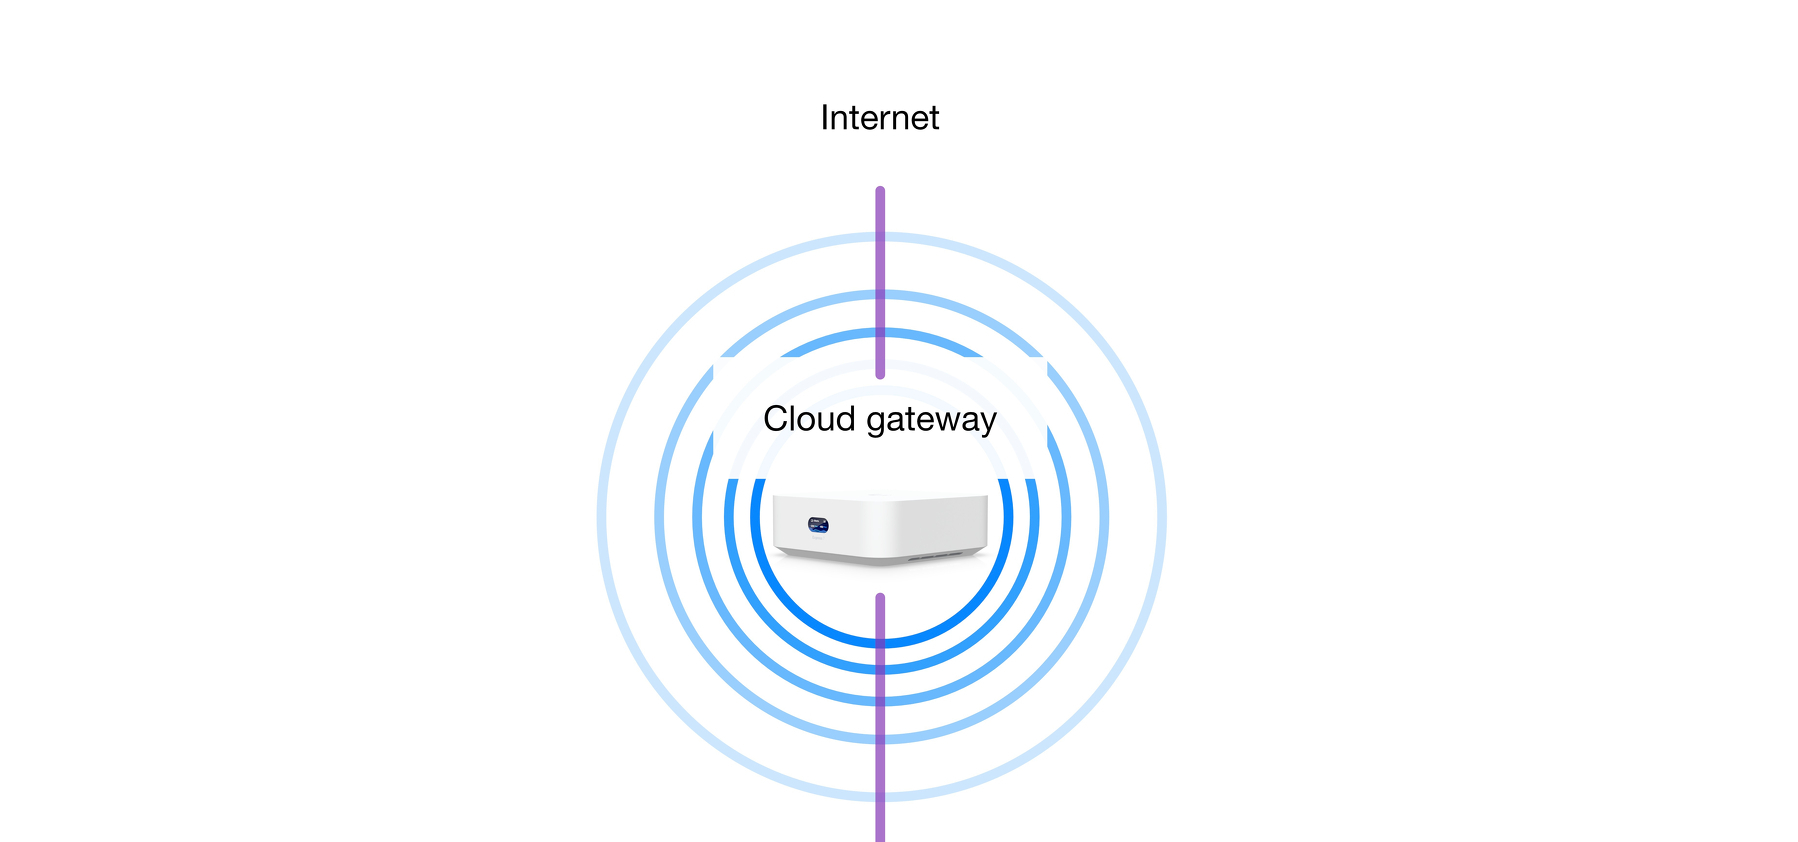
My cloud gateway is the Express 7. It only supports Wi-Fi, which is fine for me. (So not security cameras, etc.) However, it does support 2.5G Ethernet. What I really like, though, is that It’s an access point as well as a cloud gateway — having Wi-Fi performance close to the U7 Pro.
So, this is the beginning:
However, as I live in a house, I required more access points. Four, in my case. All of these need power and Ethernet connection to the cloud gateway — so I bought a switch that both “splits” the data signal and provides power.3
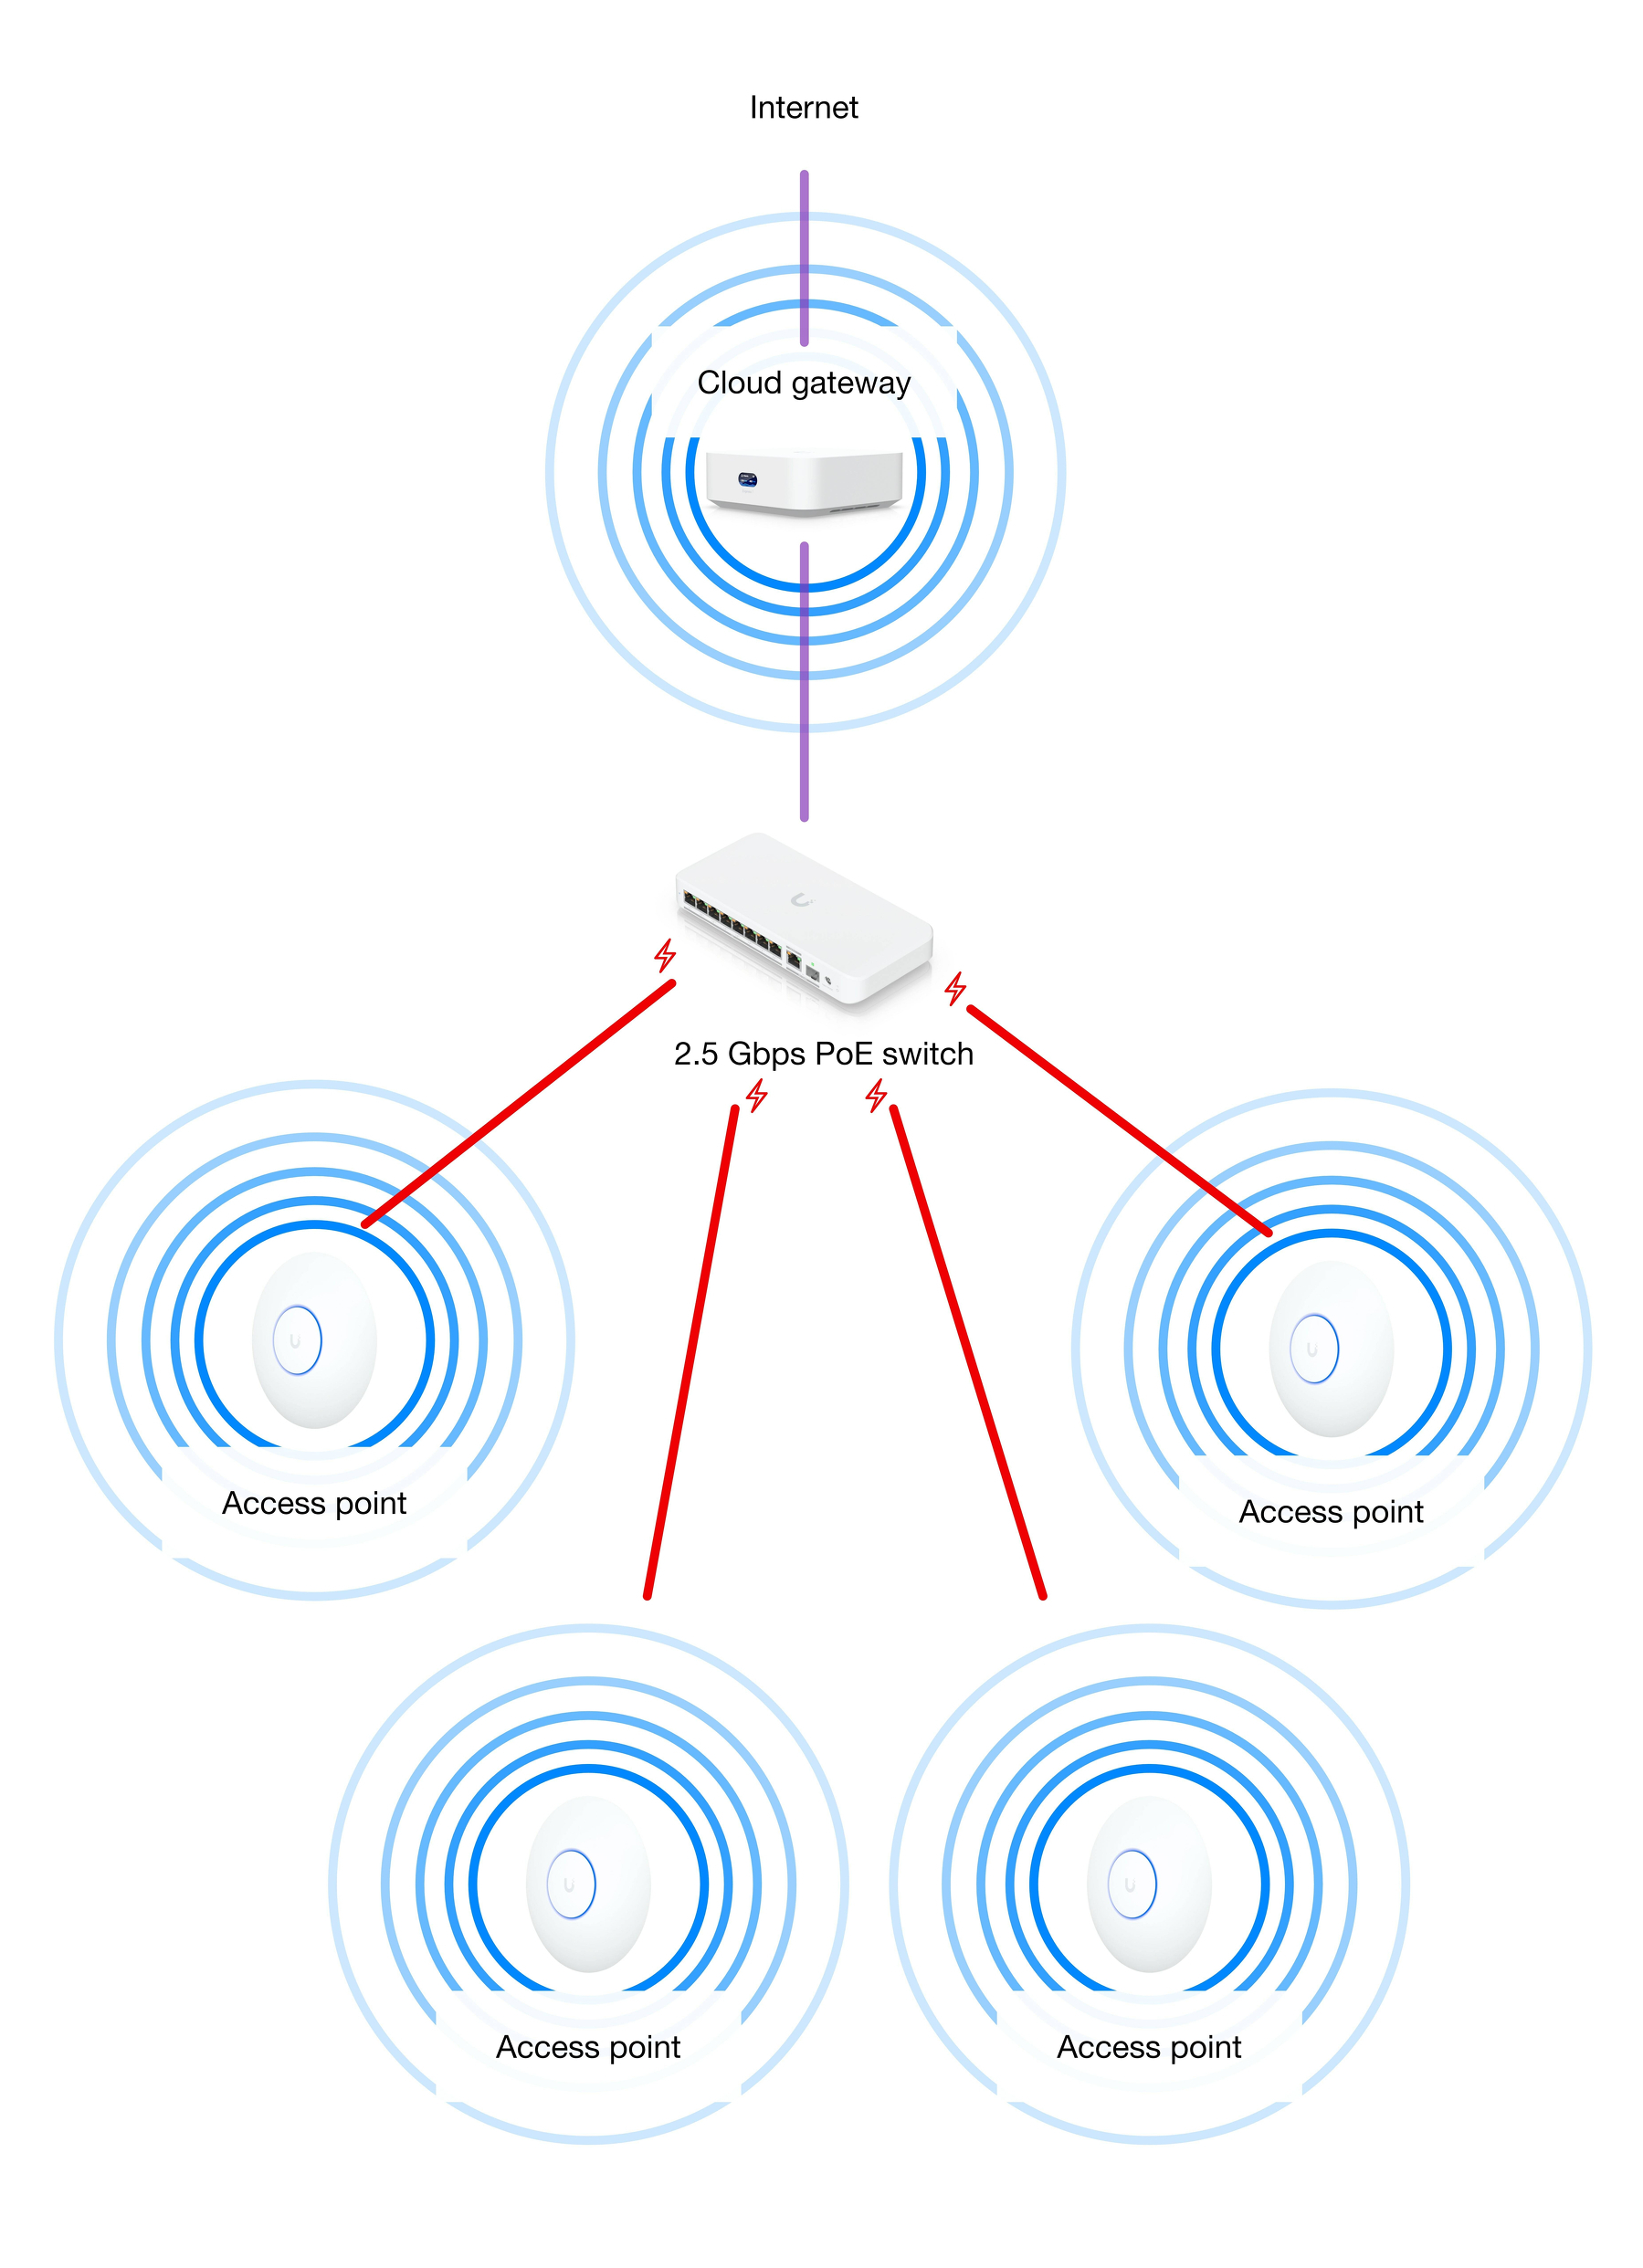
Most of the work was actually getting the Ethernet to the access points. But luckily, I had some cable runs in the house already!
I went for a bit of future proofing by having the Ethernet backhaul being 2.5 Gbps, even though I don’t really need that at the moment. But I went for the cheapest options when it came to the access points (and more or less when it comes to the cloud gateway).
However that’s where the modularity, and its beauty, comes in: If I want to upgrade my access points (or just one of them), I can just buy a new one and swap it in!