Good Stuff
- Materials: Leather uppers, rubber soles, wool on the inside*.
- The boots should be resoleable.
- They should also be unlined — so you can get wool socks and soles separate from the boots themselves.
- Get them pretty roomy!
- And you should get more than one pair.
- A $10 T-shirt, that’s actually a $10 T-shirt2
- or a $150 T-shirt, that’s actually a $50 shirt.
- Three sympathetic hosts, with great chemistry.
- Some Australian perspective in my life.
- The goal of the episodes being “a tight 45” (minutes).
- Great bits and running jokes. (For instance, their member program is called One Prime Plus. 😁)
- I purchased a (cheaper and slower) Satechi USB-C enclosure 🖇️, and a 4 TB SSD 🖇️.
- Then I moved the old 2 TB SSD over to the slower USB-C enclosure,
- and slipped the new 4 TB drive into the faster Thunderbolt enclosure.
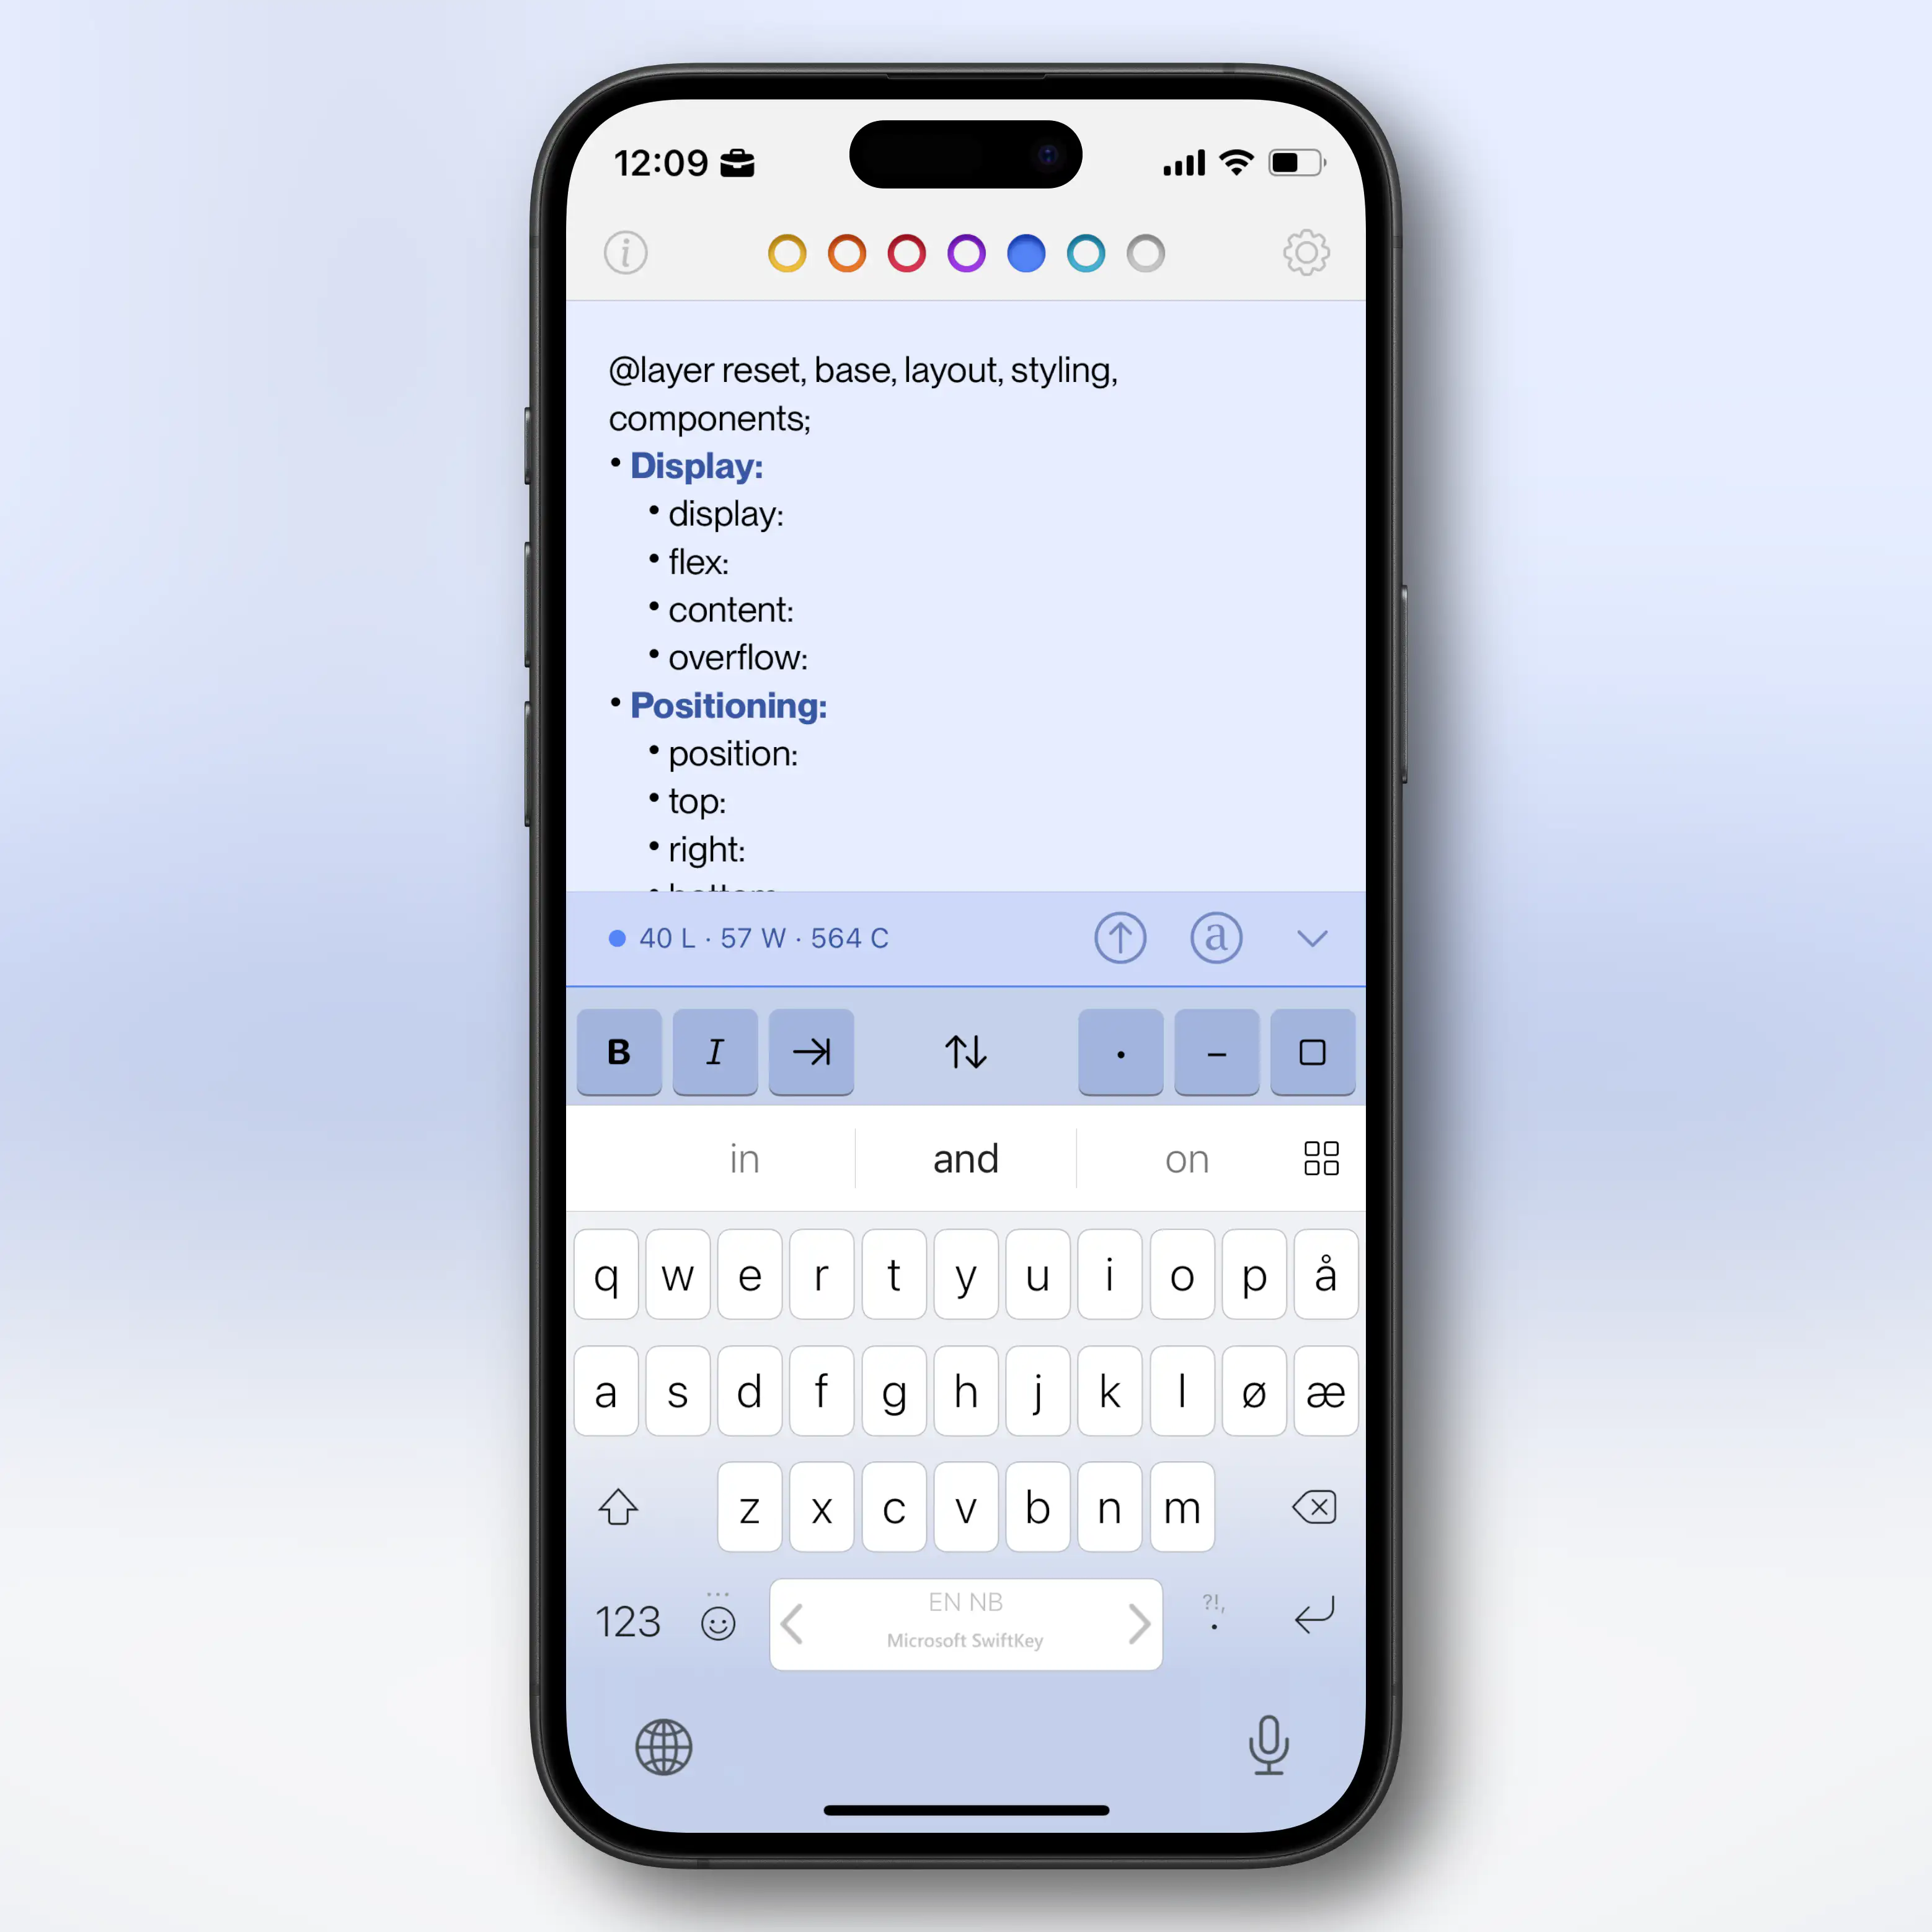
- It’s simply the best Markdown editing experience I know of. (And I’ve tried a lot.) Only Bear comes close.
- And it’s excellent both on Mac, iPad, and iPhone.
- It’s very minimalistic (just opens as a blank, white “sheet of paper”).
- At the same time, it has a bunch of hidden advanced features and customisation options.
- It’s a file-based editor, as opposed to being library-based.
- One good thing about this, is that it can be used in conjunction with other Markdown apps,
- like using it as a nicer editor for notes stored in NotePlan, Obsidian, etc.
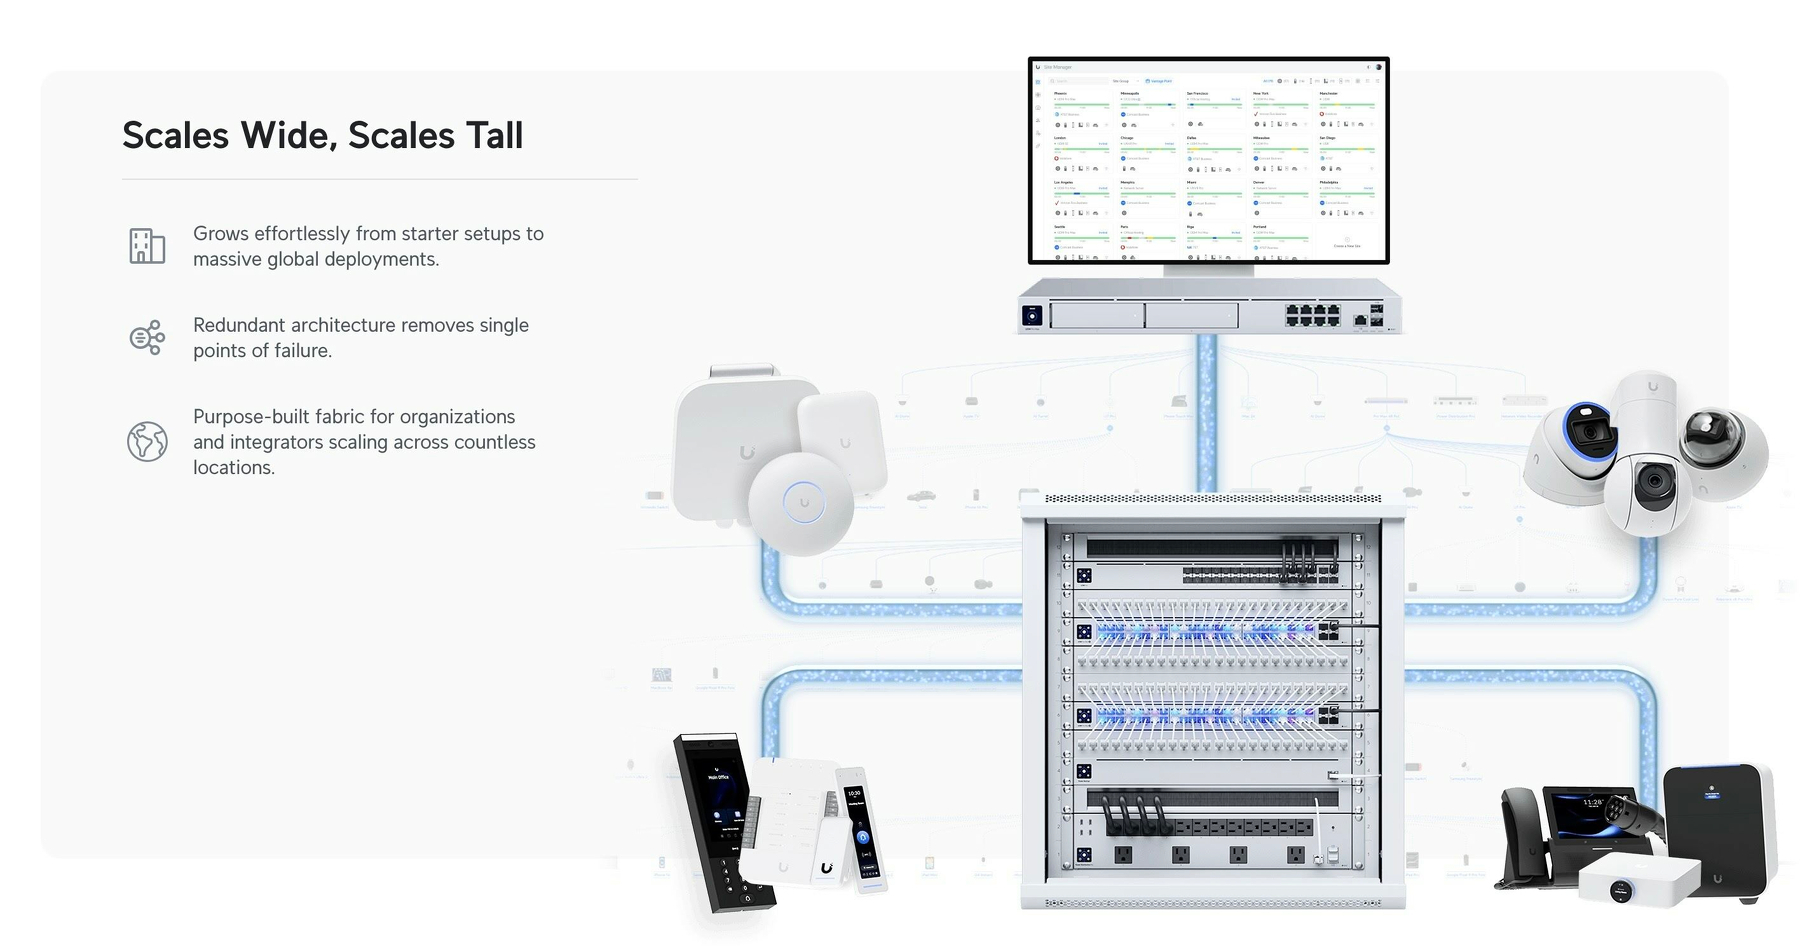
UniFi Wi-Fi for Noobs (Like Me)
Ubiquiti’s UniFi series is getting a lot of (deserved) hype these days. However, as the system is meant to scale all the way from a regular home to huge enterprise settings, the purchasing process can be perplexing. Recently, this got mentioned in one of my favourite podcasts, Hemispheric Views, where Andrew Canion said he didn’t even know how to buy it, let alone use it.1
As a noob that actually managed to buy some of this stuff myself recently, I thought I’d do my best to give a layman’s explanation. Because it’s easier than you think! My target audience for this is someone who just wants a “good mesh wi-fi setup for their home."
But first:
Why did I want to get into UniFi?
Last year, I moved from a tiny flat to a large house. And it turned out that the wi-fi that was there didn’t quite cut it.
And the main reason I went for UniFi, is the modularity. It’s a bit like the difference between having an iMac and a Mac mini + display. With the latter, you could keep the screen and upgrade the computer if needed. Or you could get a larger screen while keeping the computer. And UniFi works like this. In general, they’ve separated the parts of a wi-fi setup into separate devices.
In addition to this, the software experience is pretty smooth, the hardware quality is supposed to be good, and it doesn’t hurt that it looks good as well!
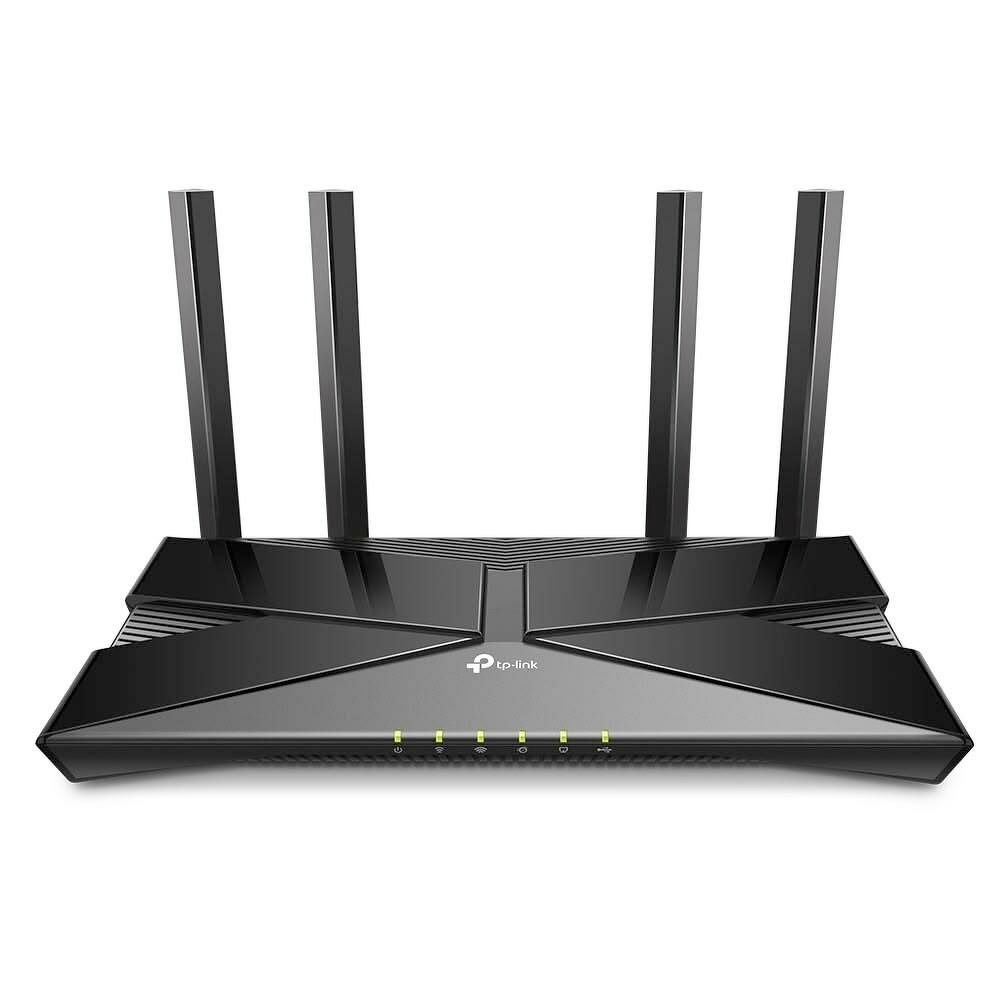
The pieces you need
There are three pieces you require to complete the UniFi puzzle. And these can be had at different levels, supporting different standards. For instance, ethernet ports are usually rated for 1 Gbps, 2.5 Gbps, or 10 Gbps. And Wi-Fi varies between Wi-Fi 5, 6, 6E and 7 — and also between 2.5 GHz, 5 GHz and 6 GHz bands.
1) The brain
Software Should Have a Customisable UI
Part 1
I’ve recently noticed how most of my favourite pieces of software have one thing in common: I can customise them — not only to be needs, but to my preferences. And I really think this should, and could, be more widespread.
And I know that some iPhone users, when they hear customisable UI, might think: “Pff, why would I want a million ways to make my UI ugly, like an Android phone, instead of having one beautiful way??” But I’m not really talking about looks here! (Even though I also think theming is great.) I’m talking about button placements, how things work, etc.
An example: My favourite mobile browser
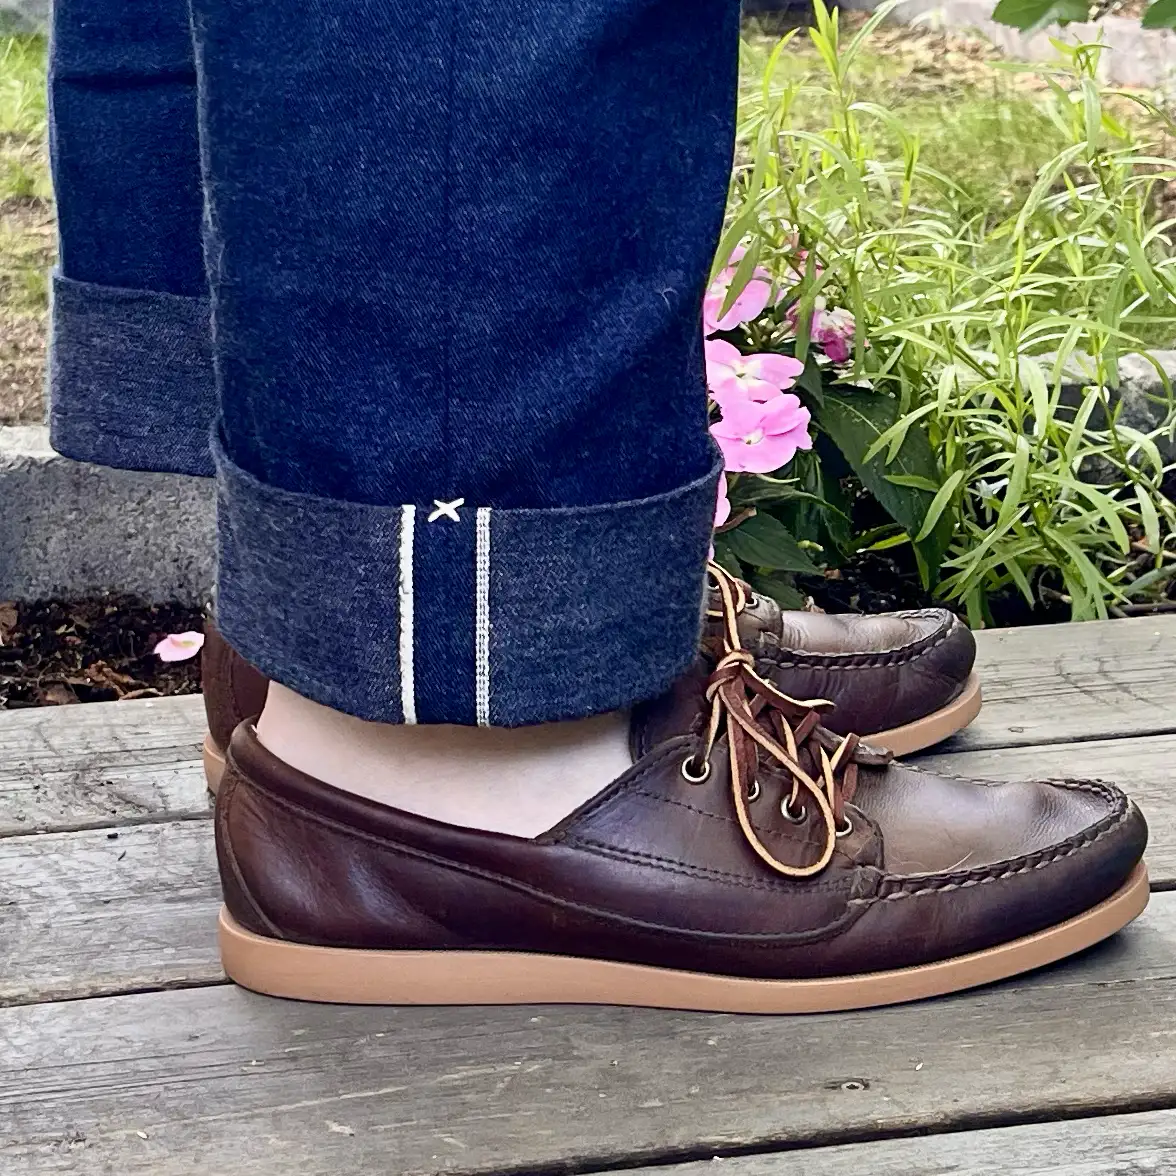
Winter boots "for life"?
Not too long ago, I saw a thread over at r/BuyItForLife about winter boots. And as someone who likes the (even though often unrealistic) ethos behind that subreddit that’s also a Norwegian, I obviously have thoughts.
How cold is cold?
To be clear: Even though I live in Norway, I don’t live in the coldest parts. I also don’t stay outside for days at a time! If you’re working in the arctic, or something, you probably need something even warmer than what I’m about to recommend. But’ve had no problems with my boots, down to like -15 °C (5 °F).
The principles
While I will recommend some specific brands/models — the advice is generalisable:
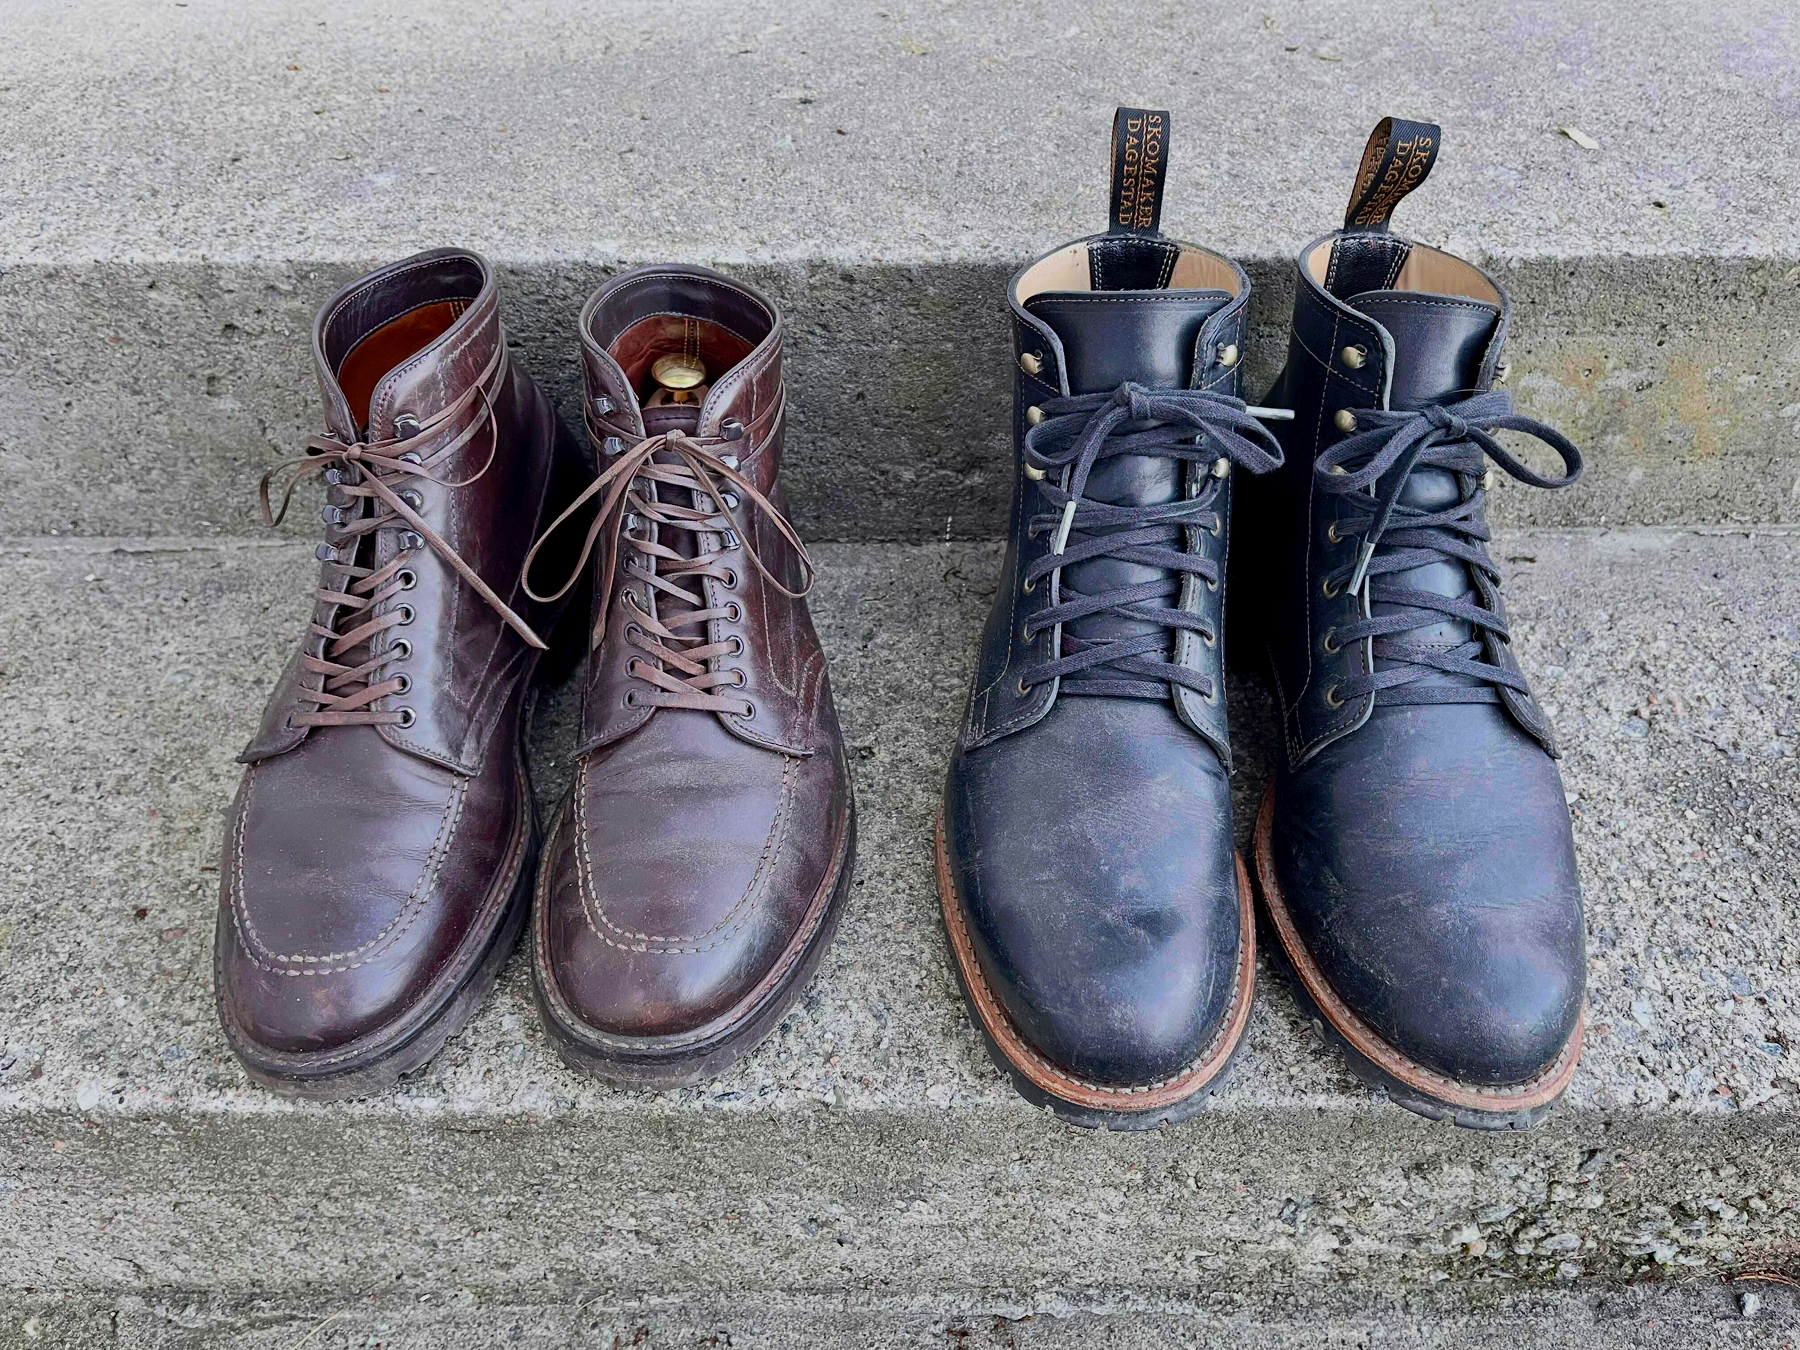
Why those materials?
The Best Cotton Socks (I've Found)
And a Dream of Opening a Store
I just love good stuff. And I especially love the best1 version of completely ordinary things. (Today I’m talking about clothes — but this could be about most goods.)
The thing is, there are things that are luxuries, and made from luxury brands. But while these things are better than your ordinary wares, they’re not honest.
Especially in women’s apparel, it seems like you often have choices like the following:
Or course the latter is better than the first — but I’d rather buy a $70 T-shirt that has that cost due to the expenses for actually making it as good as it is.
Shout-out to some brands and stores that actually make high-quality and "honest" clothes for women:
Let me know if you know about more!
I would’ve loved to run a clothing store
And I wouldn’t mind just calling it Proper Stuff or something. The concept would be rather simple: Just stock basics, as timeless as possible, that are honest, sustainable, and of high quality. (I’d perhaps go for two tiers, to be able to have the absolute best while still having some more sensibly priced options.)
Standard & Strange’s tagline, “Own fewer, better things”, could be applicable. But “Simple excellence” would also encompass what I’d be going for.
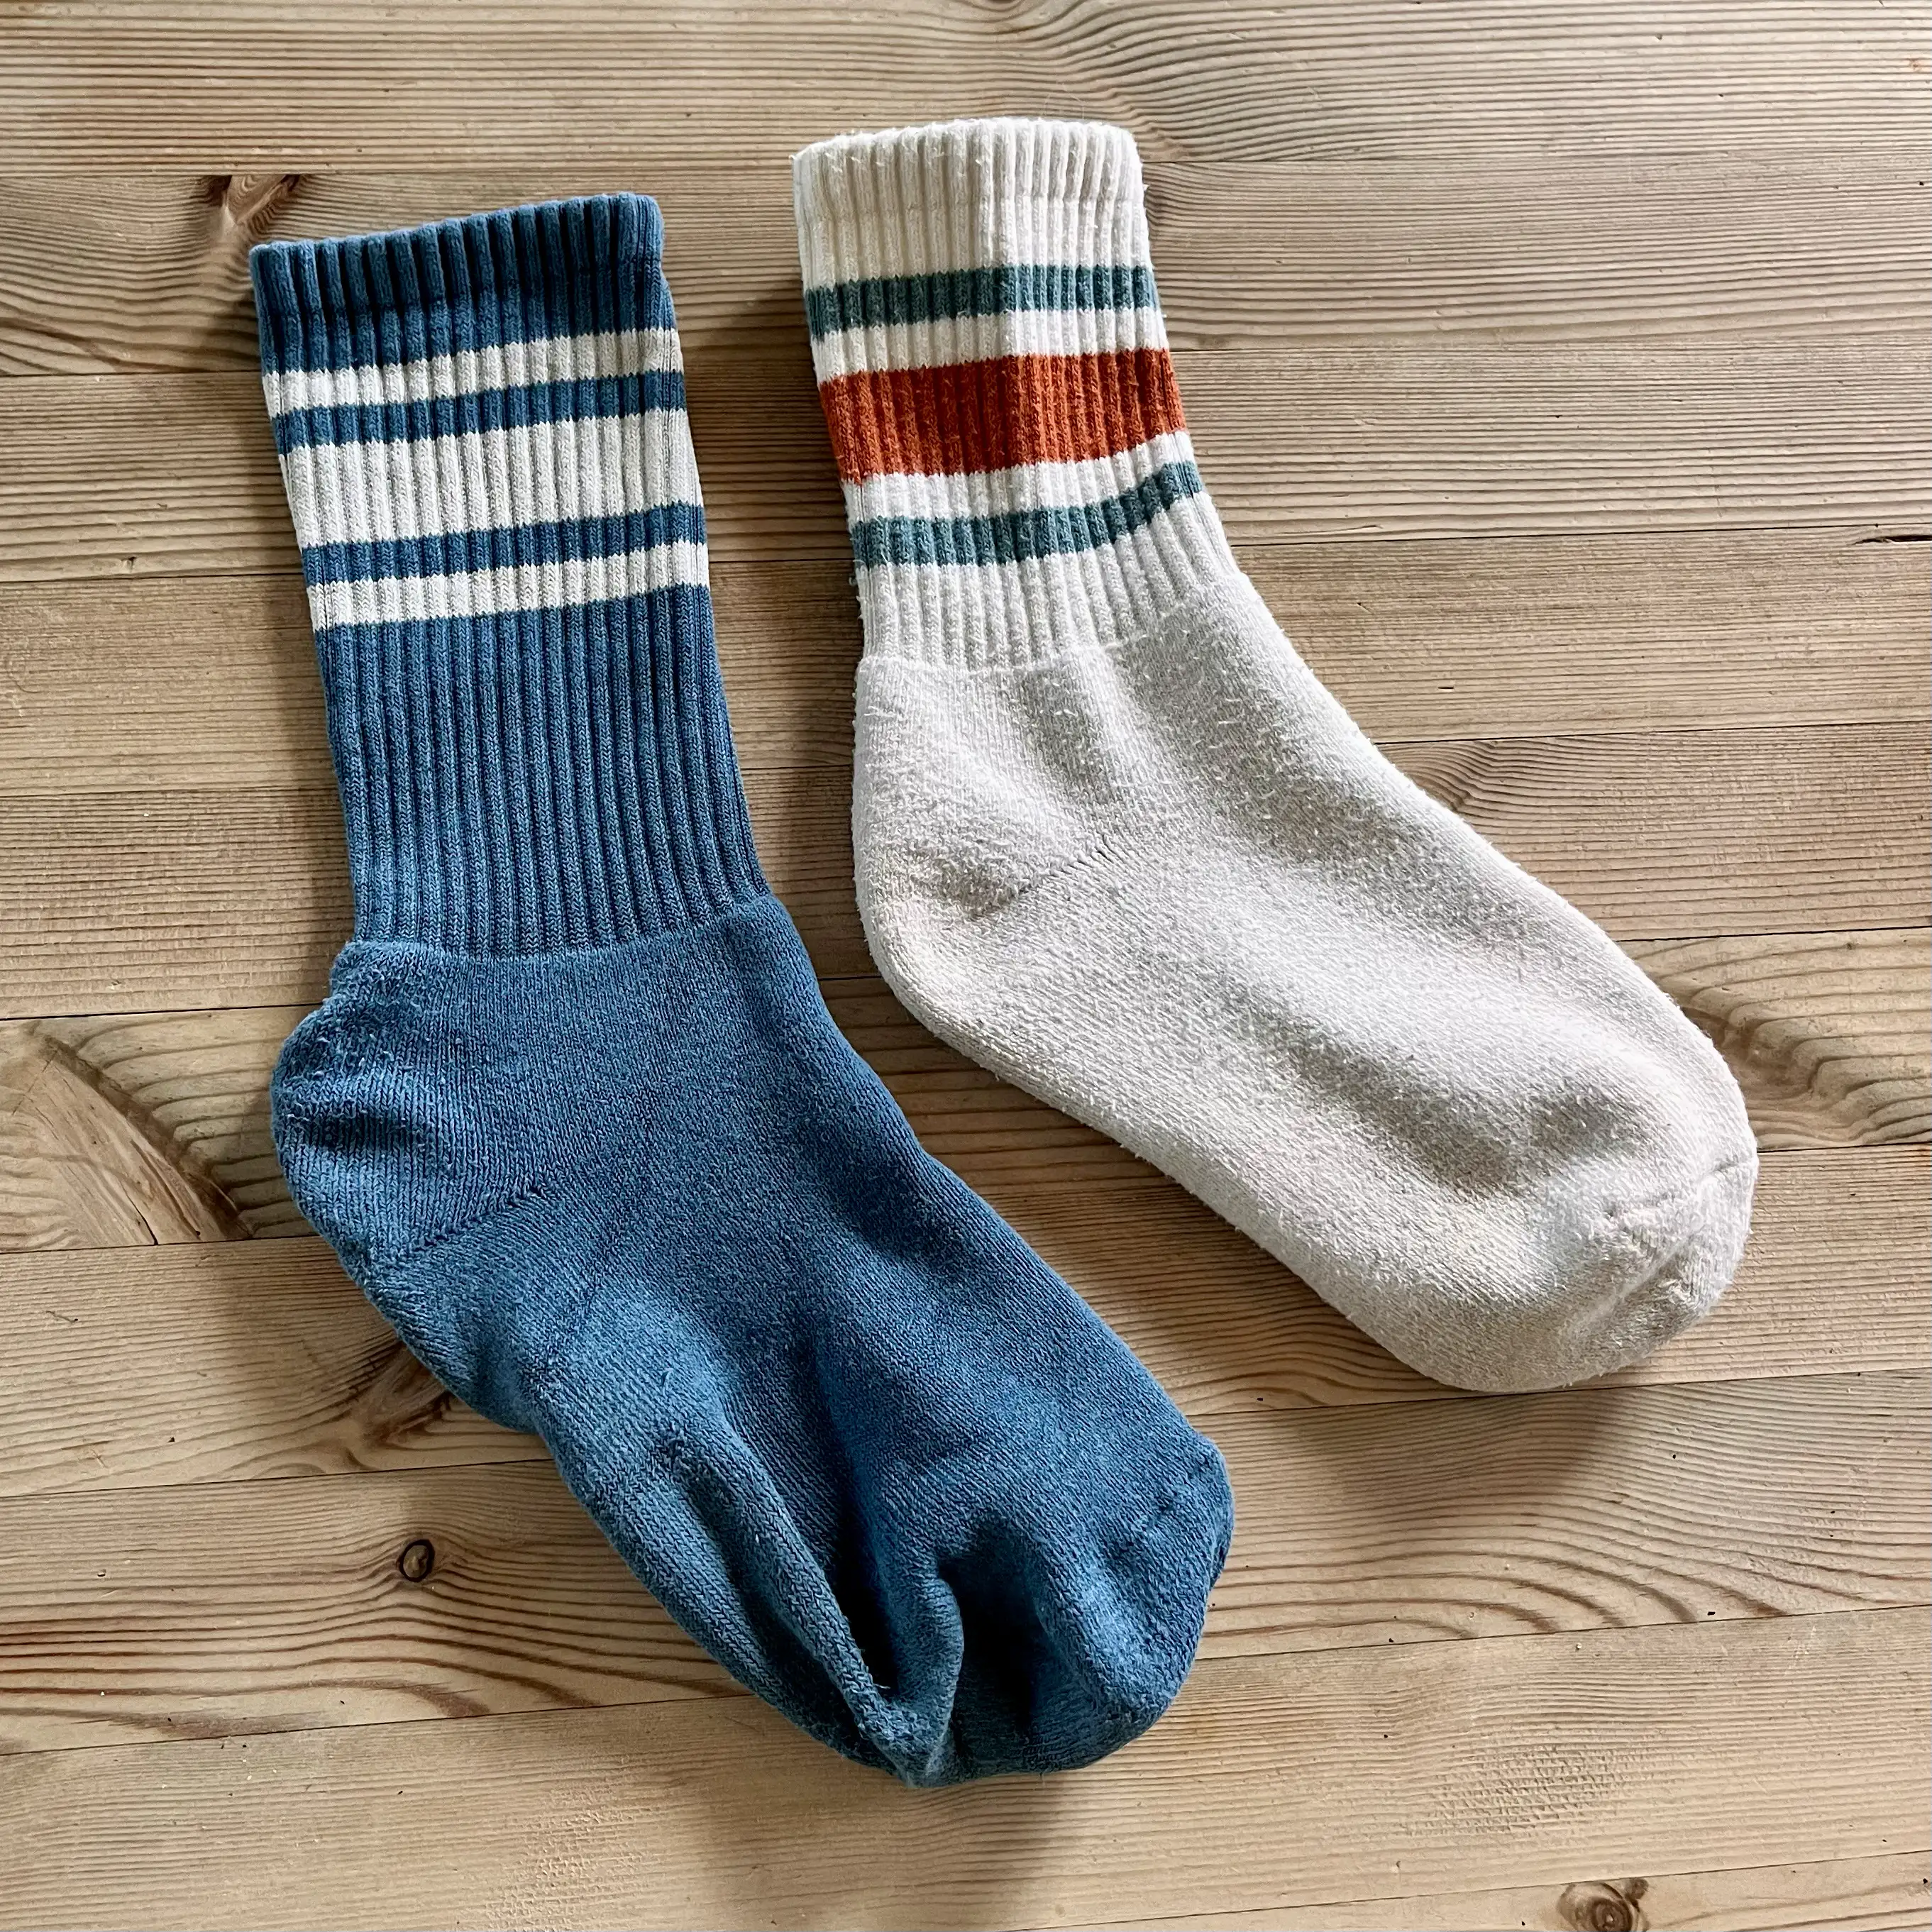
One example would be the socks in the image above, which I promise I’ll get to. But here are some more examples, from one of my favourite stores:
I’m thinking things like simple jeans from Sugar Cane, T-shirts from Warehouse, hoodies from Whitesville, wool garments from Heimat, and canvas sneakers from Moonstar. Completely normal stuff, just made really well.
And I know that these things are much pricier than what most people buy. And I genuinely understand that things like that aren’t accessible to everyone — and that’s fine. But if you are able to afford it, I do I think it’s a good idea for more people to own fewer, but better, things. It’s better for the environment, and better in terms of ethics and the well-being of workers. However, I also think there is great personal value in having items you really treasure. Things that stick with you, and that you bother repairing.
Examples from my own wardrobe:


The best cotton socks I’ve found
Quick Recommendation #12: UFO 50
Modern Retro Gaming Masterpiece
Imagine if someone, especially someone who likes retro gaming, told you: «What’s the NES? I’ve never heard of it, or played any of the games.» And then imagine you could tell them they could buy the 50 best games for just €25. What a treat they’d be in store for! Dusting off old classics, and exploring a treasure trove of retro gaming they haven’t seen before…
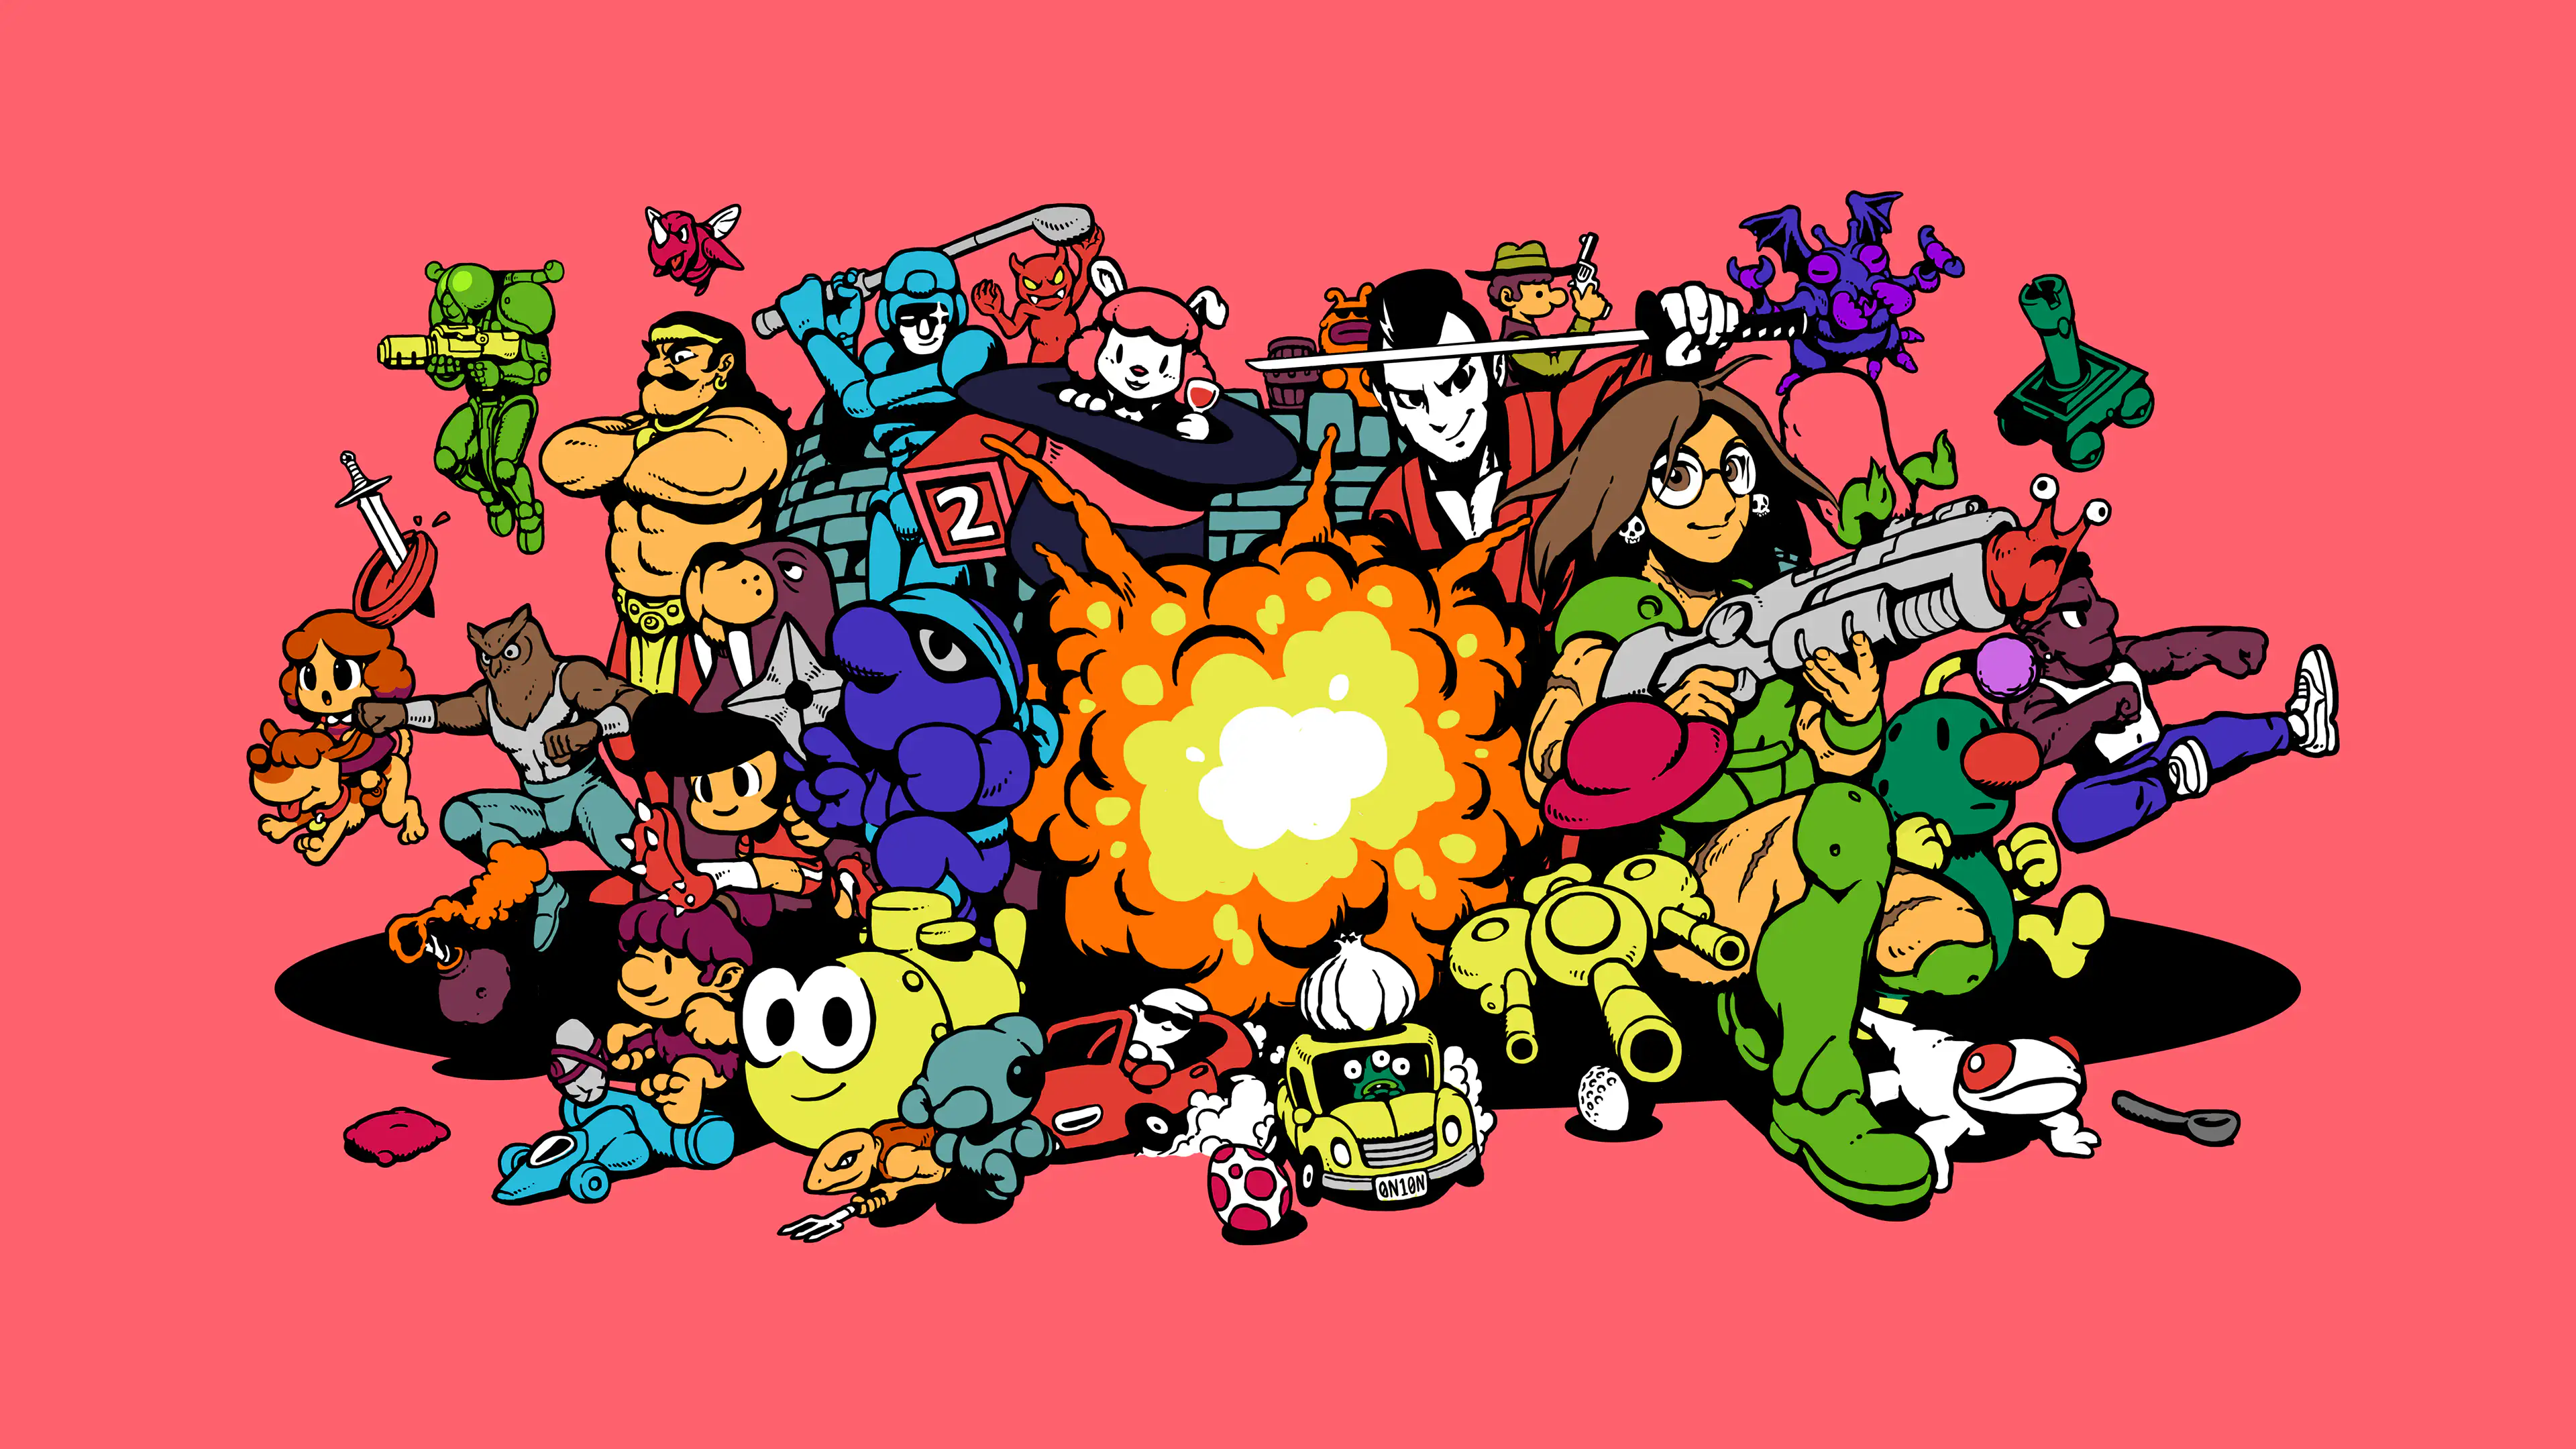
Cue UFO 50
If you told me about this game/project, available for Steam1 and Switch, I would brush off as too ambitious to ever become a reality. However, it’s actually done, and here today!
A group of indie devs went together and created a fictional developer, called UFO Soft. The story is that this “company” released a bunch of games for their consoles, LX-I, LX-II, and LX-III, between 1982 and 1989. And you’ve just discovered 50 games, spread across the lifespan of the company, that you can play in any order you’d like.
UFO 50 is a collection of 50 single and multiplayer games from the creators of Spelunky, Downwell, Air Land & Sea, Skorpulac, Catacomb Kids, and Madhouse. Jump in and explore a variety of genres, from platformers and shoot ‘em ups to puzzle games and RPGs.
— From the game’s website
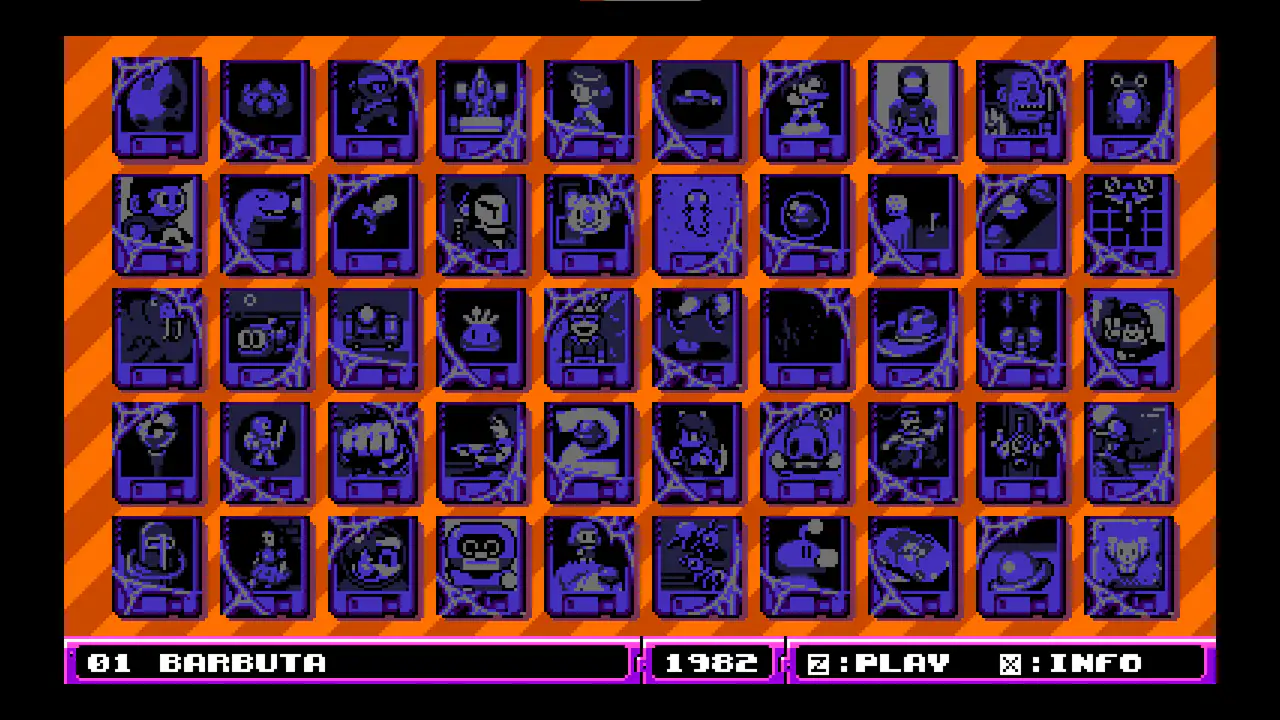
The game menu starts out like this. 👆🏻 The games are sorted from oldest (Barbuta, 1982 — currently selected) to newest. When you click the game, you dust it off, and start it up. And here’s the thing: These are full games!
My Compact Stereo Bass Pedalboard
On the side, I do a bit of pedalboard building. And finally, I’m done with my own board — so I wanted to present it here! I’ll also go into all the pedals and why I chose them.
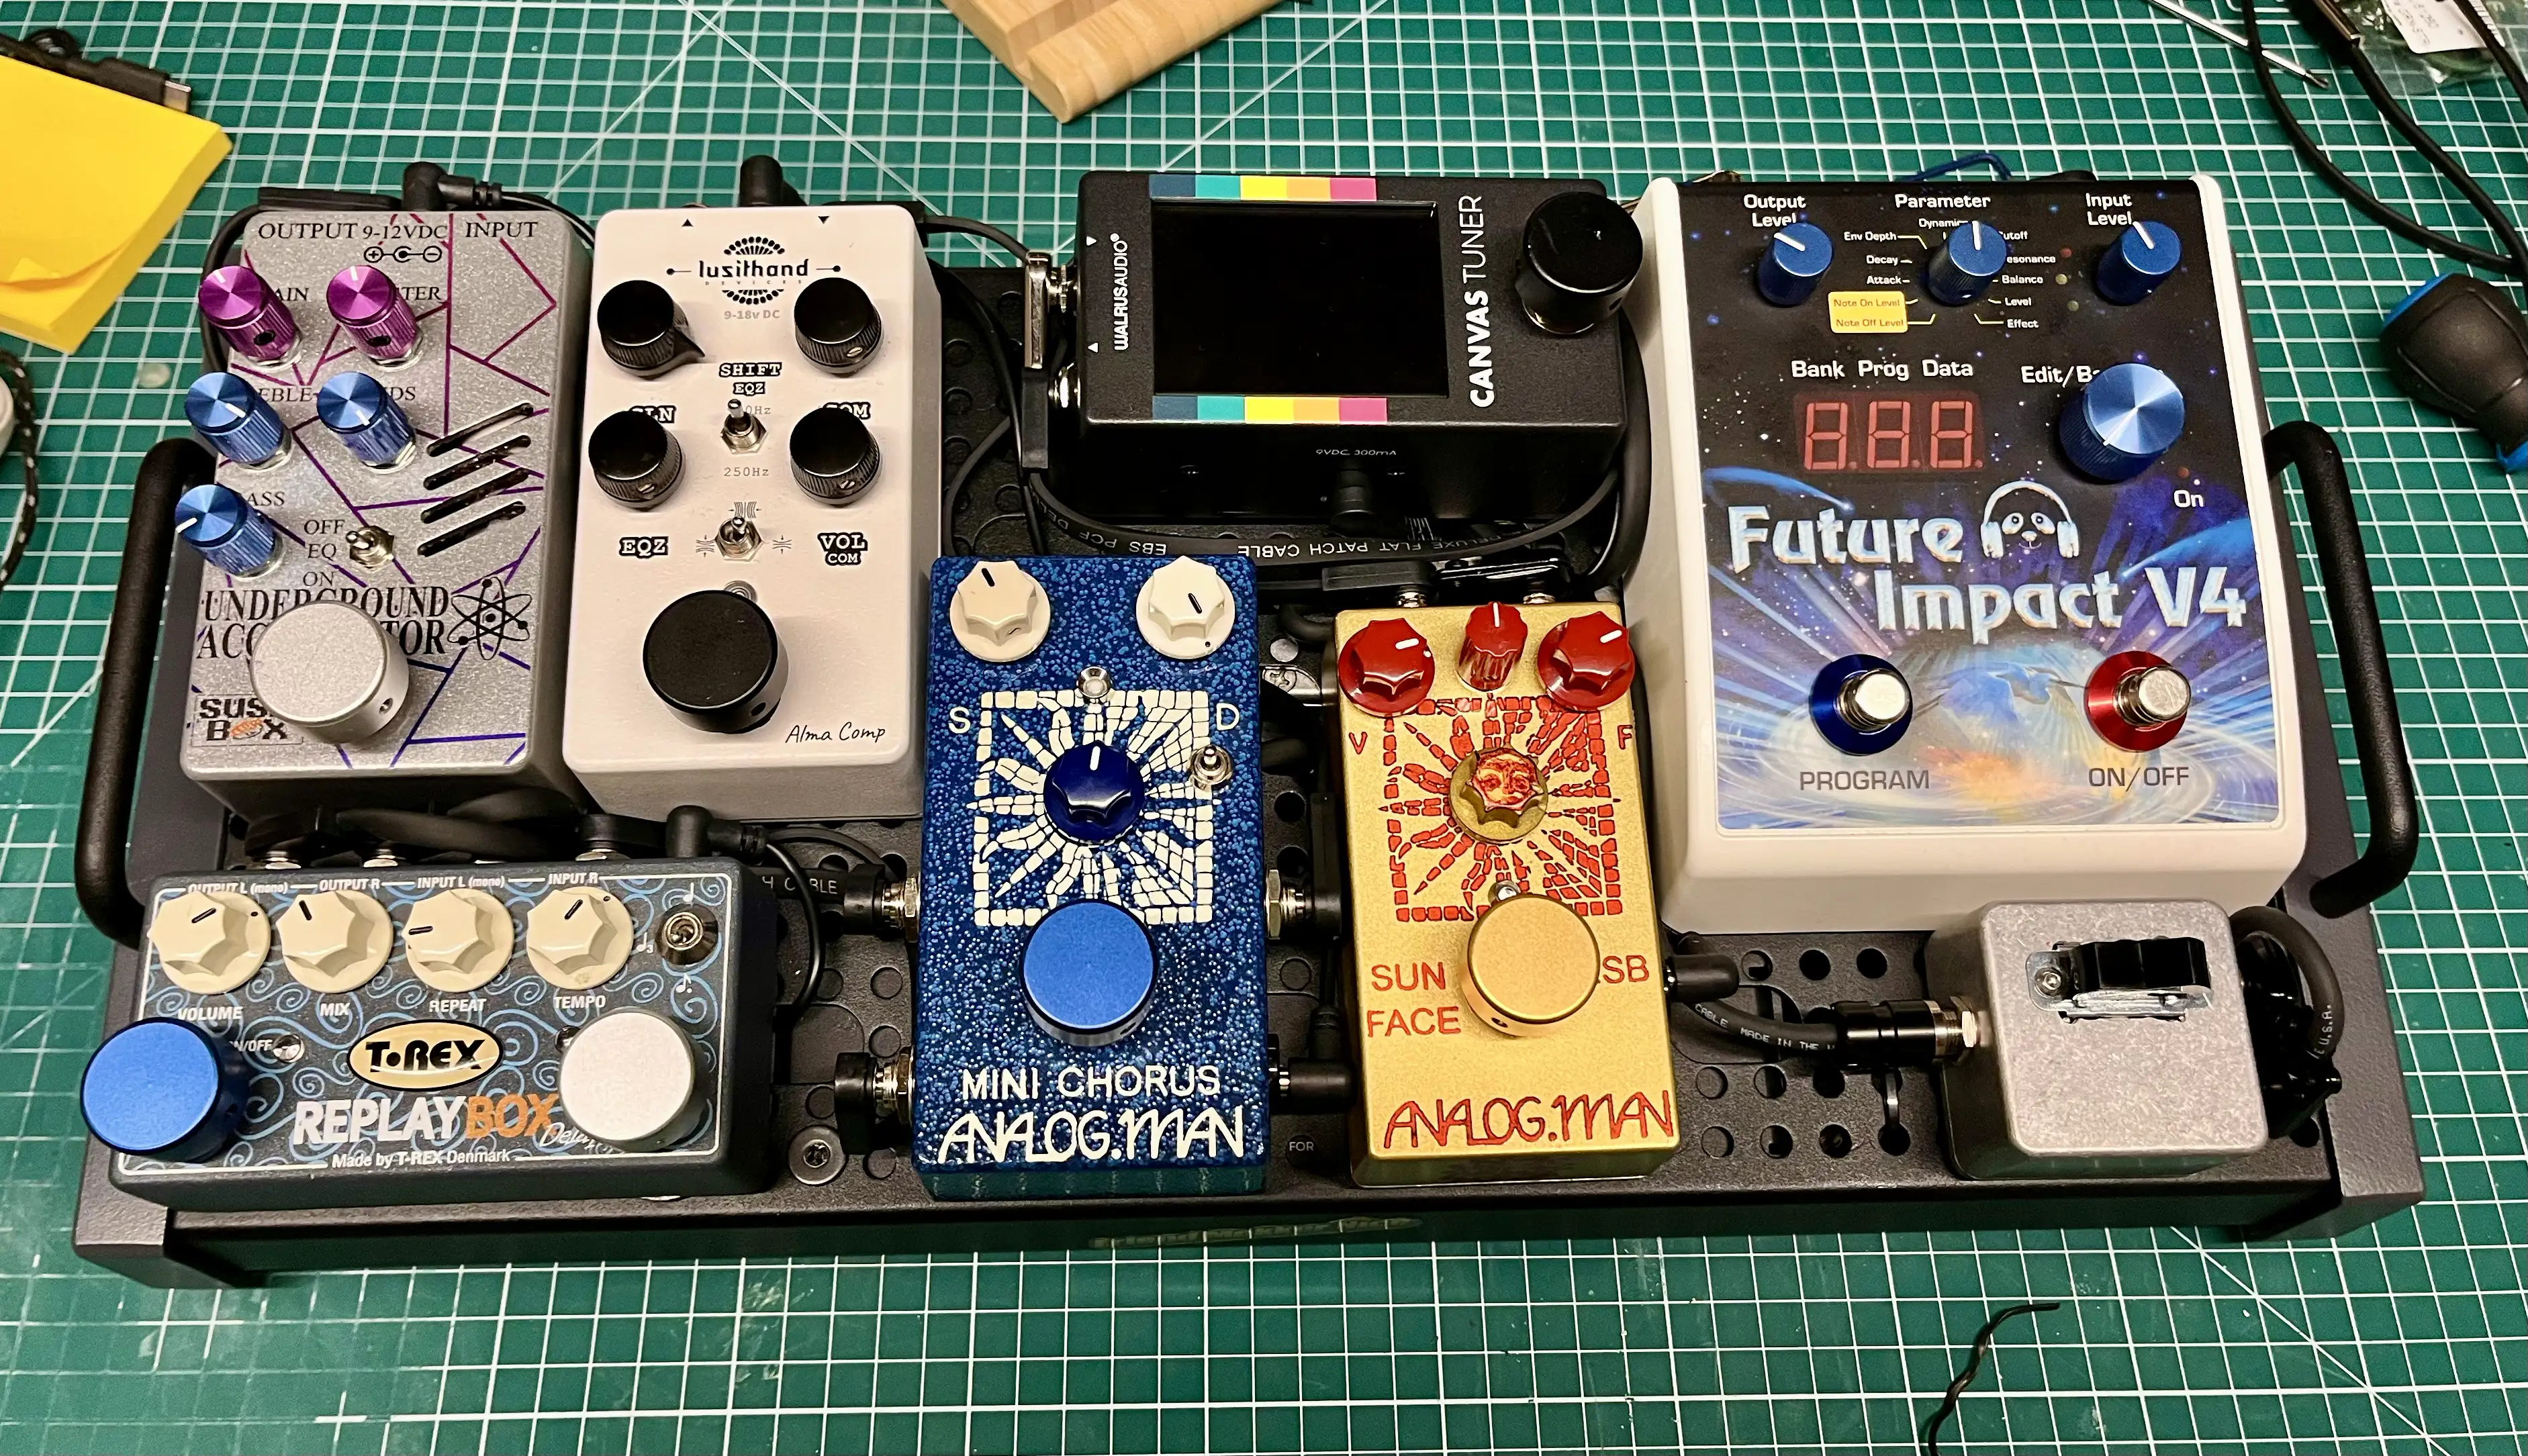
Board and I/O
The board itself is the smallest size made by Temple Audio.
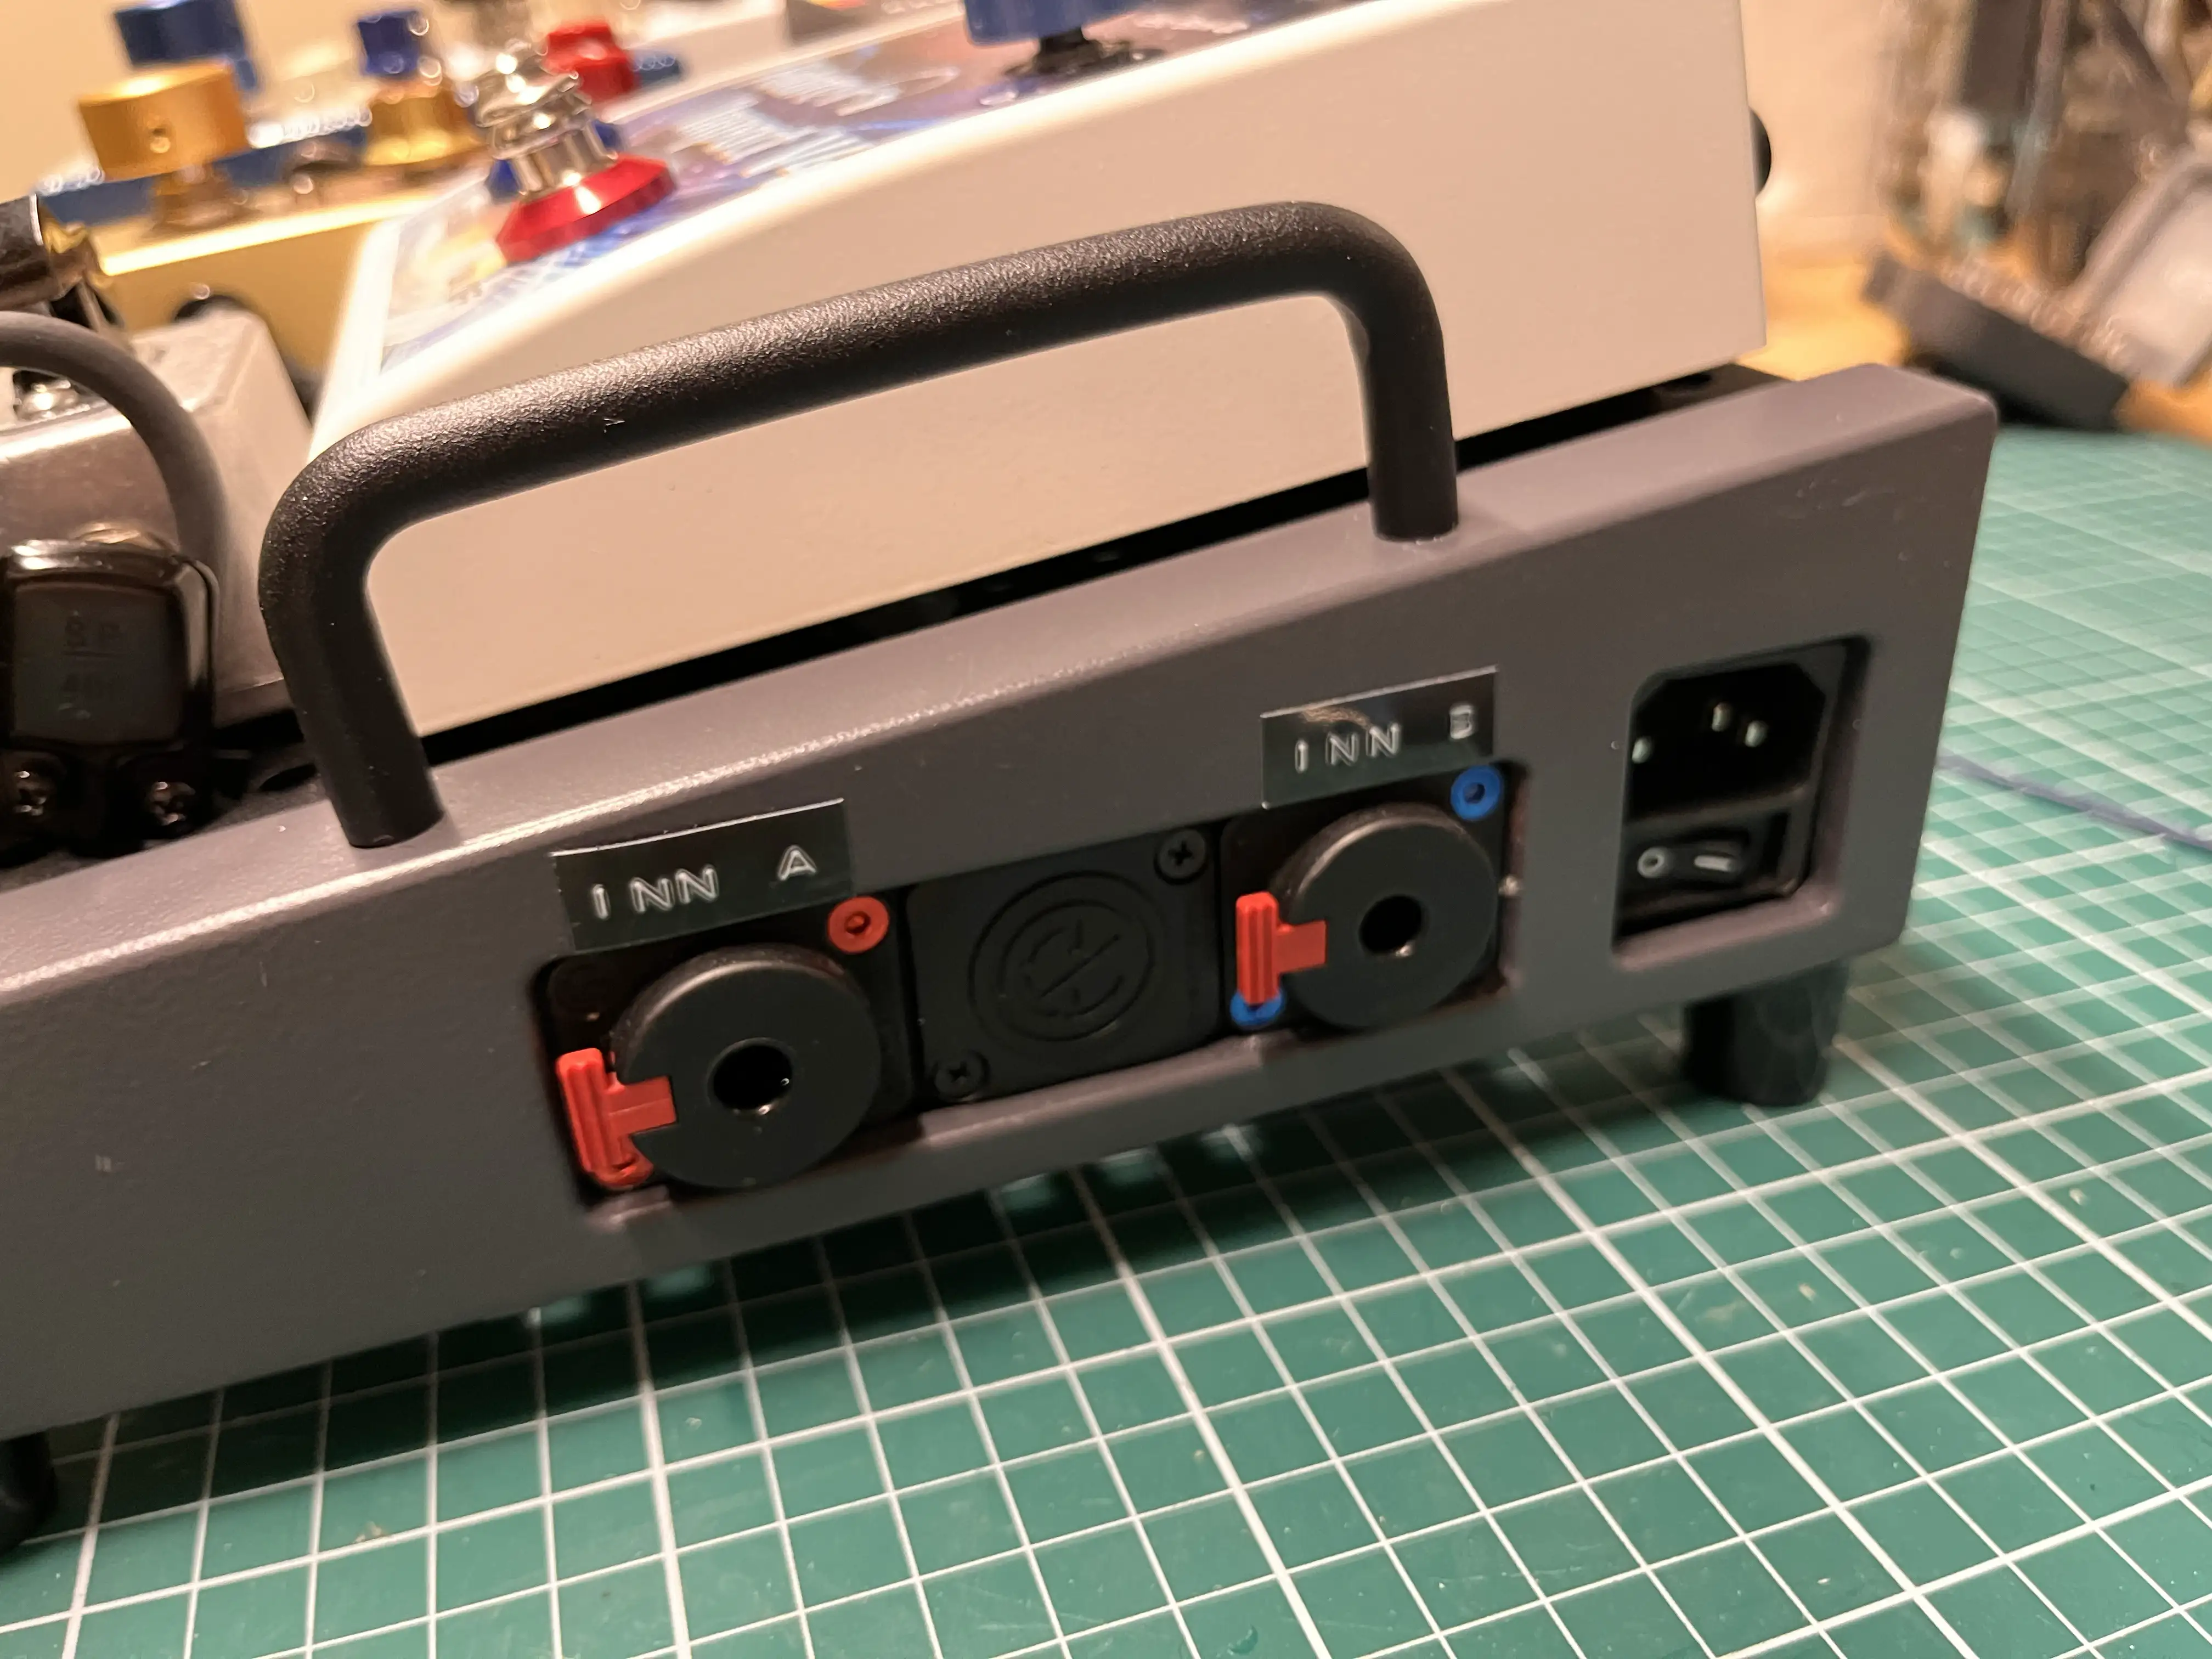
On the right side of the board, I can plug in power for all the pedals and Input A and B. I play with two basses live: My 1961 Fender P-Bass and Fender Japan Fretless Jazz Bass — and having them both plugged in is nice.
The power supply is the Canvas Power 8 🖇️ from Walrus Audio, which I’ll show when I get to the underside of the board.
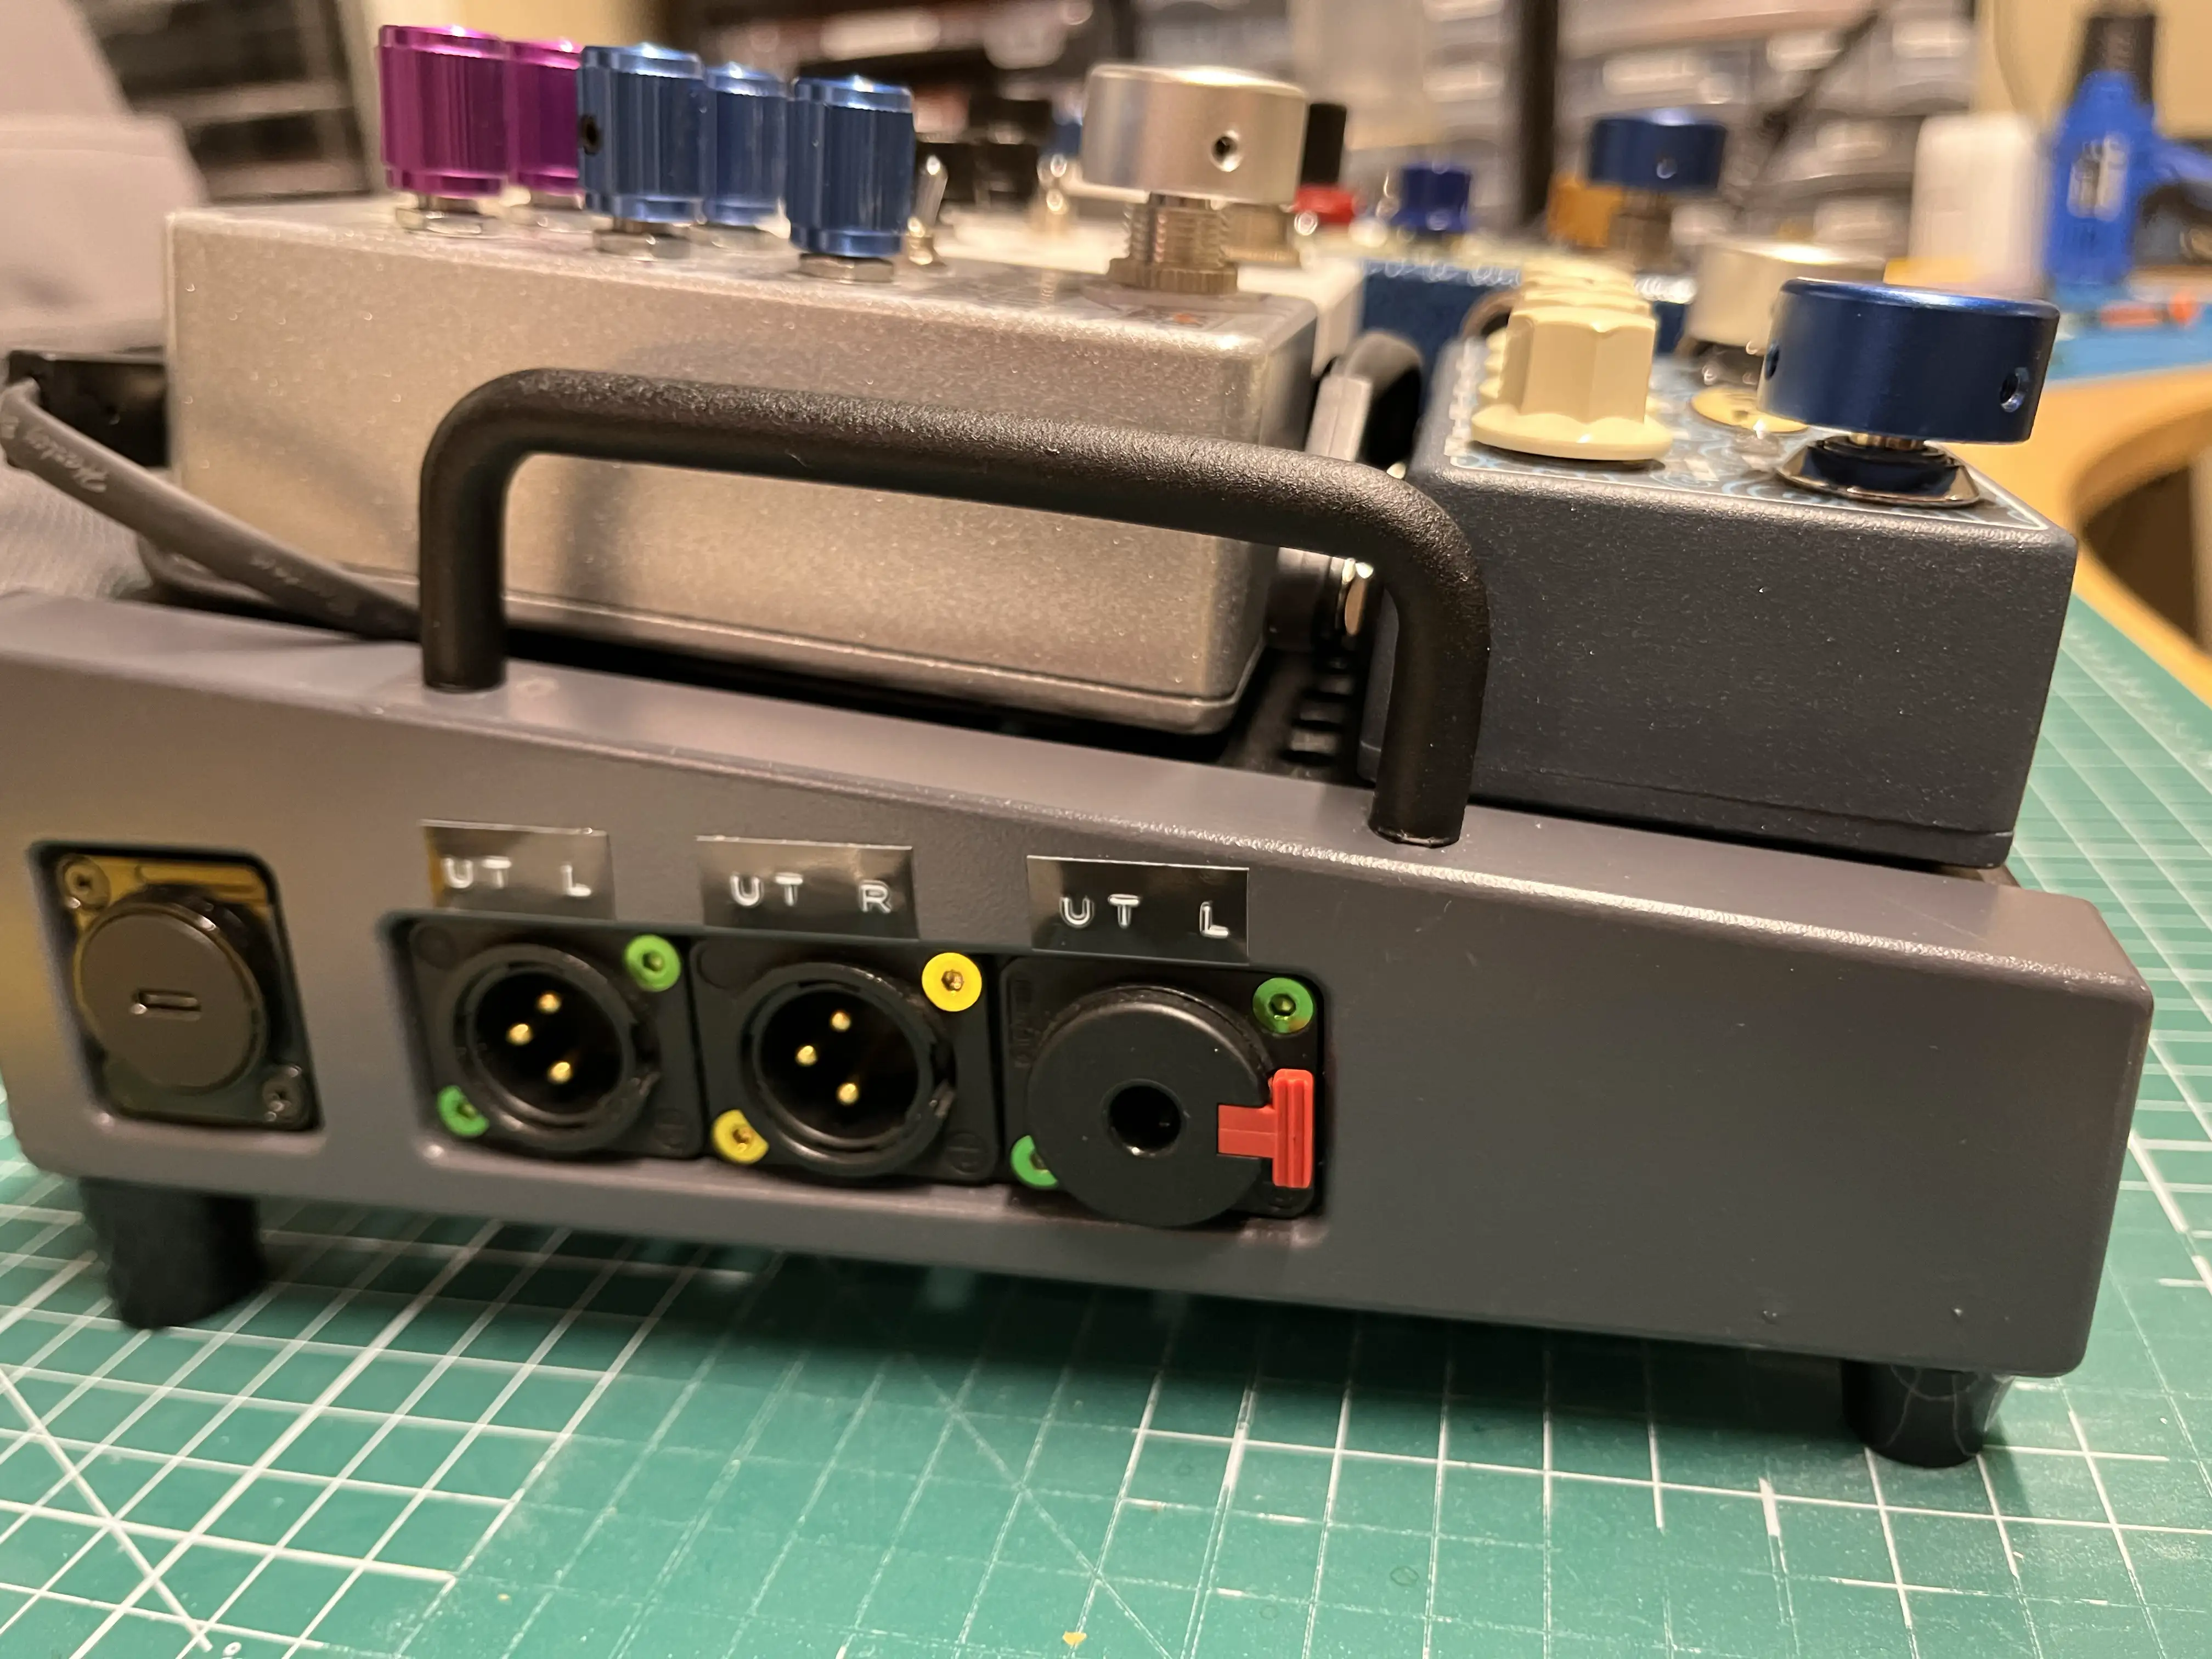
The left side has a USB-C charging port, forwarded from the Canvas supply, balanced stereo out (the two XLRs), and a jack output from the left channel.
«Wait, stereo for bass??»
I only have two stereo effects: Chorus and delay. But I think it’s really cool! Lately, my «sound» has gone on to always involve some saturation (usually fuzz and/or a cranked preamp) and chorus. Here’s a little taste of the sound (isolated bass), from a demo my band is working on.
So, that’s why I send a stereo signal (with the XLRs) to front-of-house. However, I’ll never bother with two amps — so that’s why there’s only one jack output. My DI does have the option to sum the left and right channel, but that doesn’t work with my chorus. So what I do is that I just send Left to the amp, and then asks for the Right channel in my monitor.
The signal chain
Quick Recommendation #11: StarCraft 2 (Video Game)
When Blizzard Was the Best in the Business
Growing up, I played a lot of the original StarCraft. (Even more than Broodwar.) So I was obviously hyped when StarCraft 2 launched 12 years later, in 2010.
This was back when Blizzard Entertainment only made great games (even though I’ve never been into Word of Warcraft), and hadn’t discovered microtransactions and undercooked remasters. I both played through the campaign and was mediocre on the ranked ladder,1 and it was great!
Even though the game is 13 years old, there’s still an active pro scene and community. And recently, the YouTube algorithm decided to serve me a really charming channel: WinterStarcraft. His bread-and-butter is him casting pro matches, and I just love it. (To actually give the videos a chance to reach new viewers, the titles and thumbnails are really click-bait-y. But the content is good!)
For a place to start, I can recommend this video and match. (The third game is especially great.)
I highly recommend playing the Starcraft 2 campaign in 2025.
The game went free-to-play, via Battle.net, in 2017 – and this also includes the first part of the campaign: Wings of Liberty. That’s 20+ hours of gameplay right there – and if you’d like, you can then pay to unlock the rest of the single player content (Heart of the Swarm and Legacy of the Void + Nova Covert Ops). This is also included in Xbox Game Pass.
Even though real-time strategy can be a bit daunting, the Starcraft 2 campaign is really accessible. It teaches you the game in a great way, feeds you mechanics bit-by-bit, and has a lot of challenge adjustability with difficulty levels and optional objectives. I just really like the world and story. (The Zerg, admittedly quite inspired by Xenomorphs, are some of the coolest things created.) And the game is just so polished.
This was also when Blizzard ported their games to Mac.
So even though it isn’t very optimised for Apple Silicon, it still works great on my M1 Pro. However, I did have an issue with the sound – but it’s fixable:
For some reason, the sound output would crackle if the microphone is active.2 However, barring StarCraft 2 access to the microphone, through Privacy and Security in System Settings, fixed it. (I also have to close SoundSource.)
GL HF!
Quick Recommendation #10: Hemispheric Views (Podcast)
Episode 137 Is the Perfect Place to Get Into the Most Charming Tech Podcast
Some reasons why Hemispheric Views is one of my favourite tech podcasts:
I can recommend last week’s episode, 137: I Had a Pi in the Drawer, as a good place to start! It’s both accessible and gives a good impression of the show. And as I’m a bit late to posting this, you’ll then also have this week’s episode ready if you want another one immediately.
I also recommend following the hosts:
Quick Recommendation #9: Niléane
Just a Really Cool Woman
In this instalment of Quick Remmondations, I’m going to recommend a person in general!
While listening to the last few episodes of one of my favourite tech podcasts, Comfort Zone, a thought has been growing in me: “I think Niléane might be one of my favourite people online!” (I do like both Matt and Chris as well, to be clear. 🫶🏻)
She’s French-Réunionnese – and in addition to the podcast, she, among other things, writes for MacStories, creates a great theme for Mastodon called TangerineUI, and is the president of Toutes des Femmes.
Recently, she wrote a great post, called Are Pride Wallpapers and a Watch Band Enough in 2025?, and that pushed me over the edge to write this recommendation. (I also really liked this follow-up post by Matt. 👌🏻)

Why I think she’s a treasure for the community:
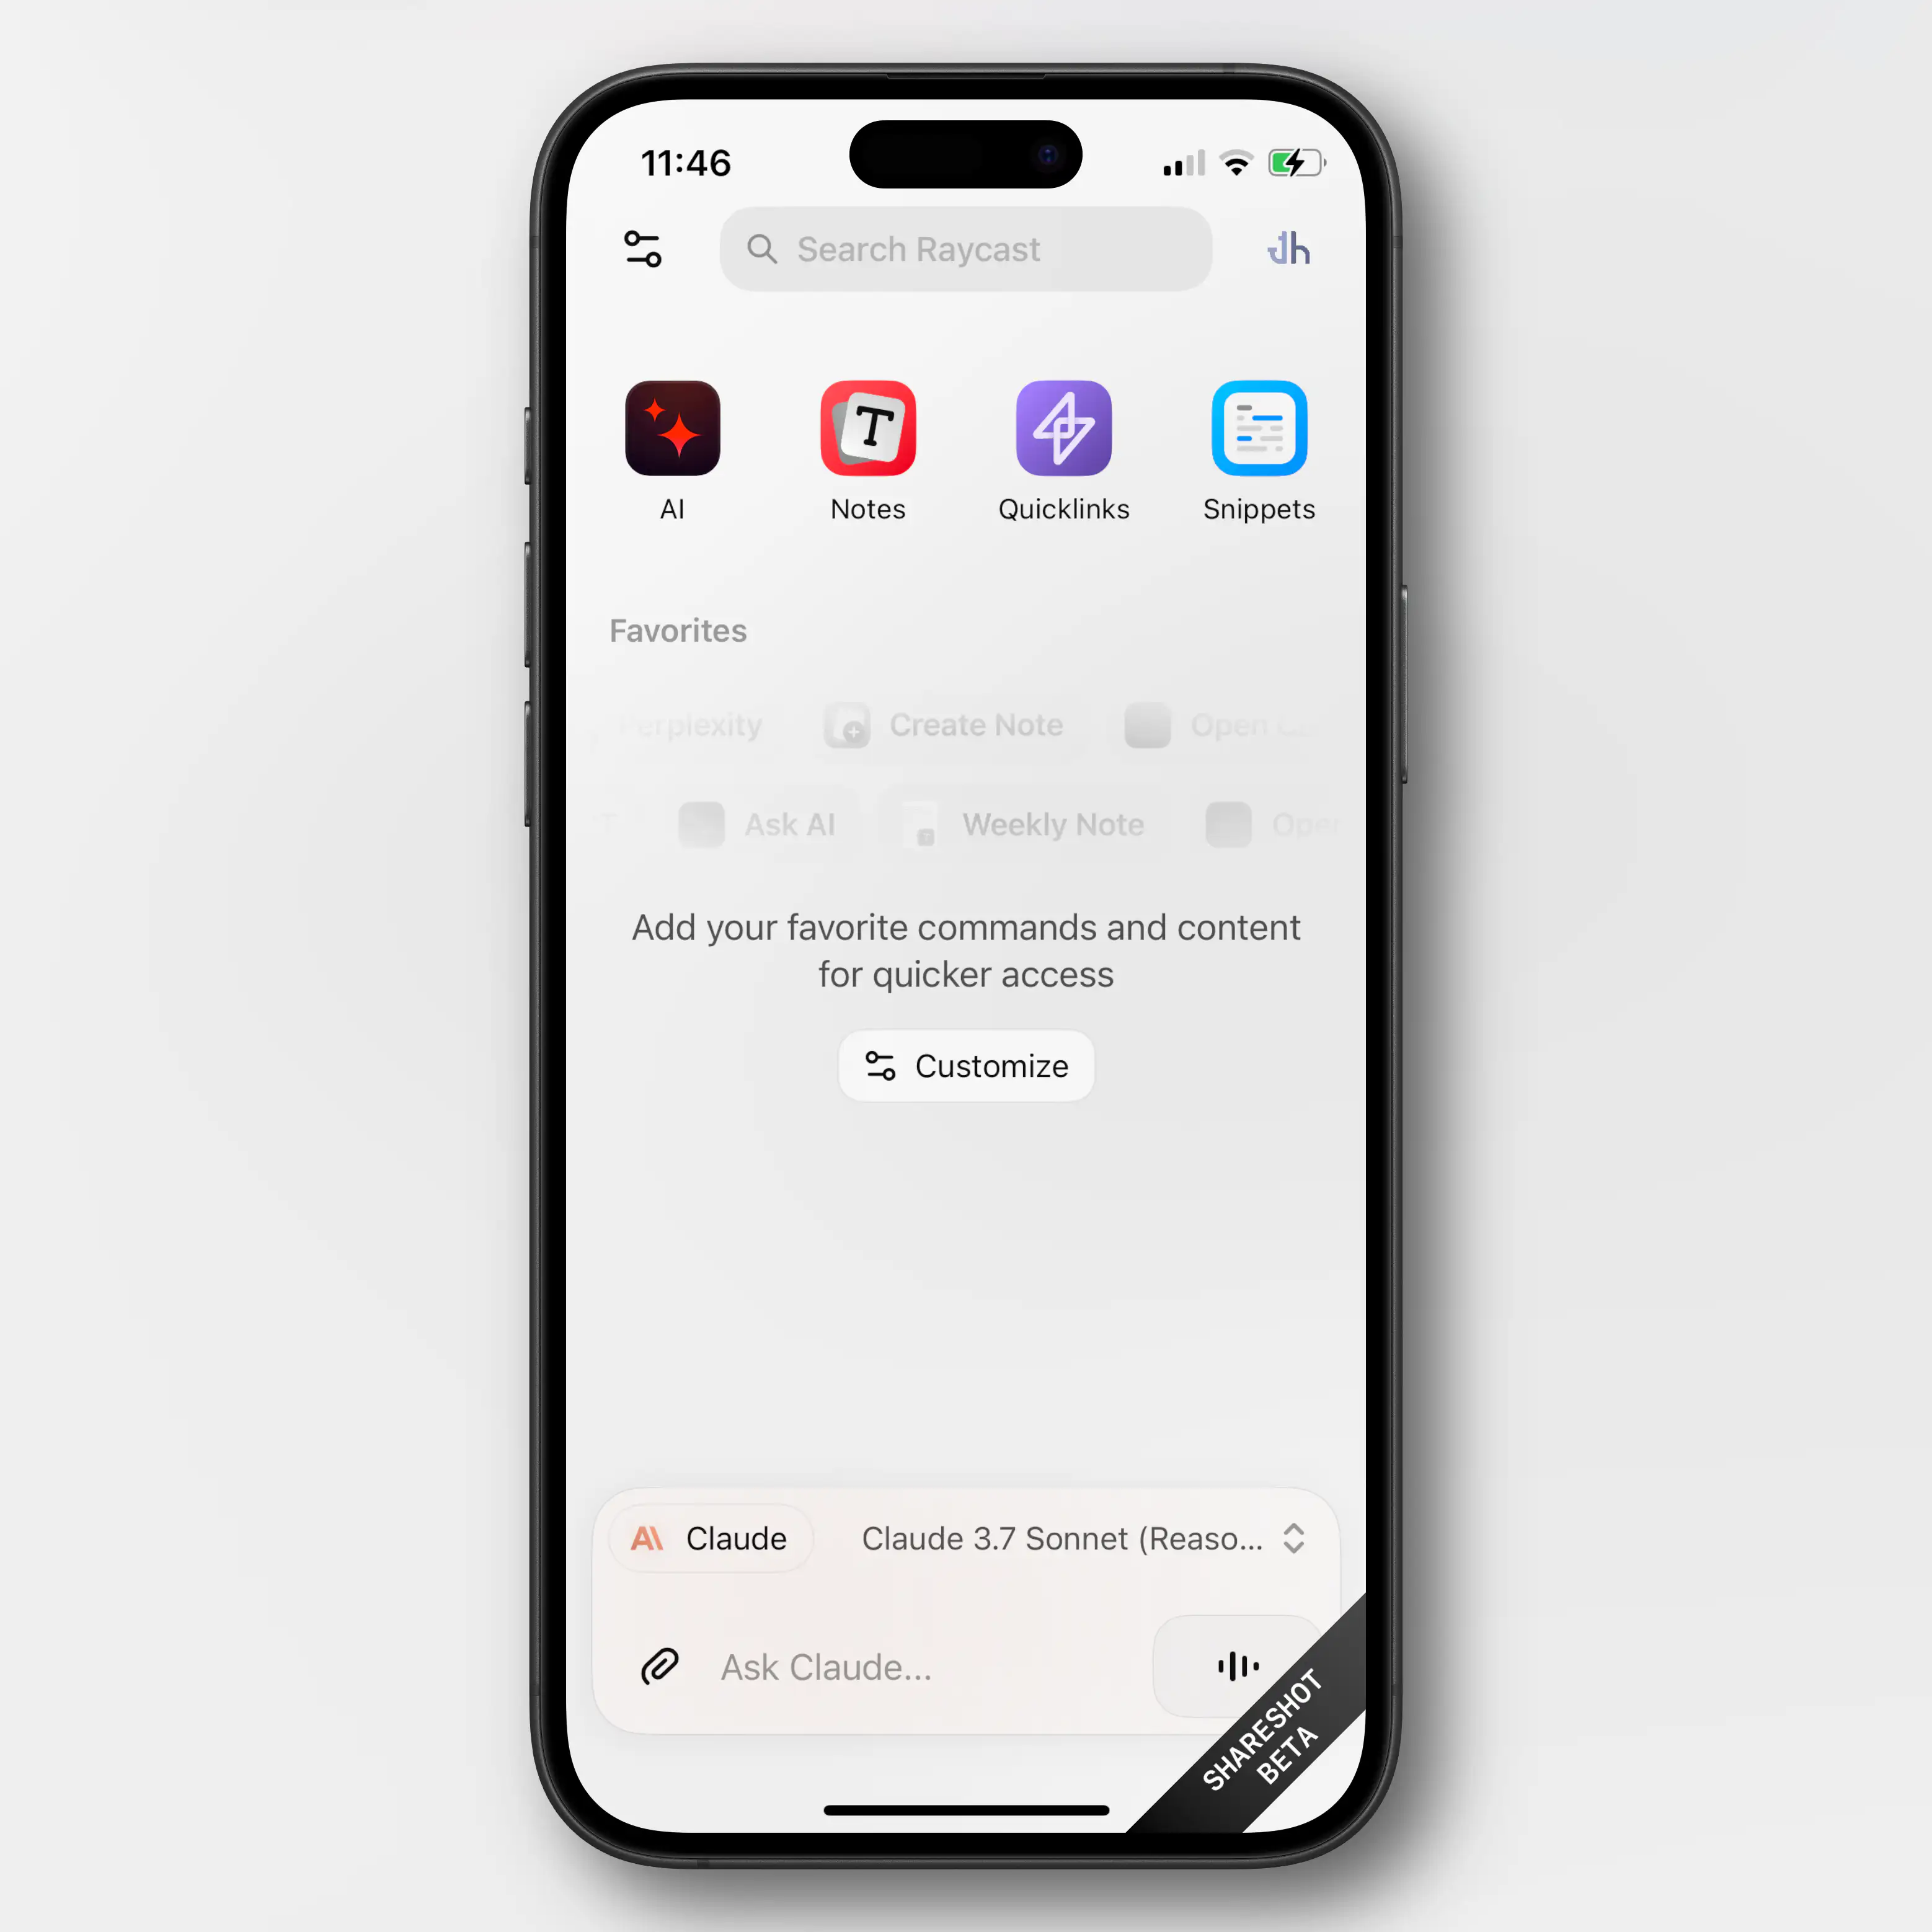
Raycast for iOS Is Out
A Companion to My Favourite Mac Launcher
Raycast 🖇️ is one of my favourite parts about using a Mac. It’s a great launcher, that I also use for snippets, window management, searching, setting a bunch of hotkeys (like for shortcuts), and more. It’s also my main window to AI tools, and the only AI subscription I have.
I’m working on a full post on how I use Raycast – but now I just wanted to share that the iOS version is out.
Obviously, very limited (thanks Apple)
Most of what Raycast does on the Mac is, obviously, not even close to allowed on iOS. So this new app is mostly just a companion for the Mac app.
Raycast did a large overhaul of their notes feature in november – and if you’re a user of this (which I’m not) having access to them on mobile is nice.
You also get access to your snippets and “quick links” (which I don’t use either).
But the thing I’ll use the iOS app for, is access to my AI chats. Not only does it sync the conversations from the Mac, I’ll also be able to use all the premium models I’m paying for. This greatly increases the value of my Raycast subscription.
As I don’t pay directly to any AI vendor, I’ve been using only free options on mobile. I don’t use AI chat that much, and even less on mobile, so I’ve been content enough with Mistral’s Le Chat.1 But having access to all of Raycast is a large upgrade here.
I Had to Expand the External Storage on My Secondary Mac Mini
I first wrote about this Mac and its setup here — and then I have an update here. However, quite quickly, I learned that the 2 TB of storage I had purchased wasn’t enough.
The main culprit is Time Machine — and while I could probably do something to minimise the usage, backing up my wife’s MacBook Air (512 GB) and my MacBook Pro (512 GB) currently takes up about 1.1 TB.
I was considering upgrading the internal storage on the Mac, as more and more options for this gets released. However, none of my use-cases for storage benefits from being internal — so I did something else.
New hardware
So, I previously only had a 2 TB SSD 🖇️ in a Satechi Thunderbolt enclosure 🖇️. And here’s what I did:
✉️ How, and Why, I Use Micro.blog
A friend of mine, Simen (who has a nice, Norwegian blog), asked me about Micro.blog. That’s where this blog is hosted, and is also a social medium of sorts.
His questions
First, I want to give quick answers to the questions he had – and then go into more detail on how I’ve set things up.
1) “Which tier do you use, and why?"
Micro.blog has several tiers:
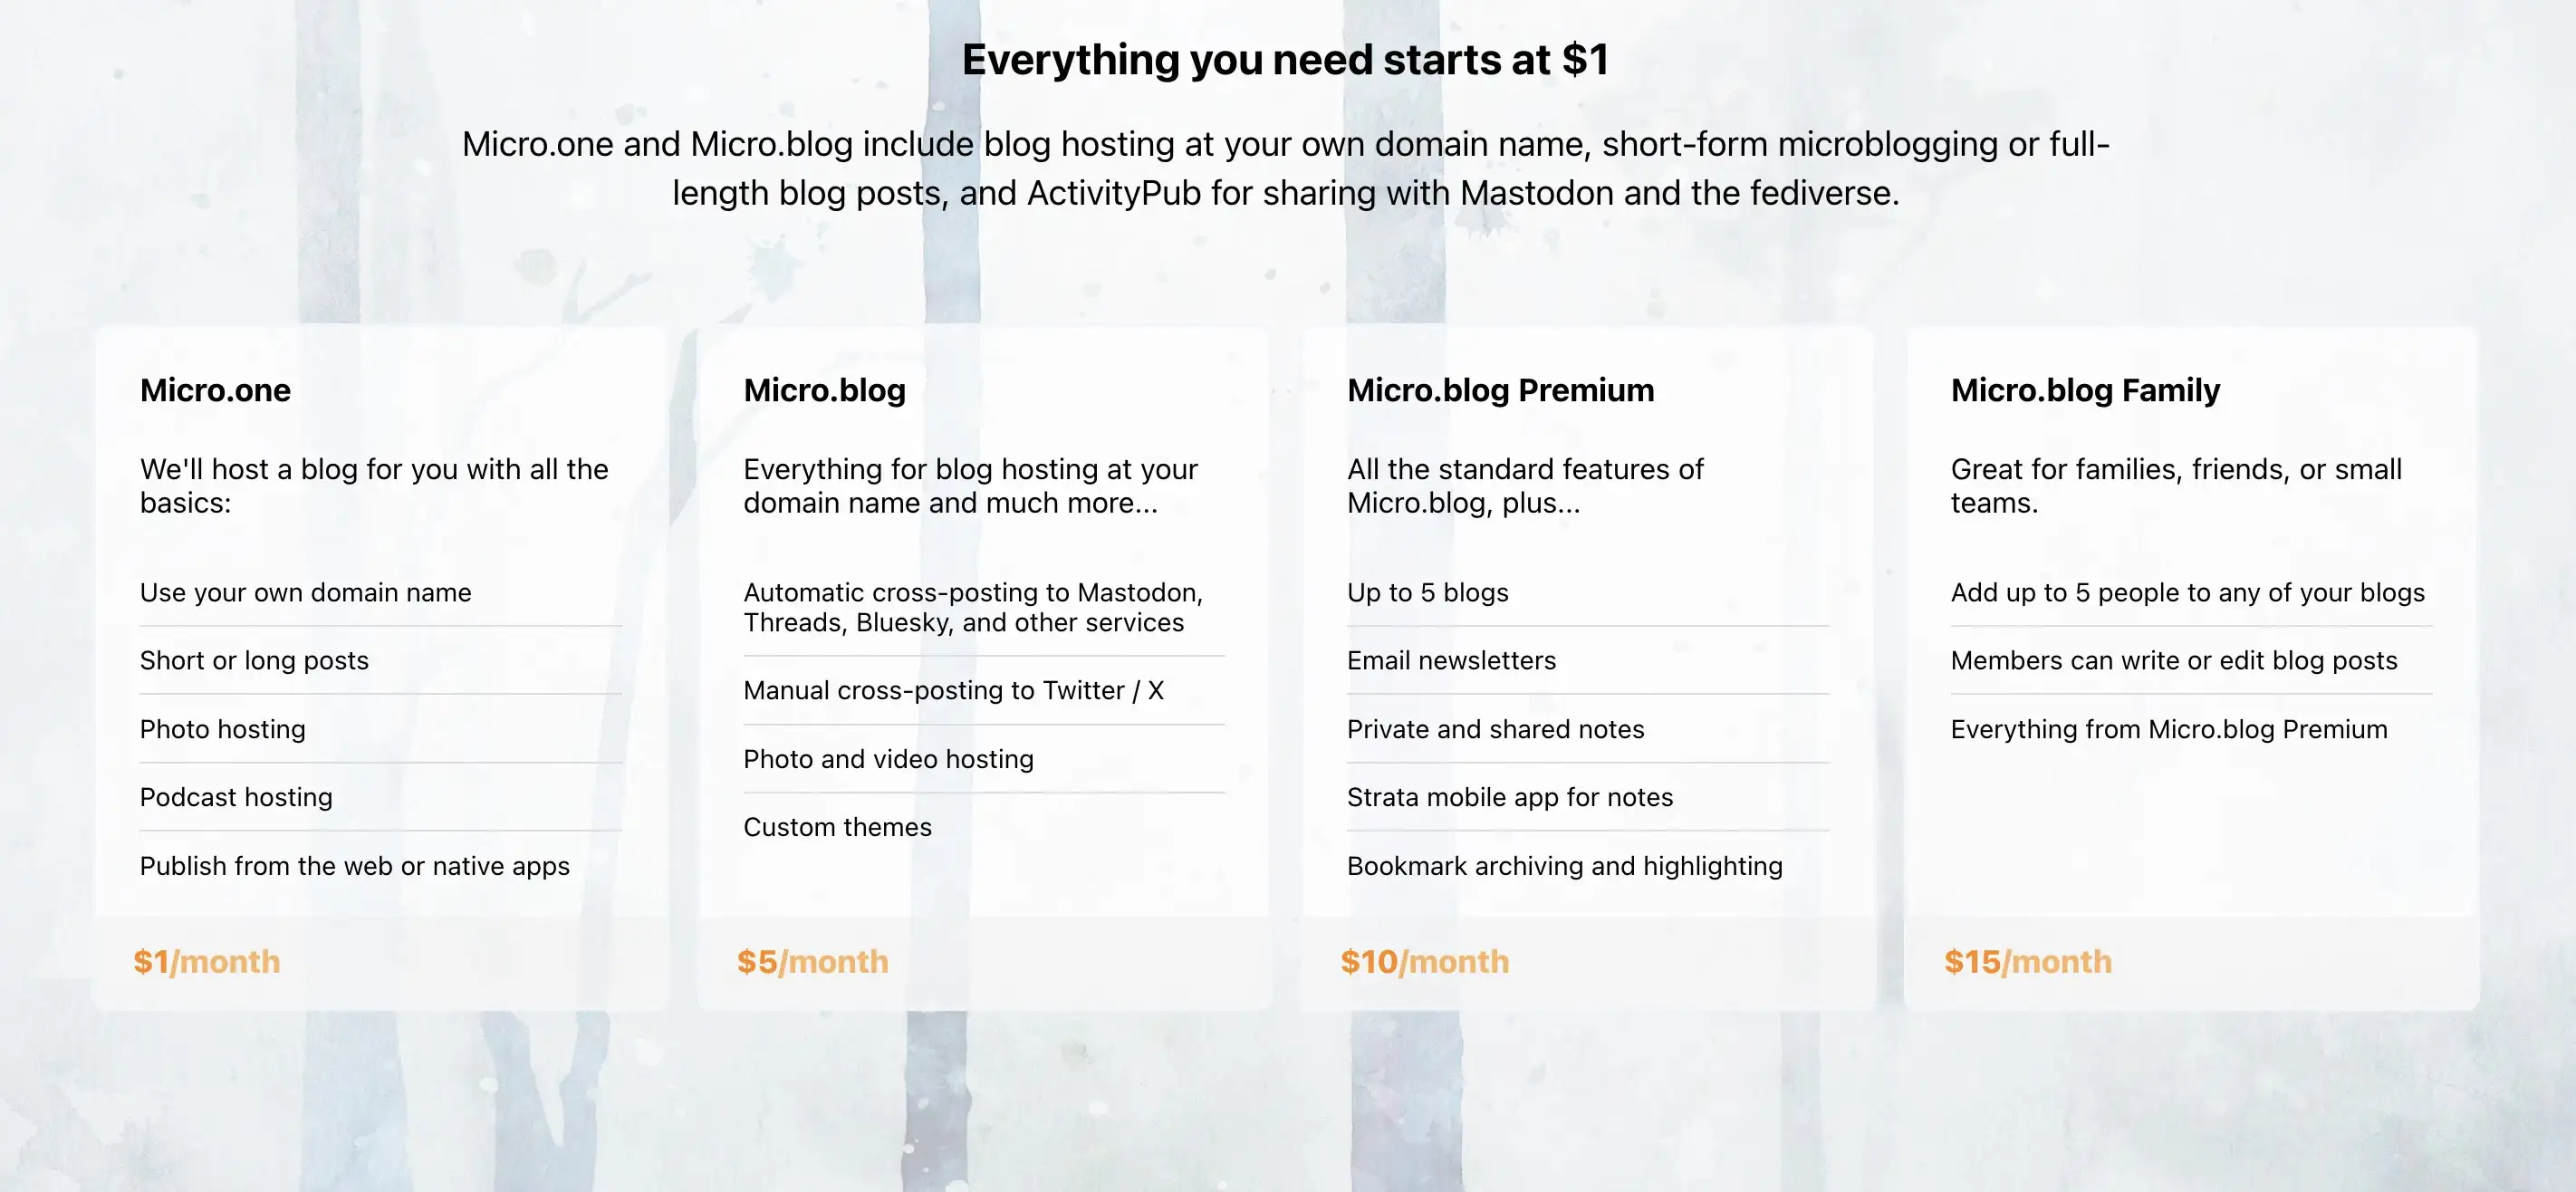
When I signed up, they only had the $5/month and $10/month plans. And I don’t quite remember what made me require the Premium plan – but things has been restructured now, so I could probably make do with one plan lower. If my friend wants to move to Micro.blog, we could go for a Family plan. 🫶🏻
I don’t find any value in things like notes and bookmarking, as I’d much rather use dedicated tools for this. I also don’t really use the newsletter feature – so I can’t really comment on that.
2) “Which features do you appreciate the most?"
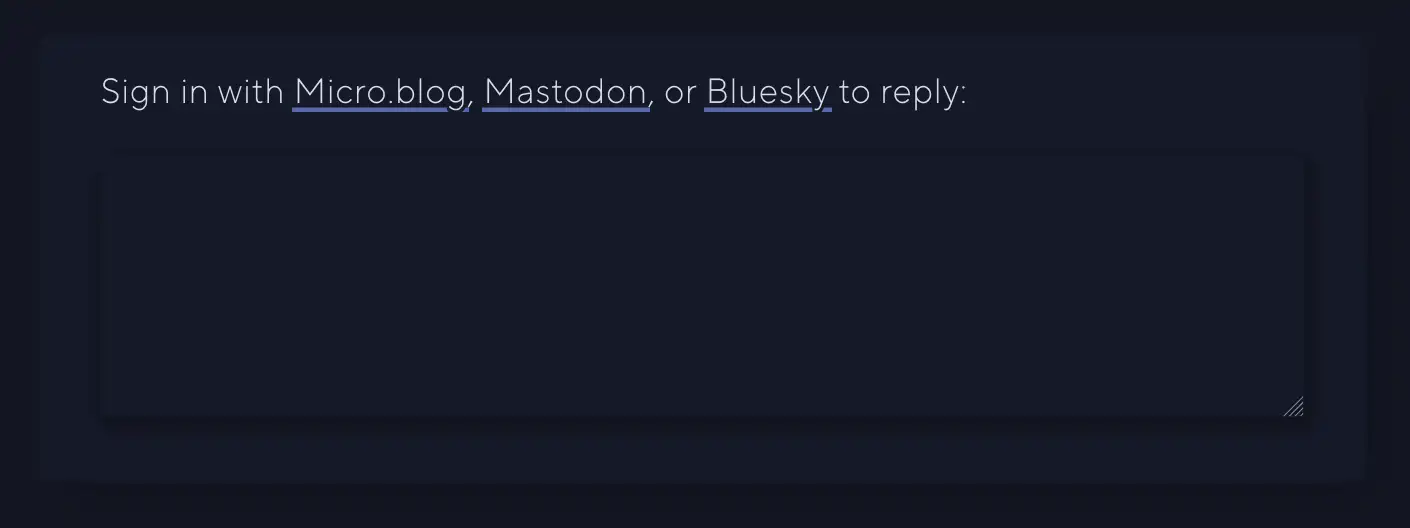
I like the cross-posting features and robust ActivityPub support. For instance, the comment feature here is neat:
I also like that there are great option for third-party apps for publishing, like Ulysses, Drafts, and MarsEdit.
And I find that the platform has a good balance between being easy enough to use, while also being powerful and flexible enough to form into what I need. An example of the contrary was how I couldn’t find a way to have WordPress have a front-page with the start of my blog posts like I have now. (I’ll go into how I’m doing that later.)
3) “How is it different from the alternatives?"
Before I tried WordPress, my blog was on Write.as. However, that was too simple, and not expandable enough. With Micro.blog I can freely add features via Javascript, for instance. (Examples below.) And it also has a plug-in system (even though it’s far from as powerful as WordPress in that regard).
I know that Simen uses Quartz, which I also use for my band’s website. This is a nice static site generator where you, for instance, can simply “push” an Obsidian vault. However, this doesn’t have integrated newsletter support, doesn’t support ActivityPub, and doesn’t have cross-posting (among other things).
4) What’s missing? Or is too clunky?
One thing Quartz is better suited for, though, is digital gardens. Micro.blog is absolutely built around traditional, chronological blogging.
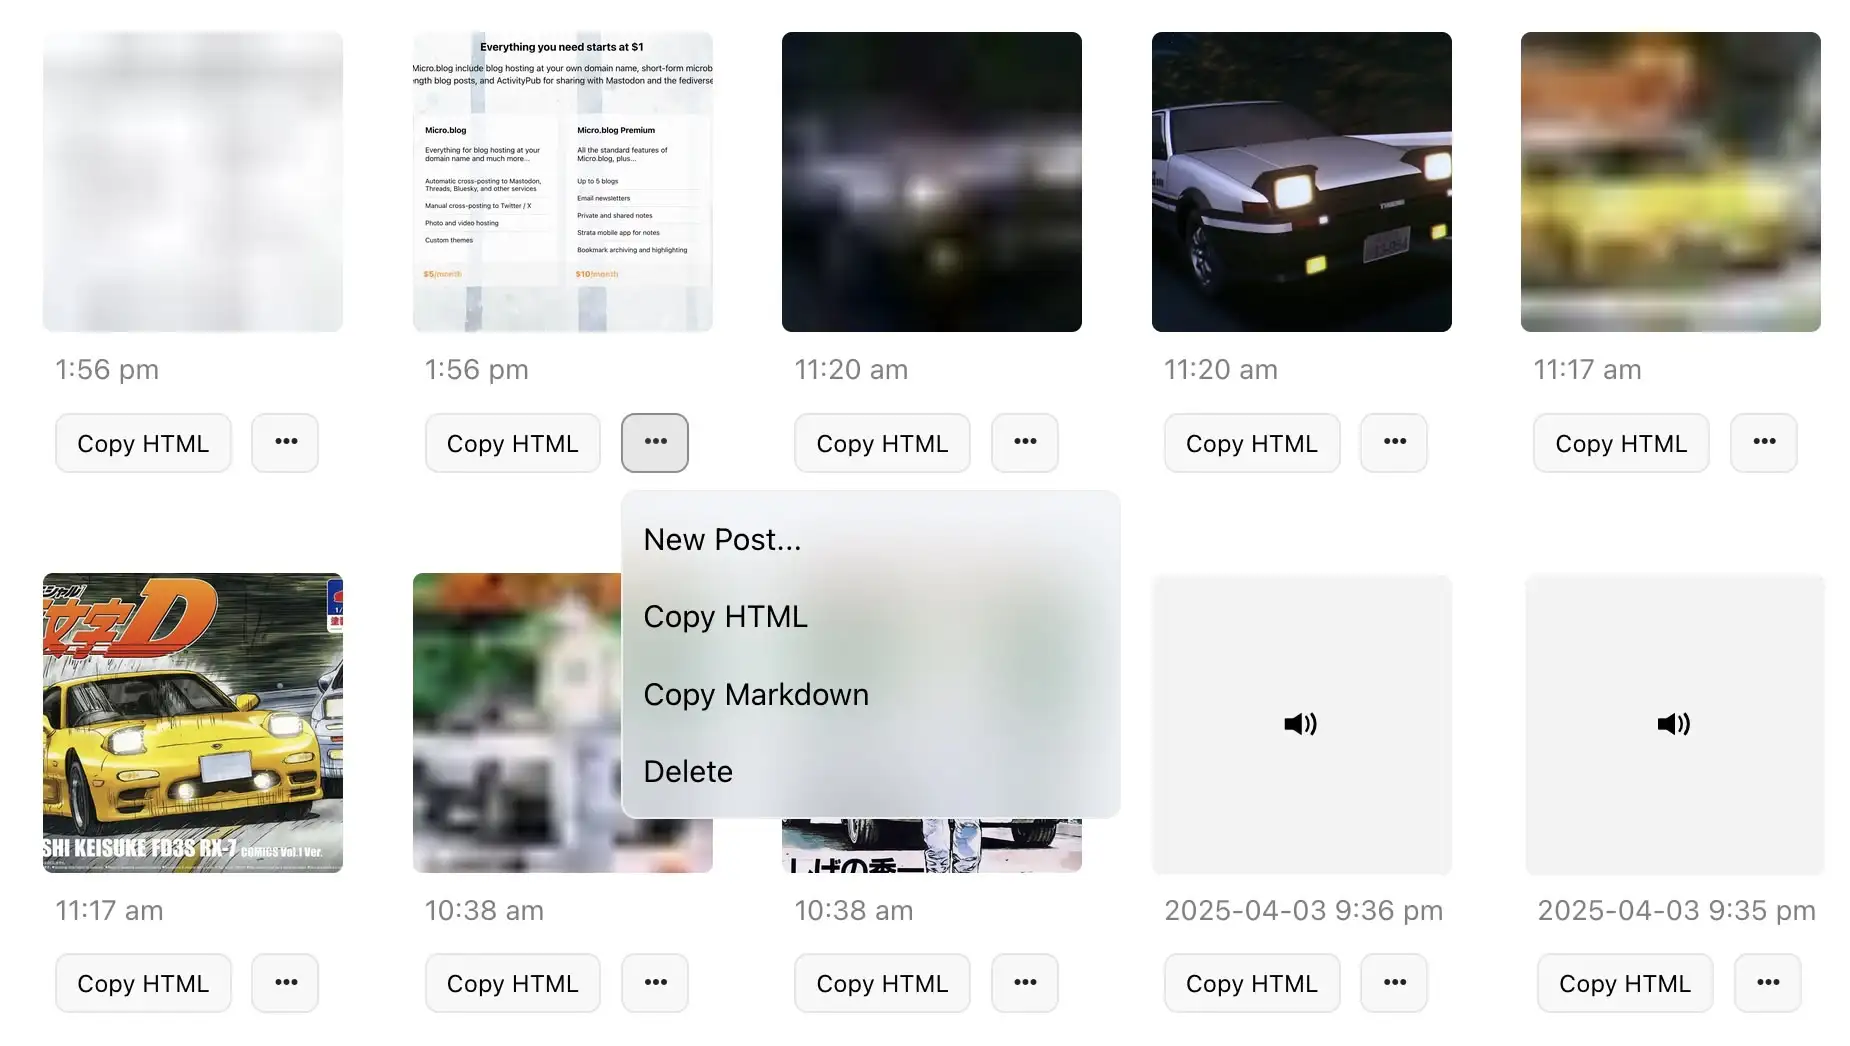
I also find uploads to be very clunky, when I don’t do it through Shortcuts. I can only upload one file at the time – and there’s no way, even in the … menu, to copy just the URL to the file. (I have to carve it out from the HTML or Markdown.) 👇🏻
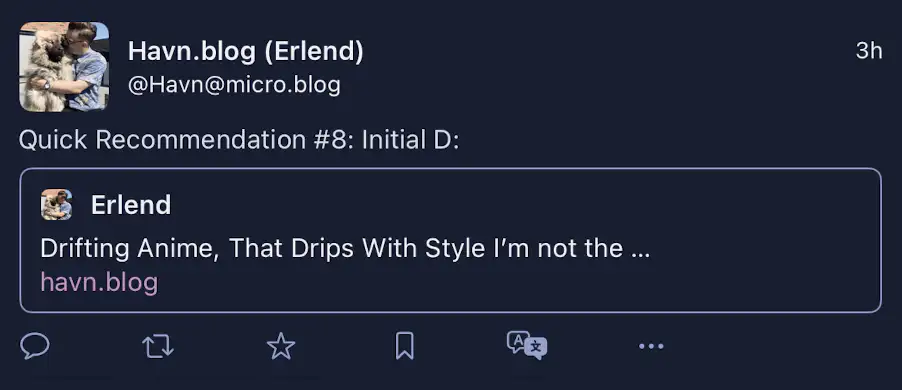
The ActivityPub posts that Micro.blog push, for the long-form posts, are also very lacklustre, IMO. Just the title, and link to the post:
And I don’t like the social media part of the service – which I’ll get into next.
However, I’m generally delighted with the place I’ve gotten this blog!
My use, and how I got there
Quick Recommendation #8: Initial D
Drifting Anime, That Drips With Style
I’m not the biggest car-guy, even though I do enjoy a bit of car-YouTube from time to time.1 But I just love the anime Initial D.

The cars they drive remind me of my first real racing game: Gran Turismo on the first Playstation. And it has cemented owning a car with pop-up headlights on my bucket list.
The show has lots of intense racing scenes, backed up by an insane eurobeat soundtrack. Trust me – it works.
Here’s the basic setting:
Takumi Fujiwara is a teenager that works part-time for his father’s Tofu shop – making deliveries in the early morning. His father, Bunta, is an old street racer, and while Takumi hasn’t inherited his interest, he has inherited his talent. And being a lazy teenager, who wants to get done quickly with his work, he simply started driving faster and faster.
He drives an old, but well-tuned, Toyota Corolla – and him getting laughed at for driving a car like that, with the name of the tofu shop on the side, is part of the charm.

How to watch
Milestone Achieved: Linked to on a Podcast I Like
And a Guide to Pronunciation of My Name
One of my favourite tech podcasts, is Comfort Zone. It’s hosted by Christopher Lawley, Niléane Dorffer, and Matt Birchler, and is simply a pretty chill time with neat people.

Last week they asked for listener input, so I sent them a relevant blog post – and I got a little shoutout. ☺️
I’m thoroughly in the writing into the void phase of blogging. So every share, mention, and email really means a lot.1
My name(s)
Matt made a valiant effort to pronounce my weird Norwegian name – but obviously failed spectacularly. So I thought I’d use this occasion to provide a little guide!
My name is Erlend. The d is always silent – but for some Norwegian dialects, the r is silent as well. And for English speakers, this is my recommendation.
Then you pronounce it like the name “Allen”, but slower: Alen
However, if you have r’s like me, or the French, you can pronounce it like this: Erlend
Oh, and then there’s my blog. The name Havn is Norwegian for harbour. The a is like the a in “car”: Havn
Go and give the podcast a listen! The banter is good, and they have interesting challenges every week.
Furthermore: Share and/or email a small blogger this week. 🫶🏻 It’s lovely when the void answers – and many of us don’t get any help from algorithms.
A (New-ish) Game for Lovers of Heroes of Might and Magic 3
Do you, like me, get warm and fuzzy feelings from this sound?
My Heroes of Might and Magic journey started with HOMM 2 🖇️ – but I’ve probably spent the most time with HOMM 3 🖇️.
I still play it from time-to-time, but I’m also always interested in modern takes on the formula.
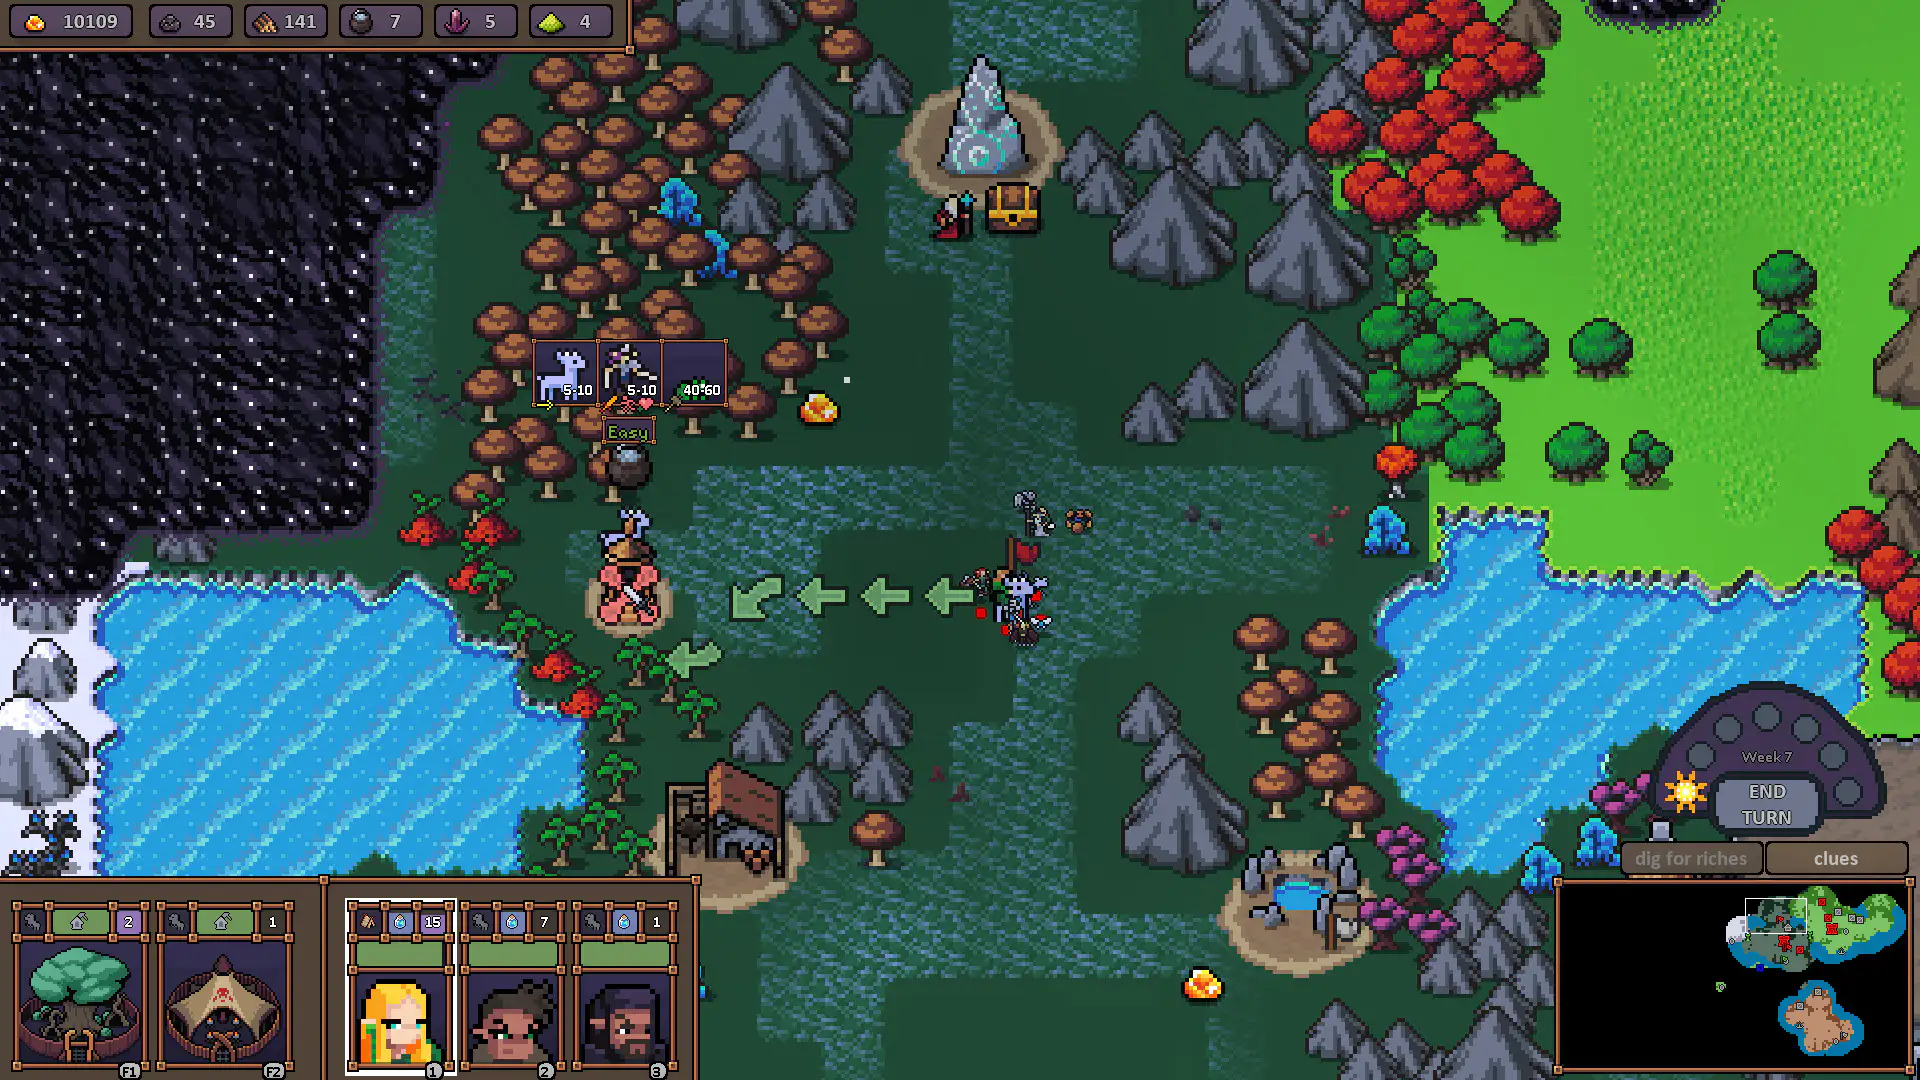
One I like, is Hero’s Hour 🖇️ (currently 55% off!). Here the world map portion is very similar to HOMM, while the combat is more of a free-flowing auto-battler.1

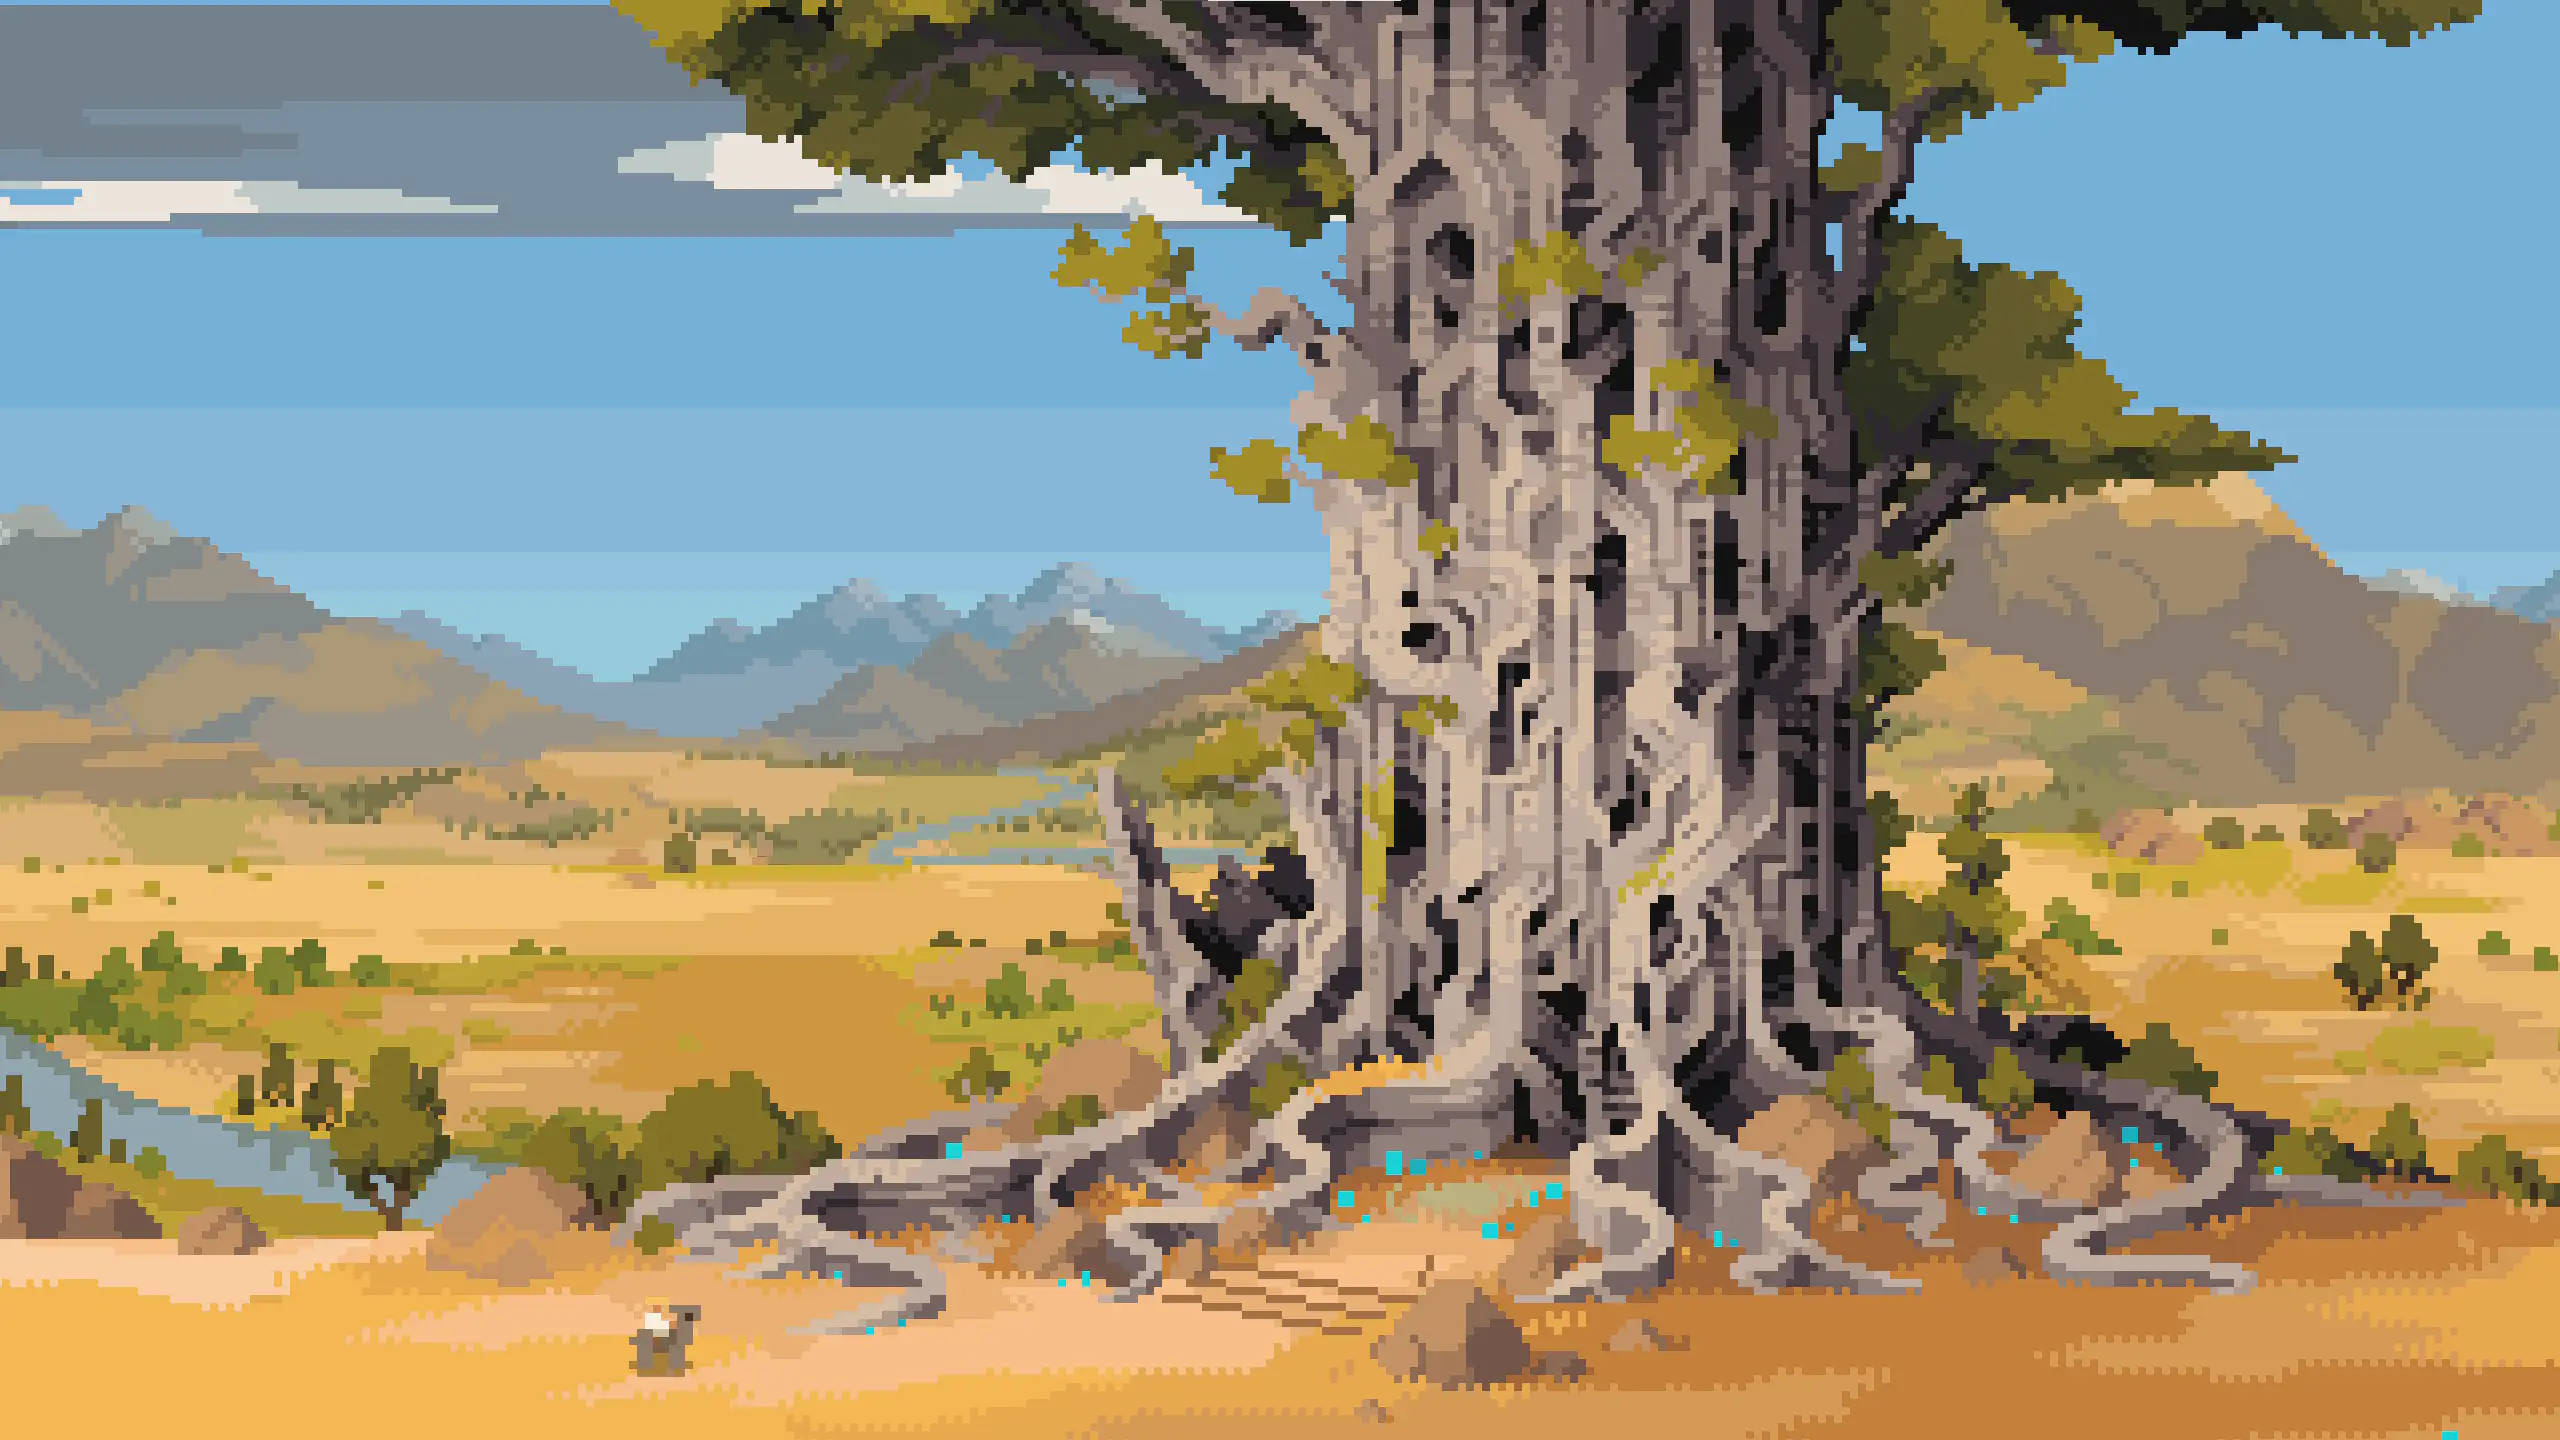
But my favourite is Songs of Conquest,
and it’s currently 72% off on GOG 🖇️!2 It’s also available for iOS (both iPhone and iPad!) — but I haven’t tried that version myself.
Quick Recommendation #6: Arco (video game)
Original, Tactical, Recreational
Last year, Panic published a terrific indie game I’d like to recommend: Arco. I’ve only played the first two acts, but I like it a lot so far.
It has great pixel art, music, writing, and story.
It also has a genuinely innovative turn-based combat, and guilt system, which makes in-game choices interesting.
It’s available on PC, Mac, and Switch. I’m playing it on Mac, with a controller – and it works flawlessly. (If you want to get it for desktop, I recommend getting it through Epic, as the dev gets a larger piece of the pie.)

Click here to see all my quick recommendations!
App review: Tot
Yesterday, I wrote about Iconfactory’s newest app, Tapestry. Today, I want to do a little review of another great app of theirs, Tot.

“Your tiny text companion”
Tot is a scratchpad app, for fleeting notes. It was inspired by Tyke, which explains the need for this well:
I made Tyke because when I’m working I often need a little bit of scratch paper to jot something down.
Sometimes it’s because I need to paste it someplace or other times it’s because I just want to clear the formatting and edit it.
I used to use a new text editor window for that job. Now I don’t have to.
—From the Tyke website
I use Tot for things like writing down everyone’s take-away orders. I also use it when I need to keep some text in a small Mac window that stays on top, or small pieces of info I might want to look up from time-to-time.1
The business model is also both clever and fair: It’s totally free on Mac, and then you pay once for iOS (€20) and Apple Watch (€2).
My favourite part of it, is that it allows you to store 7 notes. It’s more than 1, but still limited. You swipe between them, and they are beautifully colour coded.2 This makes it so you don’t fall into the trap of wanting to name your notes, or keep them forever. You’re supposed to move on.
These 7 notes are synced between Mac, iPhone, iPad and Apple Watch, with great apps for each.
Purposeful limitations
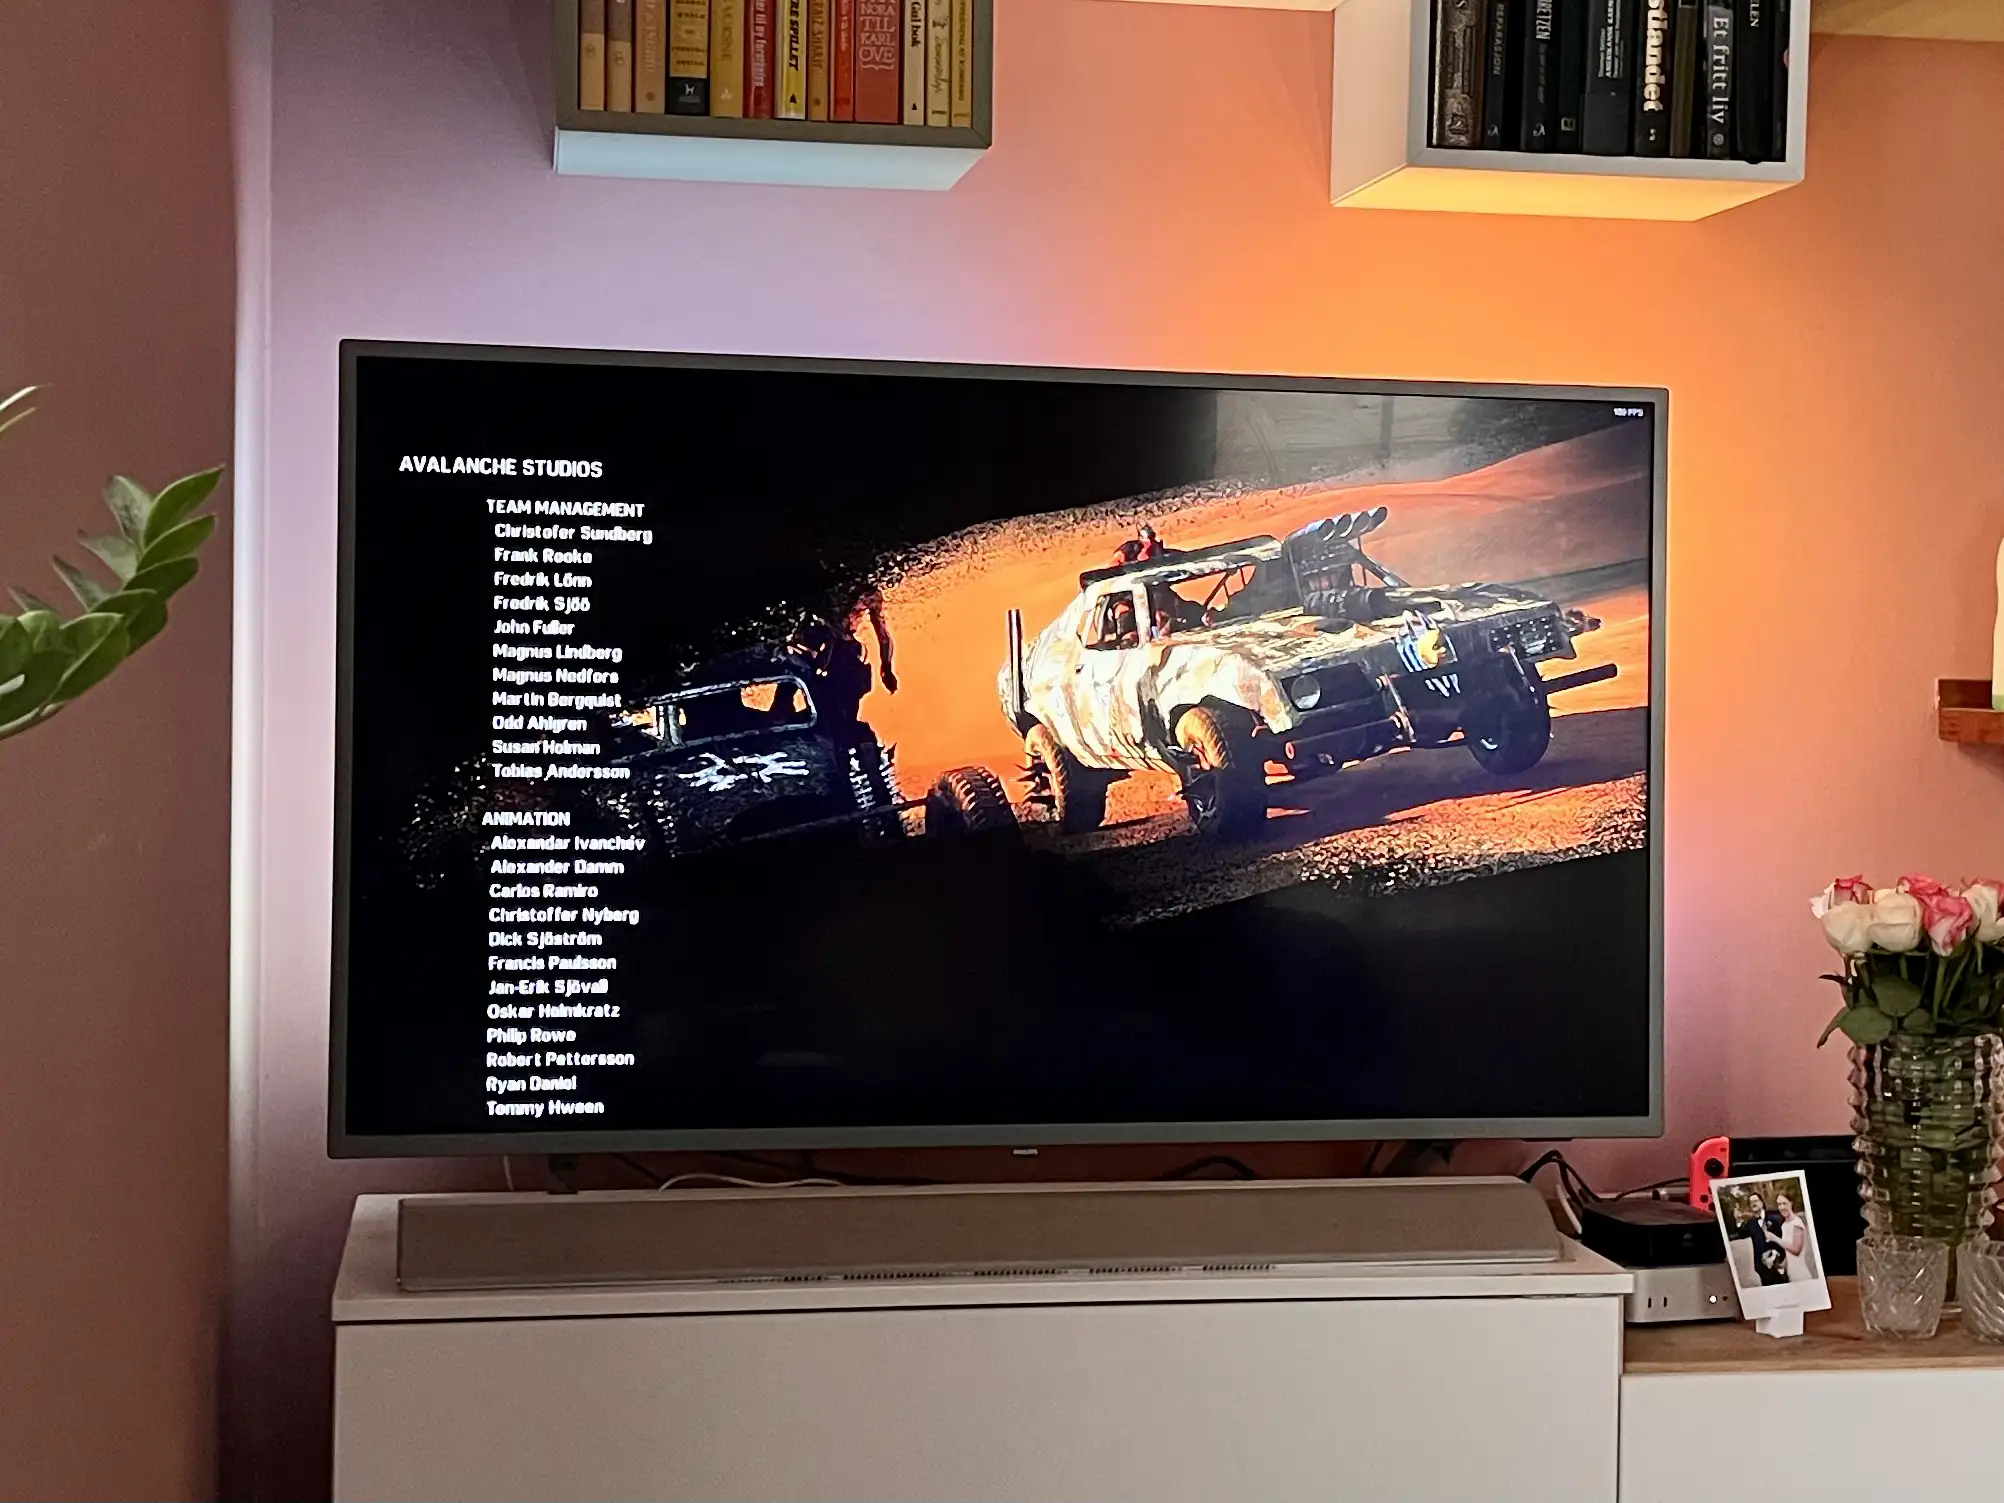
Quick Recommendation #5: The Mad Max Video Game
It’s not often I finish video games… One of the reasons, is that I often play games you can’t finish – like Europa Universalis and The Bazaar 🖇️. But I actually just finished, an r/patientgamers favourite: the Mad Max game, from 2015.
And it’s actually at 80% off on GOG at the moment!

It’s not a fantastic game – but if you like Mad Max (like me), I can recommend it. I saw someone on Reddit call it “the perfect mid-budget game”, and I agree.
It’s an open-world game, with a world of great flavour. The car-combat is especially good and unique.
But one piece of advice, if you decide to check it out: Exploring the open world gets quite repetitive – so it’s not worth it to approach the game with a completionist’s mindset. Just treat it as a bite-sized little treat, and do the stuff you find fun and run through the story. If you buy it for like €4, just try to get that amount of money’s worth.
I played in through Steam, and on my Mac Mini. It says it’s not available for Mac, but installing it still works, for some reason. (Not 100% sure about the GOG version, though.)
Quick Recommendation #4: Ultima Retrospective (YouTube)
I have no prior nostalgia for the CRPG series Ultima. I’ve always known about the series, but never played any of the games. Still, I’ve loved a series by the YouTube channel Majuular: Ultima Retrospective
The videos are long – but well-made, with a combination of story behind the development and reception, plus a complete run-down of the gameplay and story. It’s also not done, so I assume there’ll be more content down the line! (You know, if you’re done with the 14 hours made up until now.)

Hurrah: My Favourite Markdown Editor Just Dropped on Setapp
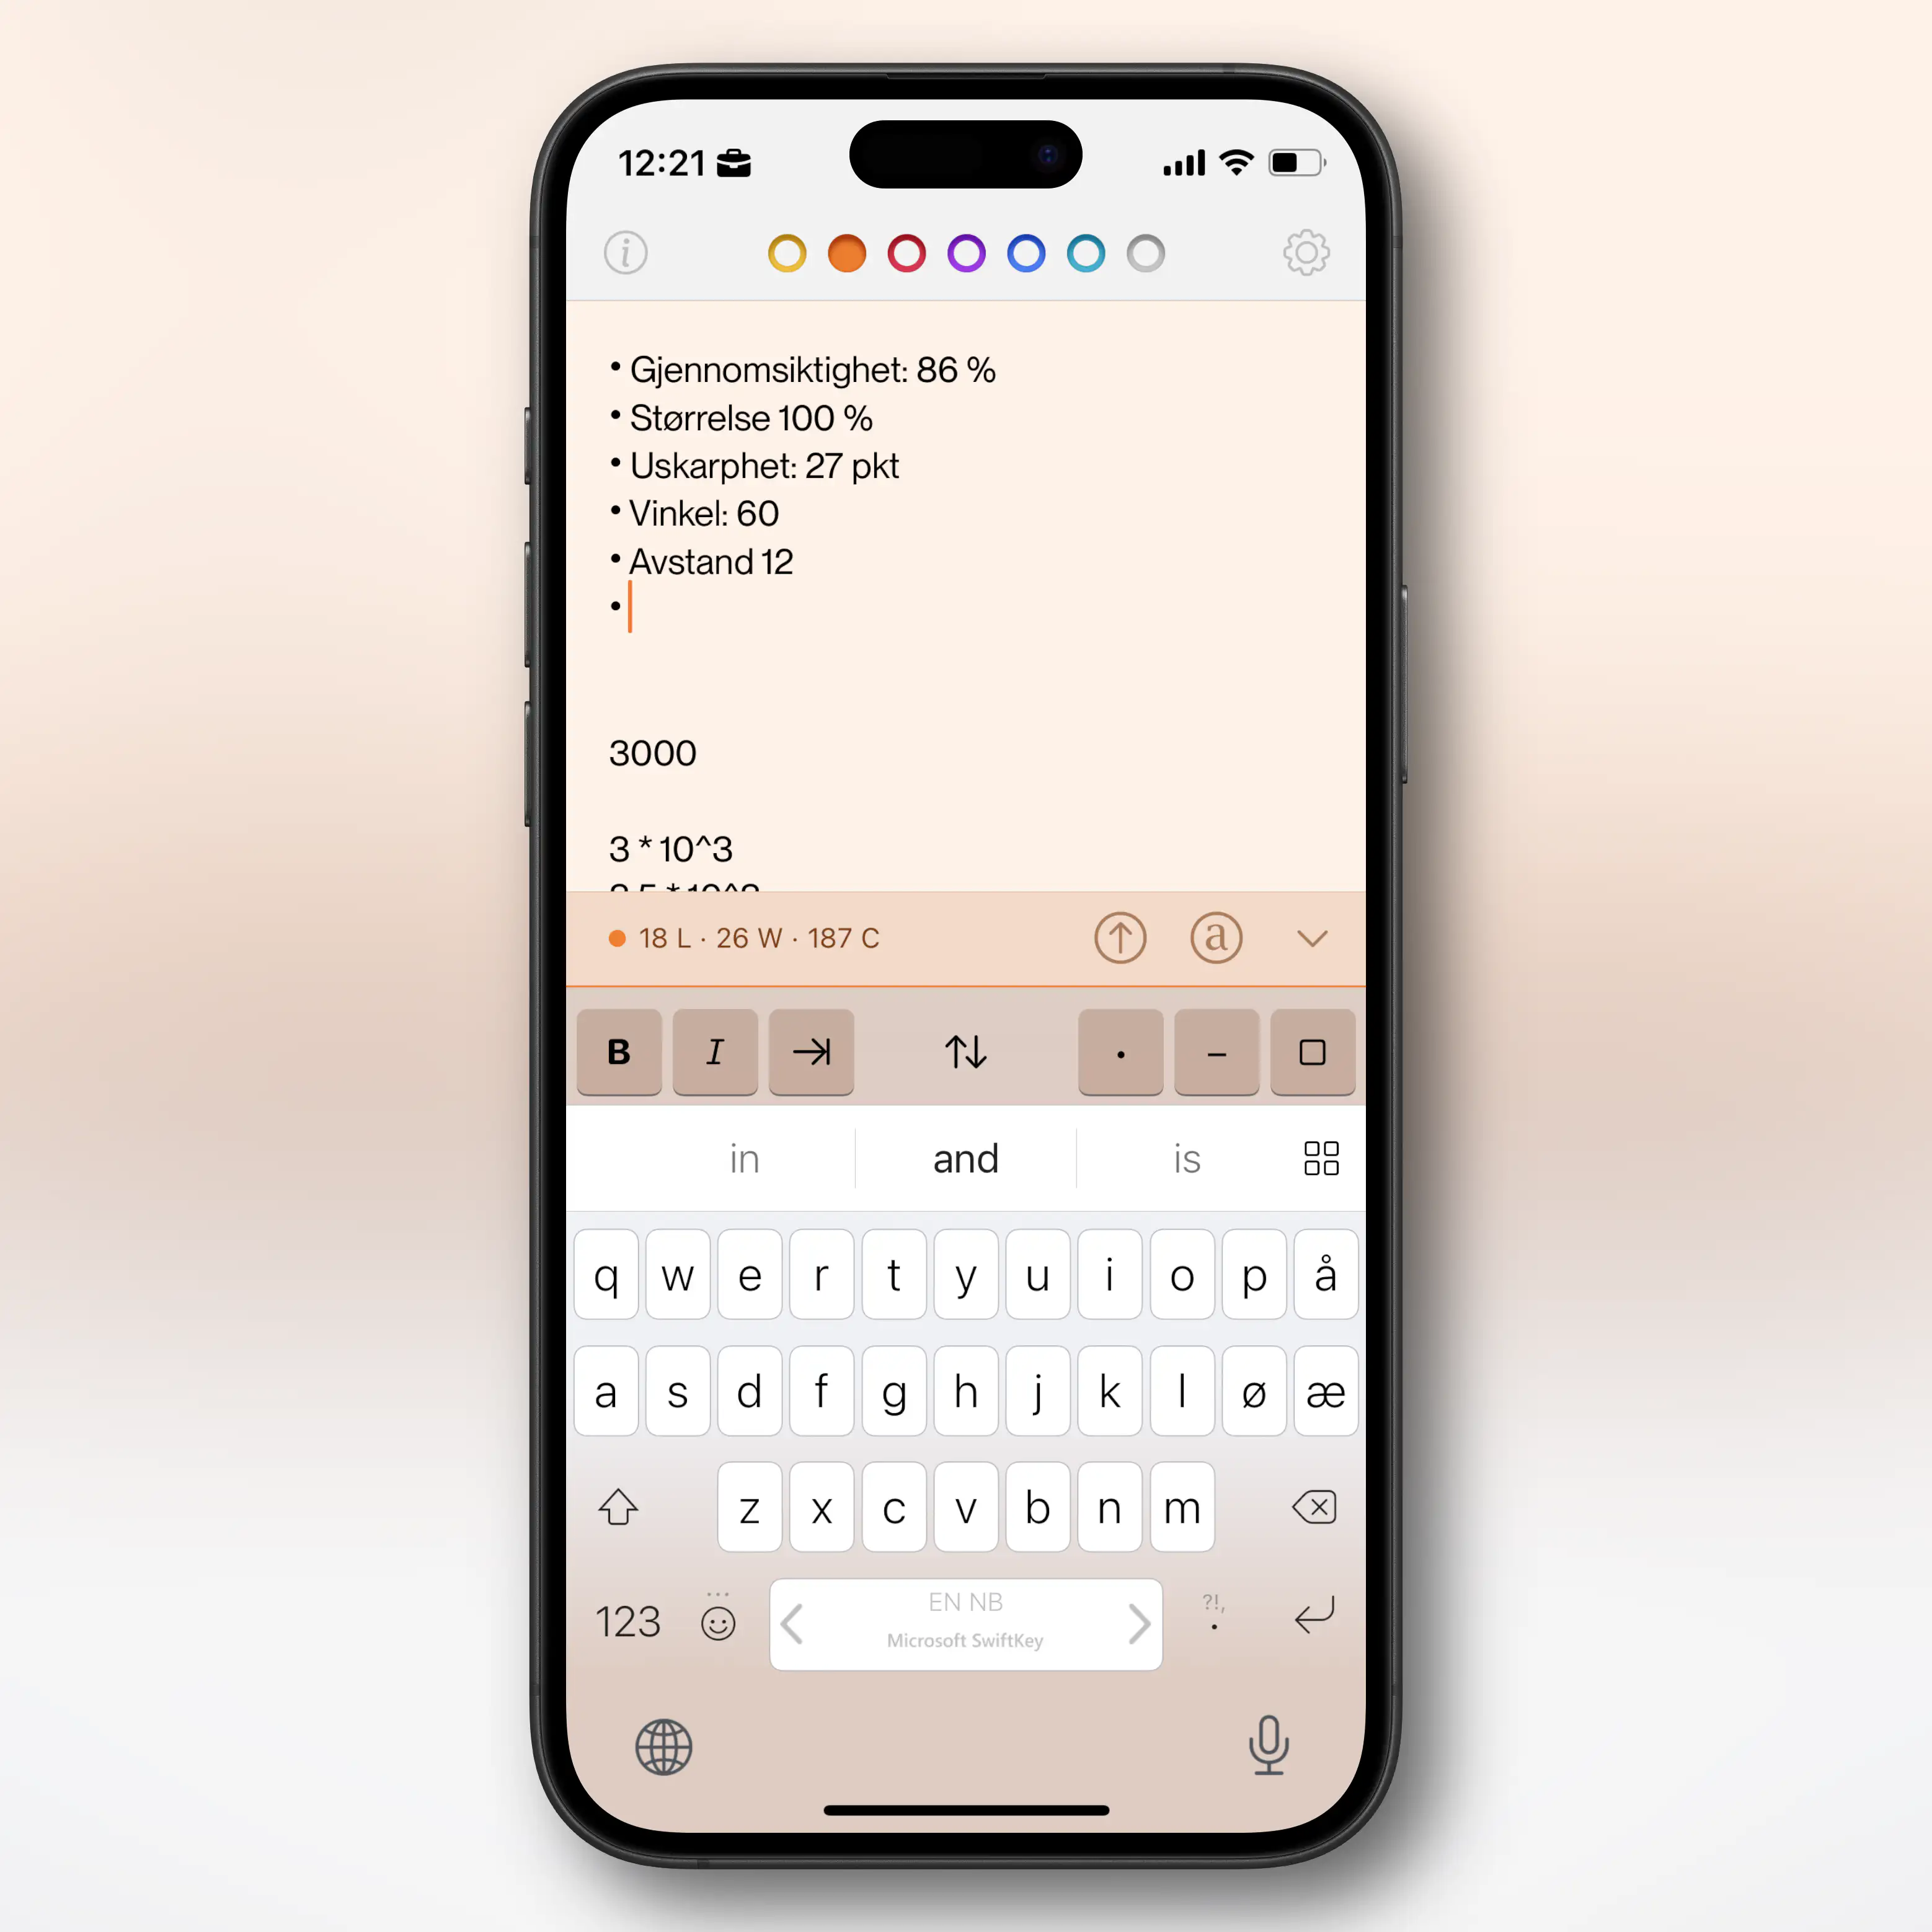
The magnificent Markdown editor Paper just became available on Setapp 🖇️, making it more accessible for more people to try out! I’ve written a thorough review of it previously, but here are the things you need to know:

So, I wouldn’t primarily say it’s a “notes app”. It’s more of a “writing app” and “Markdown editor”. You could, of course, use it as a notes app – but then you have to rely on Finder/Files and x-callback-URLs for the organisation.
I highly recommend giving it a go, and play with the settings to make it behave like you want! Perhaps my favourite feature, is the combined Typewriter Mode and Focus Mode: