My Adaptive Smart Light Setup
A Guide, and a Glimpse Into the Mind of a Madman (Me)
I’ve previously written about why I think Smart Bulbs > Smart Switches.1 And one of the reasons I think that, is that I (for some reason) really love having the colour temperature of my lights change throughout the day.
Sadly, I’ve found the automatic systems for this really lacking. But here I wanted to show how I’ve created a system I like.
The goals:
- Be effortless to use (and relatively easy to adjust)
- Both provide a good experience with simple switches, and with dimmers.
- Working with different brands of switches and bulbs.
- Keep everything in HomeKit.2
I want a smart home. But, in use, I want it to be as simple as a dumb one. I want guests to be able to operate things at, at least, the same level as they would in another unfamiliar home.3 And then I want to add smart benefits on top of this, like colour temperature, automations, some hidden button features, and being able to override stuff with things like a phone.
My most used switch is the Flic 2. And when the light is off, I want one click to turn on to a setting that’s almost always the right one. But as the “right setting” changes throughout the day, I have to do some adjustments in the background…
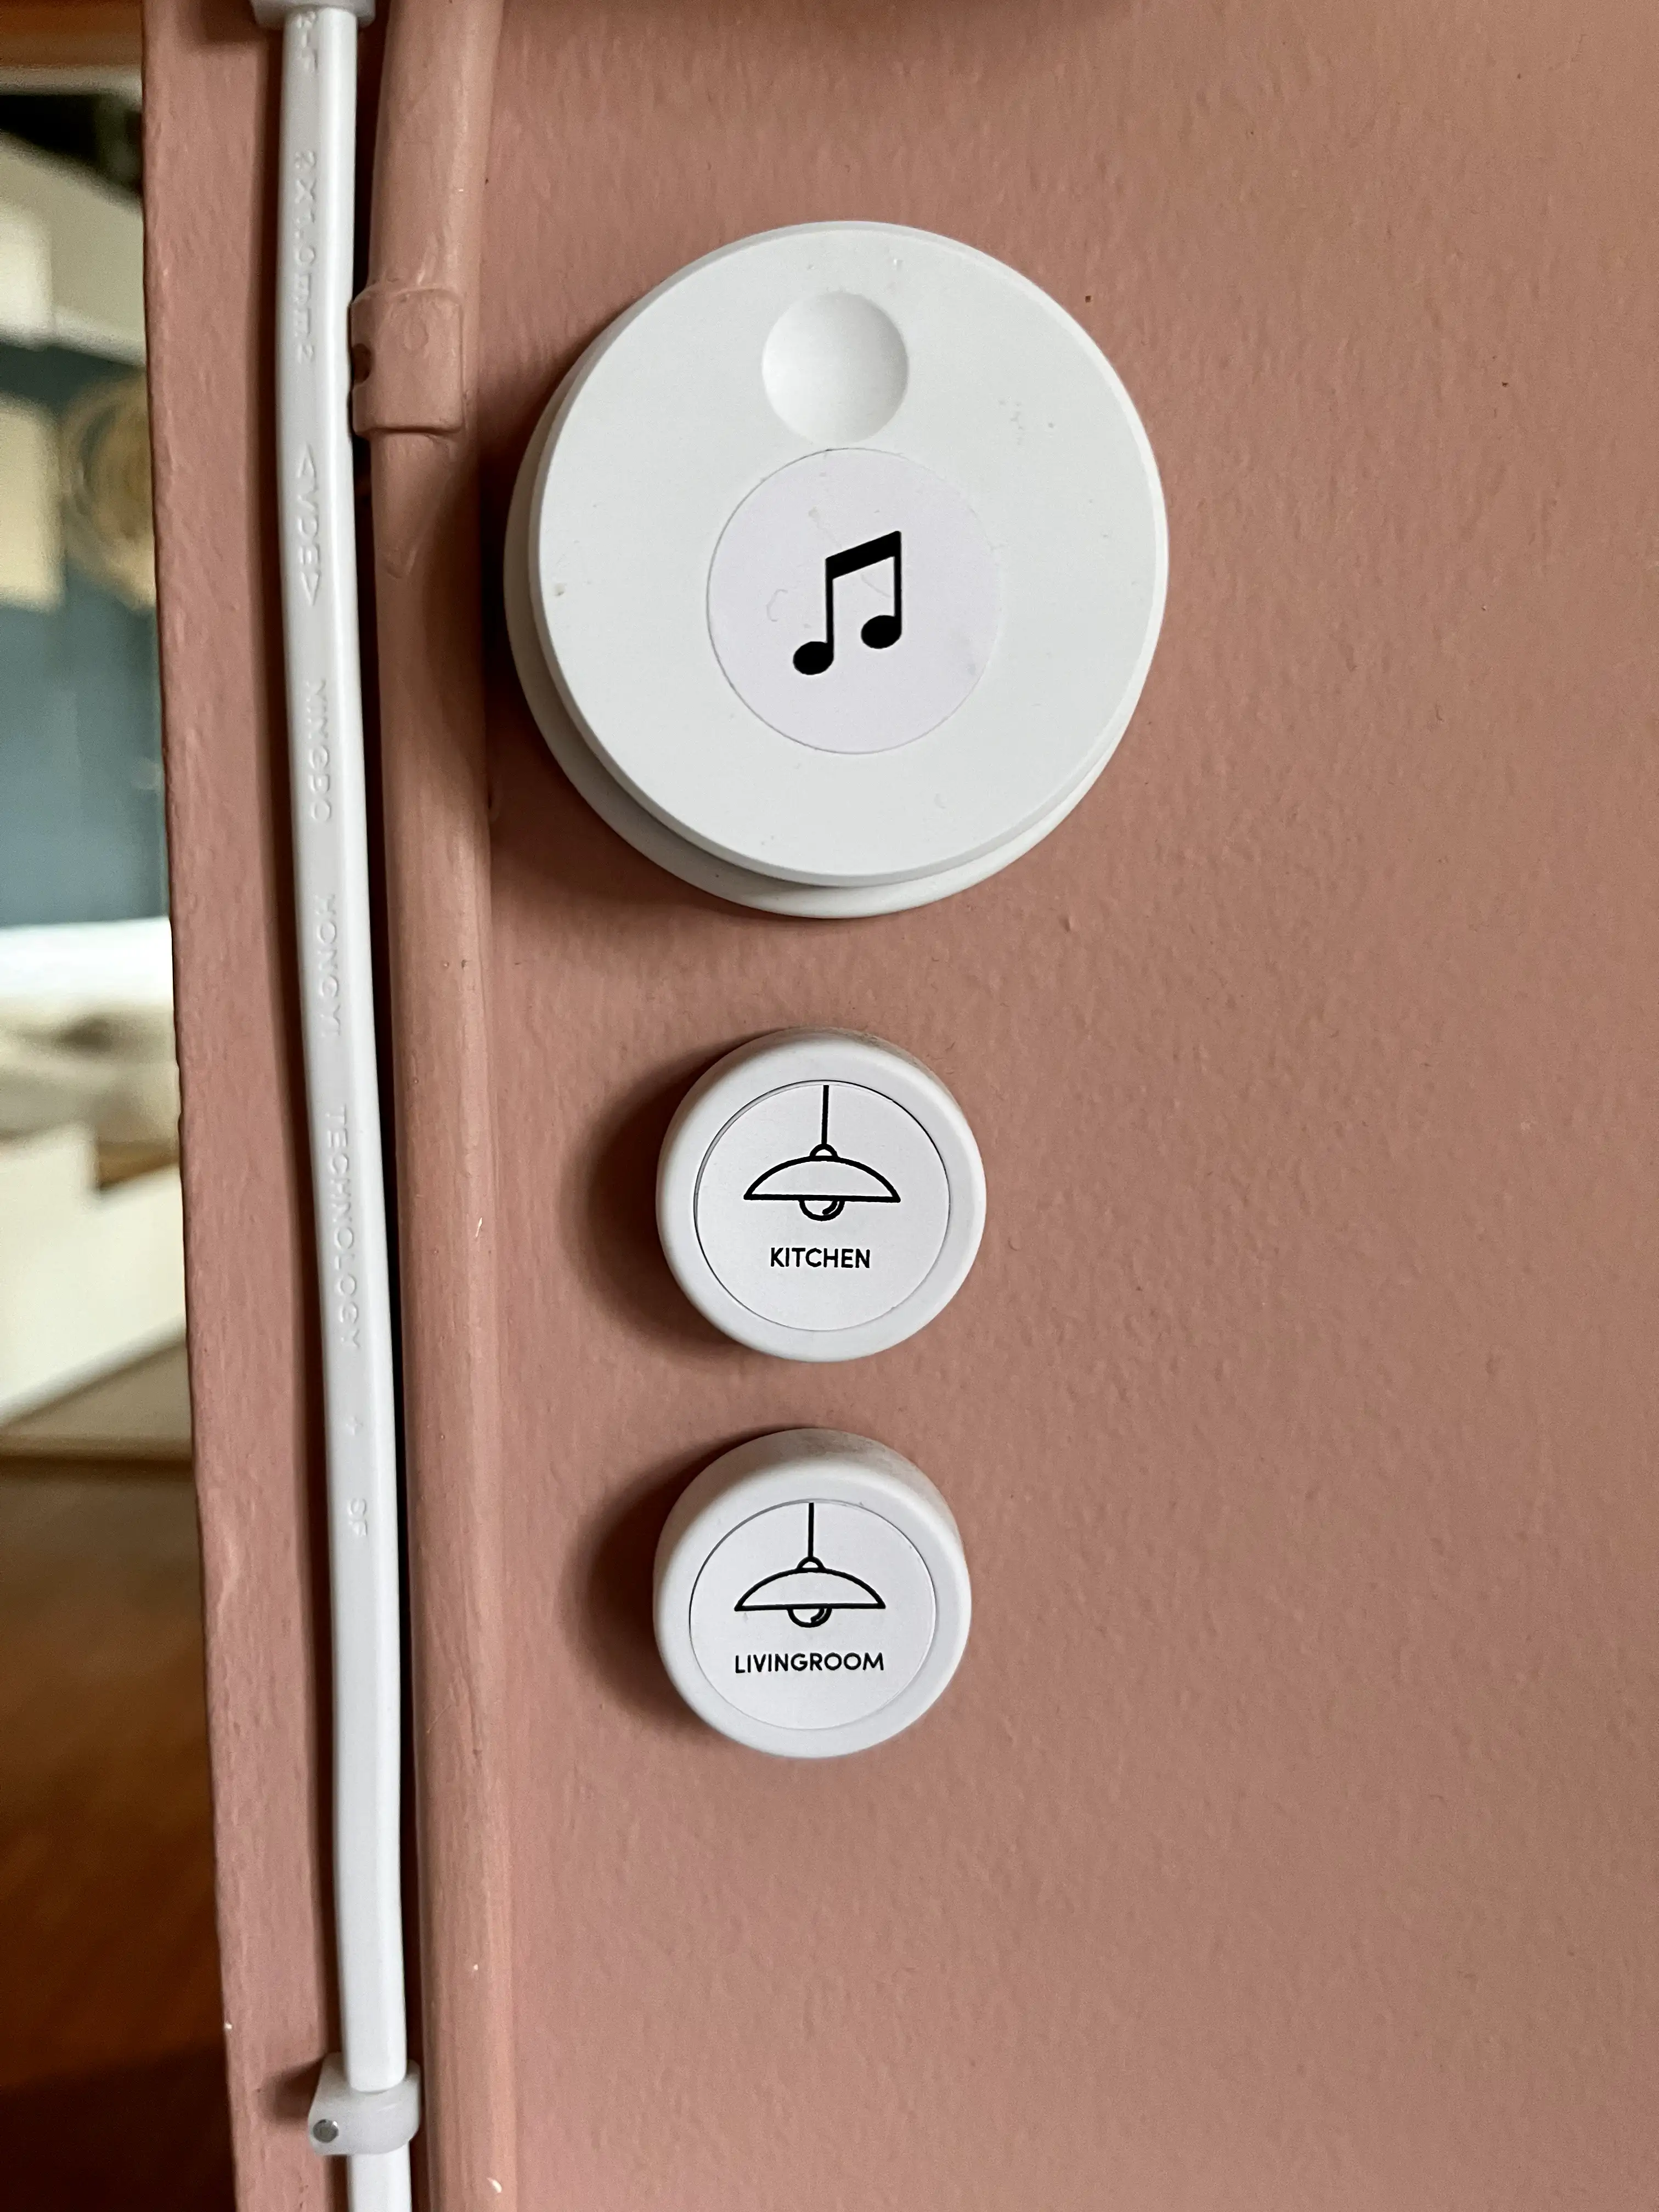
While you can adjust the brightness in Home.app, I also wanted to be able to do it with a dimmer switch at some places. So I’ve bought a couple of Flic Twists 🖇️ as well.4 HomeKit/Matter, sadly, hasn’t delivered support for dimmers, though – so I had to be a bit creative to get these to work as I wanted.
The principle
I’ve created three “moods” (which correlates to brightness and colour temperature):
- Glow (warmest)
- Cream
- Glass (coldest)
And, currently, my home moves through these moods at these times:
- From the night before 🌙: Glow
- 1 hour after sunrise ⛅: Cream
- 3 hours after sunrise ☀️: Glass
- 3 hours before sunset 🌥️: Cream
- 1 hour after sunset 🌙: Glow
If you turn on a light during “Cream time” it will turn on to that setting, and so on. And when the mood changes (during the day), it will go through the lights that are turned on, and adapt them to the current mood.
The how
Be warned: It’s a very fiddly setup process… But when you’re done, you can easily change when the mood changes, and also what a specific light will look like during a specific mood.
Prerequisites:
- HomeKit enabled bulbs (that can change temperature) and switches
- A bulb that can always be on5
- The app Controller for HomeKit6
- This is able to do more advanced stuff with HomeKit than Home.app, while still not having to move things out of that system.
1) The always-on bulb
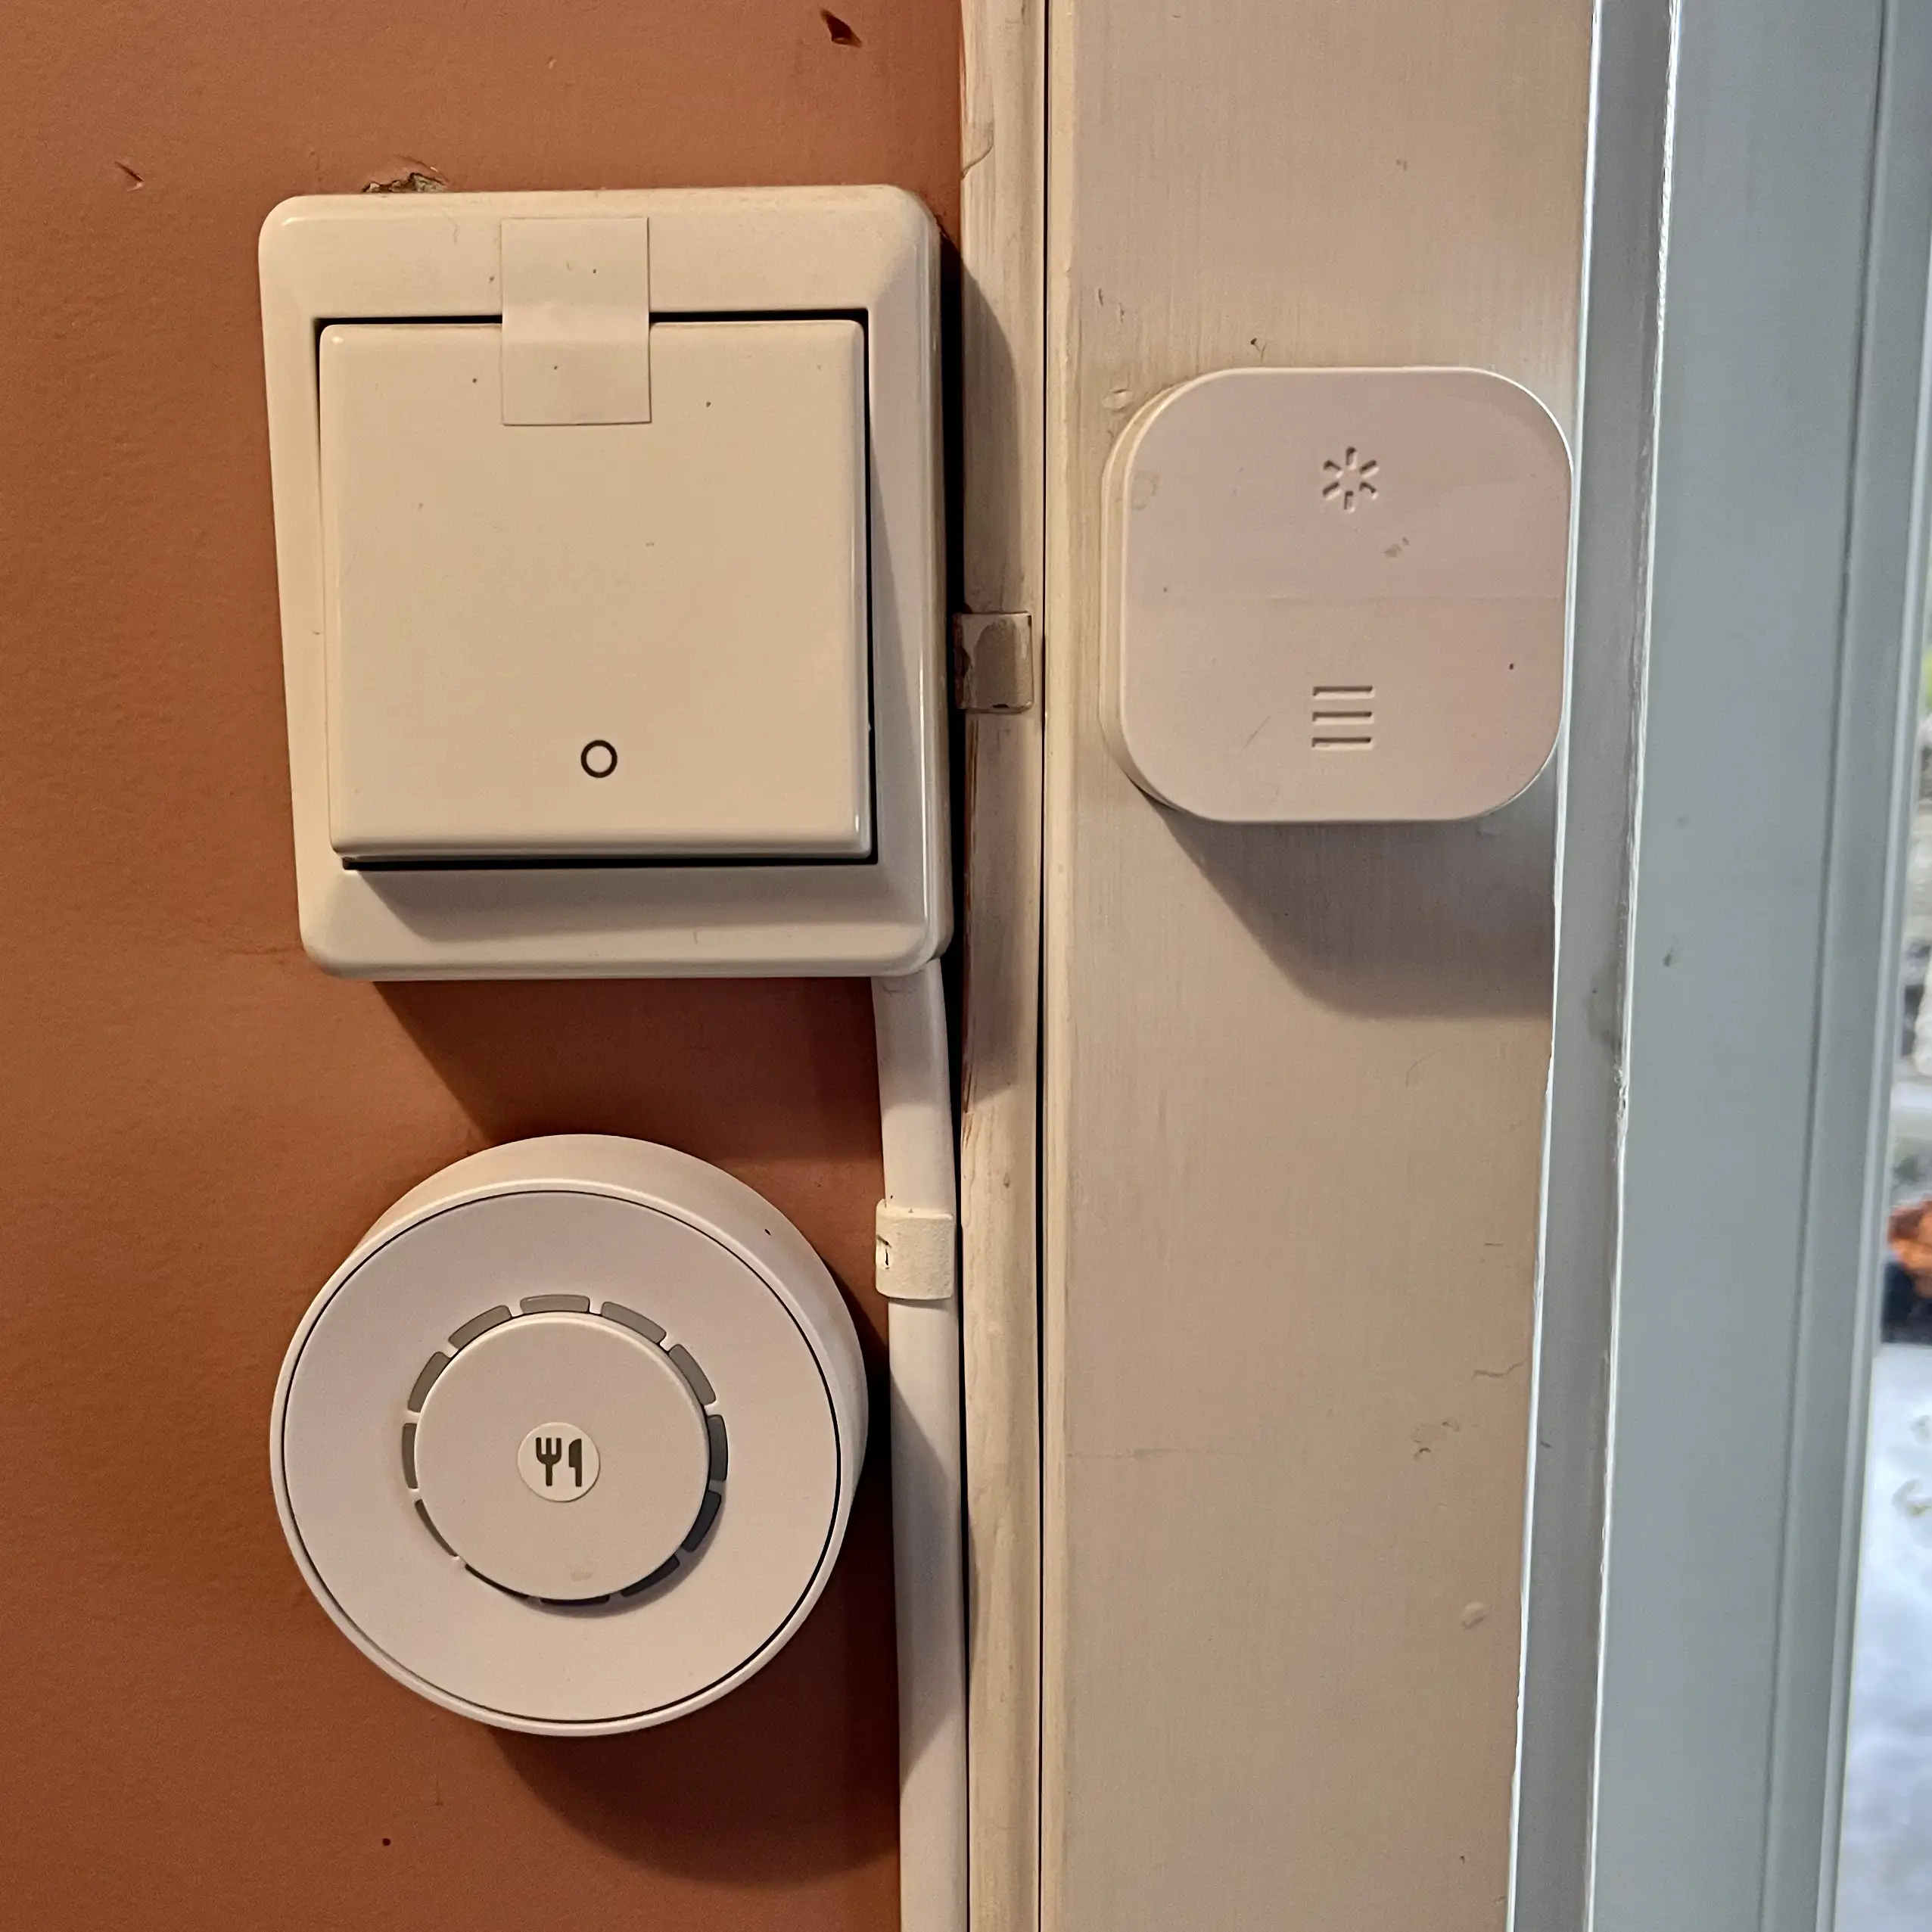
I have this outdoor lamp, that’s always on:

And I’ve created an automation that will change the brightness like this:
- From the night before 🌙: 25%
- 1 hour after sunrise ⛅: 40%
- 3 hours after sunrise ☀️: 60%
- 3 hours before sunset 🌥️: 40%
- 1 hour after sunset 🌙: 25%
What I’m doing here, is using this bulb to help my automations know which mood we’re in.7
If that lamp is at 25%, we’re in Glow,
if it’s at 40% we’re in Cream,
and 60% means Glass.
This means that if I, for instance, want Cream to start 2 hours after sunrise instead, I’ll just adjust that one automation controlling that one lamp.
There are a million ways to fill this need, though. It just needs to be something that can be checked, by automations, to see which mood we’re in.
2) 4* scenes per lamp
Now we’re starting to get to the fiddly parts… You see, automations works the best with scenes. So we have to create a bunch of these, for each light.
Let’s use a “kitchen light” as an example. You could get away with 4 scenes:8
- Kitchen light Off (yes, you need this)
- Kitchen light Glød (both brightness and temperature)
- Kitchen light Cream (both brightness and temperature)
- Kitchen light Glass (both brightness and temperature)
If you at a later time want to change how the light looks in a certain mood, you’ll go in and adjust the specific scene(s).
Here you can see a scene, in Controller, that includes both setting the temperature and turning it on, and setting the brightness: (I think it increased the reliability to have both brightness and power state together.)

3) Switch automations
Next, you’ll set up automations related to the switches. The basic idea is this:
- I click the switch:
- If the light is On → Set Kitchen light Off
- If the light is Off → Check the outdoor lamp
- If at ≤25% → Set Kitchen light Glow
- If at 40% → Set Kitchen light Cream
- If at ≥60% → Set Kitchen light Glass
Sadly, I think you have to create 4 separate automations, though. One for off, and one for each mood.

Here you can see examples of an Off automation and a Glow automation:


I know it sounds (/is) convoluted – but this method has proven itself to be fast/responsive, and very reliable!
And speaking of convoluted…
I know that I’m crazy – but in my next home, I want to break up the scenes in two: One for brightness, and one for the temperature.9
Then we’ll end up with the following scenes:
- Kitchen light Off
- Kitchen light Glow B(rightness)
- Kitchen light Glow T(emperature)
- Kitchen light Cream B
- Kitchen light Cream T
- Kitchen light Glass B
- Kitchen light Glass T
And the basic switch automations are the same – but they only set the “brightness scene”:
- I click the switch:
- If the light is On → Set Kitchen light Off
- If the light is Off → Check the outdoor lamp
- If at ≤25% → Set Kitchen light Glow B
- If at 40% → Set Kitchen light Cream B
- If at ≥60% → Set Kitchen light Glass B
Then we create even more automations, that work like this:
- If Kitchen light gets turned on:
- Check the outdoor lamp
- If at ≤25% → Set Kitchen light Glow T
- If at 40% → Set Kitchen light Cream T
- If at ≥60% → Set Kitchen light Glass T
- Check the outdoor lamp
Separating it like this, means that we’ll get the correct temperature, no matter how we turn on a light. For instance, with a different switch, with voice, or through Home.app. Automations like that looks like this:

But yeah, that means we’re up to 7 scenes and 7 automations per light! 😰
More advanced switching
Buttons like the Flic can have separate actions for single-click, double-click and hold – and the example above only relates to single-click. What I have done is, sometimes, having double-click control a different light in the same way. (Other times I've also made it so holding will turn off all the lights in a room.) But then we're back to making it user-friendly: I want this to be hidden extra-features for us who live here, while just clicking works like a regular light switch. Easily being able to have a single switch controlling several lights, and having a light be controlled by several switches, is one of the reasons I like having smart lights.
The easiest way to do that is to add a separate if statement in your switch automations, like: "When this button is clicked, or this other button is double clicked, then…"
4) Adapt lights that or on, when the mood changes
This step is optional, but I like it. Because, let’s say I turned on a light during Glass time, and kept it on until the evening. I wouldn’t want it to be stuck on this bright setting (even though I could fix it by turning it off and on again).
I’ve fixed this with automations like this:

And here’s another reason why I would break up the brightness and temperatures: Because, I’ve learned that while I want the temperature on lights that are on to change, I don’t want the brightness to change. So for the automation above, I would want it to only set the scene “Kitchen light Glow T”, and not do anything about the brightness.
This brings us to the final sum: 7 scenes and 10 automations per light…
And that’s it! No sweat…
Yes, you have to create a million scenes and a billion automations…10 But you’re left with a system where you can (relatively) easily choose what each light will look like during each mood, and quickly change when the different moods are.
So, to sum it up:
- Find one thing you can use to indicate to the rest of your home which mood you’re in. (The numbers below are for the use of three moods.) Then add an automation, for instance based on the sun, to this item.
- For each light, create scenes related to each mood (in addition to Off) – preferably separated into brightness (and power state) and temperature. 4 or 7 scenes per light.
- Create switch automations. One for Off, and one for each mood – 4 automations per light.
- Then, preferably create automations for setting the temperature when a light turns on. One for each mood – 3 per light.
- Create “mood checks” for each light. One for each mood – 3 per light.
- Don’t worry about it ever again (except for making tiny adjustments to moods and timing).
Bonus guide: How I got the Flic Twist to work with this setup
I don’t know if this part is relevant unless you have my exact setup. But I wanted to share it anyway, as it could be useful for a similar setup as well – specifically if you have some switches that doesn’t play nice with HomeKit. And it also highlights another reason why I’ll use separate brightness and temperature scenes in my next home.
I backed the Flic Twist on Kickstarter a while back. But when it finally arrived, Matter support for dimmers had not. This button has the following gestures:
- Push (AKA “click”)
- Double Push
- Twist
- Push & Twist
However, if you add it to HomeKit you’ll lose the last two, as they’re not supported! So, for now, I have to keep it totally separate.
The setup in the Flic app:
Here’s how I’ve configured a Twist to control two lights:

Push will just toggle it – and it will turn on to the last used brightness and temperature. Twist adjusts the brightness. Double push and Push & Twist does the same, but for a different light. Twisting when the light is off will also turn it on, from the lowest brightness possible.
However, currently this doesn’t factor in my precious moods! I don’t mind that it doesn’t care about the brightness, as we’re literally using a dial that can set it to whatever we want. But I do want it to go to the correct temperature! Luckily, if you have the “When this light turn on, set it to the correct temperature” automation, this will already work flawlessly. 👌🏻 And that’s the last reason why I, even though it sounds insane, recommend going that route.
-
Smart switches is absolutely cheaper, and can be simpler. But I think the experience is better with the smarts in the bulbs. ↩︎
-
As Matter is still pretty disappointing, I’m keeping my eye out for when I might want to move over to HomeAssistant. I’ve also managed to not need HomeBridge – but we’ll see what happens when I move into a large house this year. ↩︎
-
Where you, to be fair, sometimes don’t quite know which light switches go to which. So I won’t call that a failure of the smart home usability. ↩︎
-
But these are too expensive to have everywhere… ↩︎
-
I use a bulb in my garden for this. ↩︎
-
Maybe others will do as well! ↩︎
-
There might be better solutions for this – but this was the best way I could find to create a variable within HomeKit. ↩︎
-
I have this setup, currently. But later I’ll get into something I think is better (but that takes even more time). ↩︎
-
I’ll get back to why I think this is a good idea later! ↩︎
-
This isn’t too bad in Controller, though – as you can duplicate and edit. It also has a bunch of organisational features to make navigating things easier. ↩︎