The Terminal – For Noobs (Like Me), Part One
The Basic Concepts
If you’re like me, from time-to-time you’ll come across tasks that should be done in the terminal. But as you’re not very familiar with it, you wince a bit, and then just paste whatever they say, and hope for the best. The guide might also assume you know a bunch of concepts, that you don’t really understand. Like, why do some commands start with $?
Hopefully, this guide can answer some of the questions you’re too afraid to ask, and make you less afraid of the terminal. I’ll never be a person who lives in the terminal (especially as I’m not a programmer) – but I’ve managed to get to where I like it, and will be happy if a task can be done there.
Sorry that this will be a bit Mac-focused. But hopefully, it can be useful for more than Mac users!
- Part Two: The Why and What
- Part Three: A More Noob-Friendly Terminal
Basic concepts
To me, things get much less daunting if I understand some basic concepts. And here are some of the basic things you won’t necessarily see explained on guides that include some terminal stuff.
CLI vs. GUI
Most programs we use today, rely on graphical user interfaces, or GUIs. In general, this means things like buttons, graphical icons, and more – and they can usually be operated by clicking around with a mouse (or finger, on a touch screen).
A command line interface, or CLI, is an alternative way of interacting with a program, where the main way is through lines of text called command lines.
Example
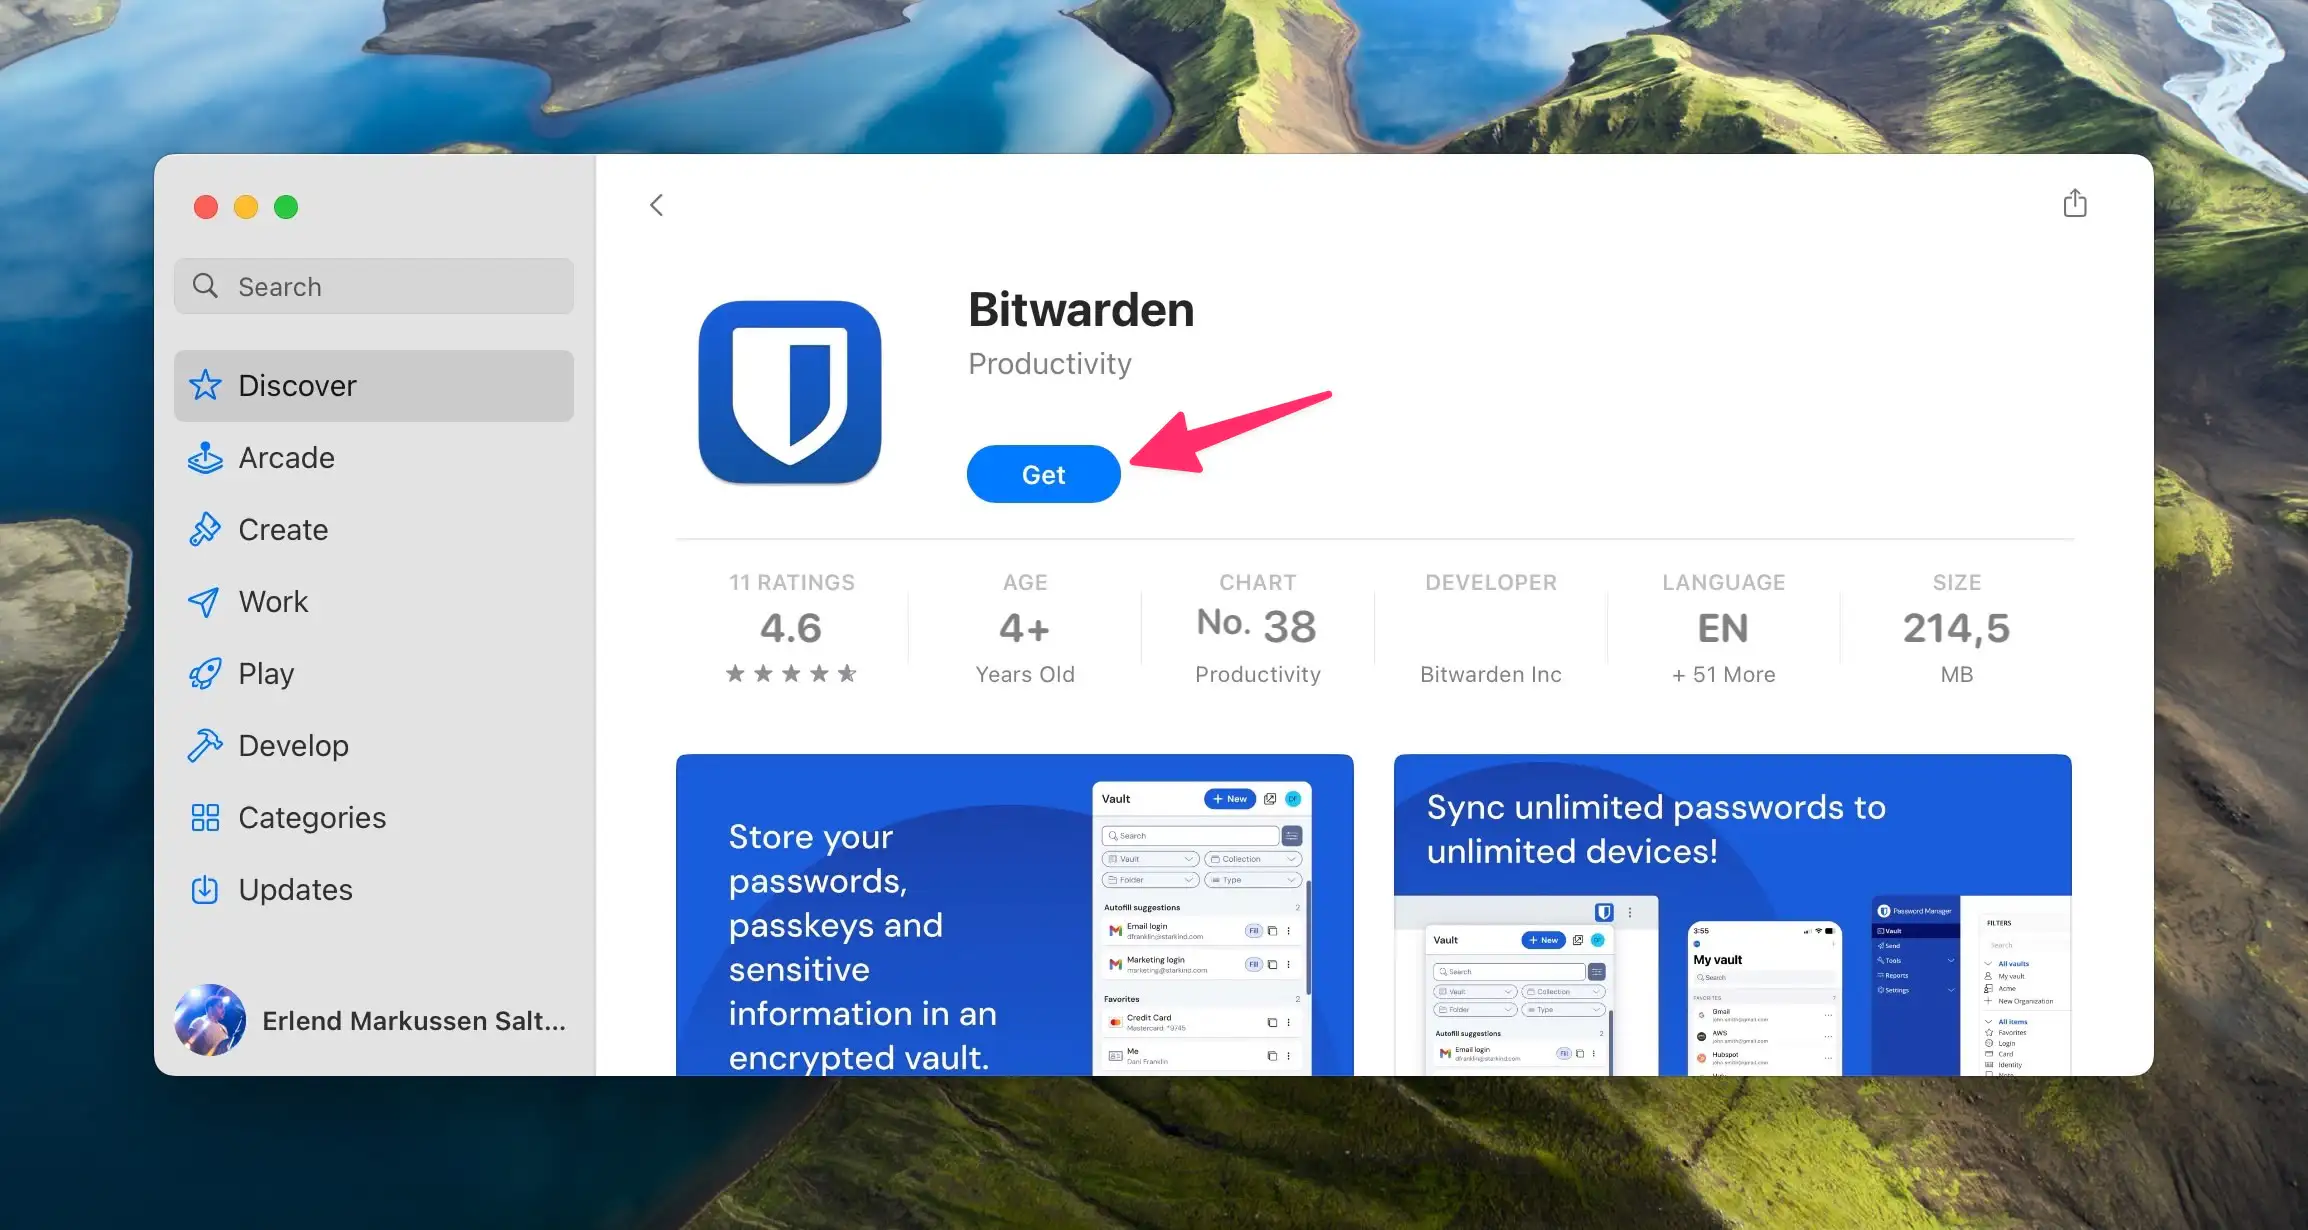
Let’s say I want to install Bitwarden.
A typical GUI way of doing it, is by going into the App Store, and click a button to install:
A CLI way of doing it, could be to use HomeBrew (which I’ve also written a noob guide on, here):
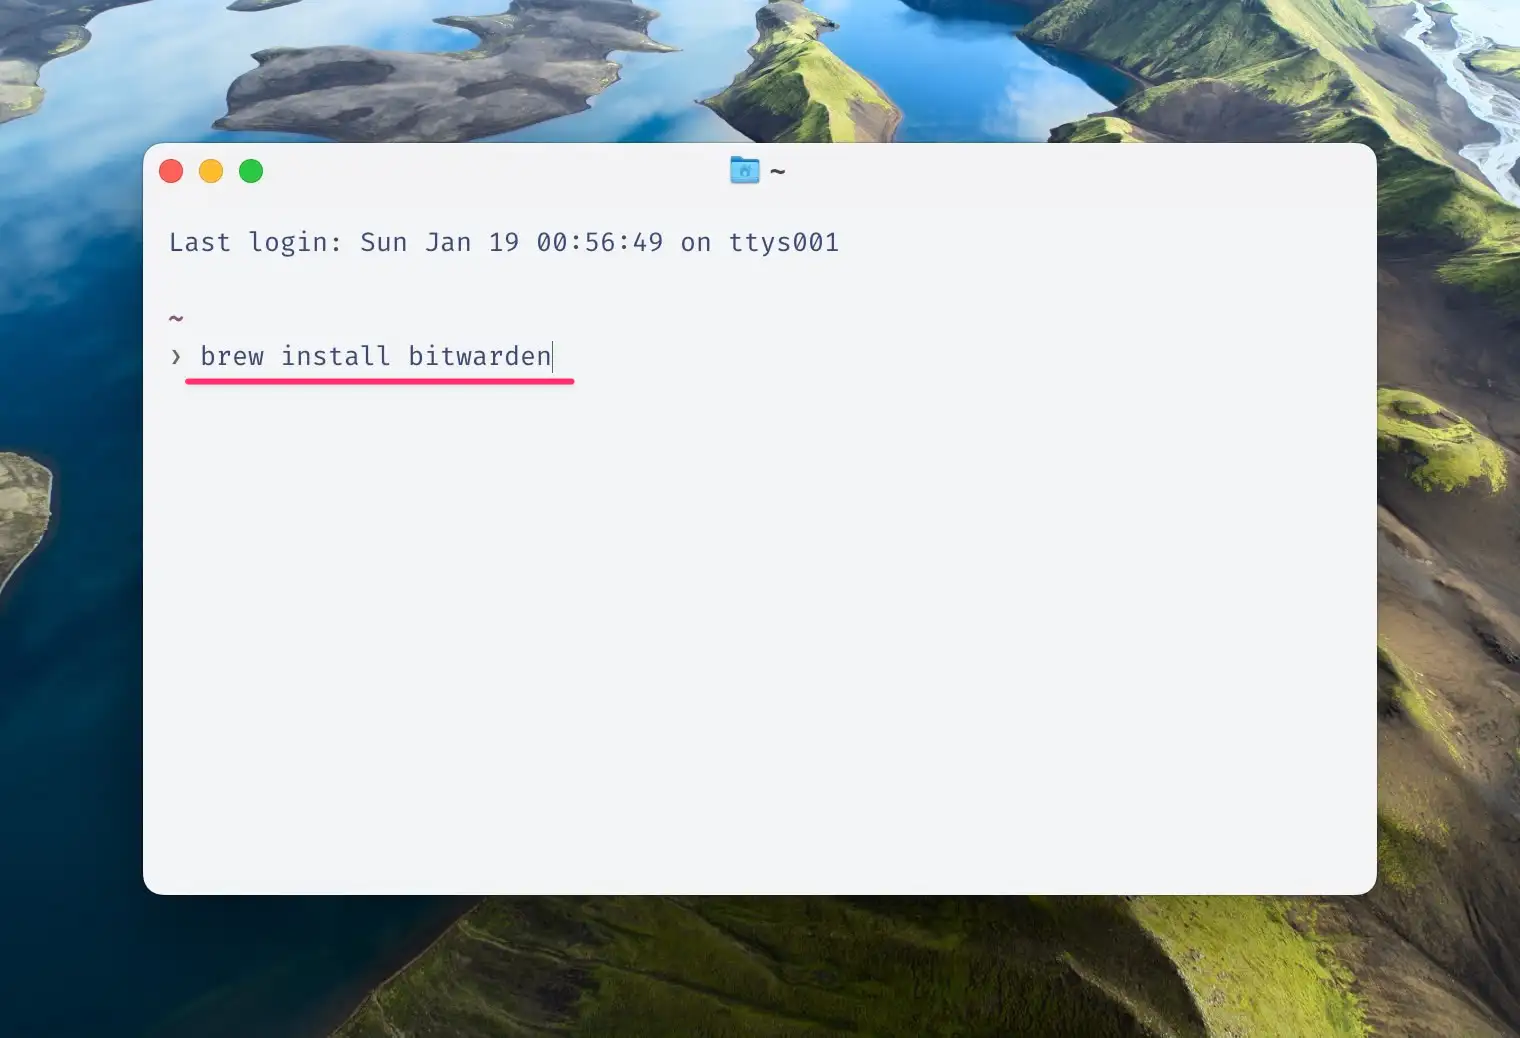
Writing brew install bitwarden will tell the program brew to run the command install, with the argument/parameter bitwarden. I like this because it can be faster. But you do have to know what to write!1
Terminal (emulator)
A bit simplified, a terminal is a way to give data to, and/or read data from, computers. And in the early days, this was the only way to do this. (The computer literally printing the data on paper, is also a type of terminal.)
If you’re in the GUI environment macOS, you can open the program Terminal.app. This is colloquially called a terminal, but is technically a terminal emulator – because it “only” emulates a terminal (within a GUI environment).
Some examples of terminal emulators (which I’ll get back to more later) are Terminal.app, iTerm 2, Warp 🖇️, Ghostty, Wezterm, and Alacritty.
Shell
OK, so:
- You type command lines into a terminal emulator (like iTerm)
- to use CLI programs (like HomeBrew).
But there’s one more piece of the puzzle: The Shell
As far as I understand it, a shell is a sort of interpretation layer between the operating system on one side, and user input and other programs on the other.
This can be for GUIs – like how the Quartz Compositor is a shell for windows on macOS, and Wayland can be a shell for Linux et al.
But there’s also a shell in the terminal2 which will interpret your commands.

The image above shows the installation instructions for Homebrew. The thing I want you to look at, is that it starts with a $ symbol. This is related to a shell called Bash. It’s not meant to be part of what you copy and paste, but to let you know that it will work in that shell.
The default shell on macOS is a different shell, called Z shell/Zsh, sometimes indicated by the % symbol. But this is made in a way that everything that works in Bash will work in Zsh. So if you see the $, just copy everything after the symbol, and you’re golden.
Prompt, working directory, and path
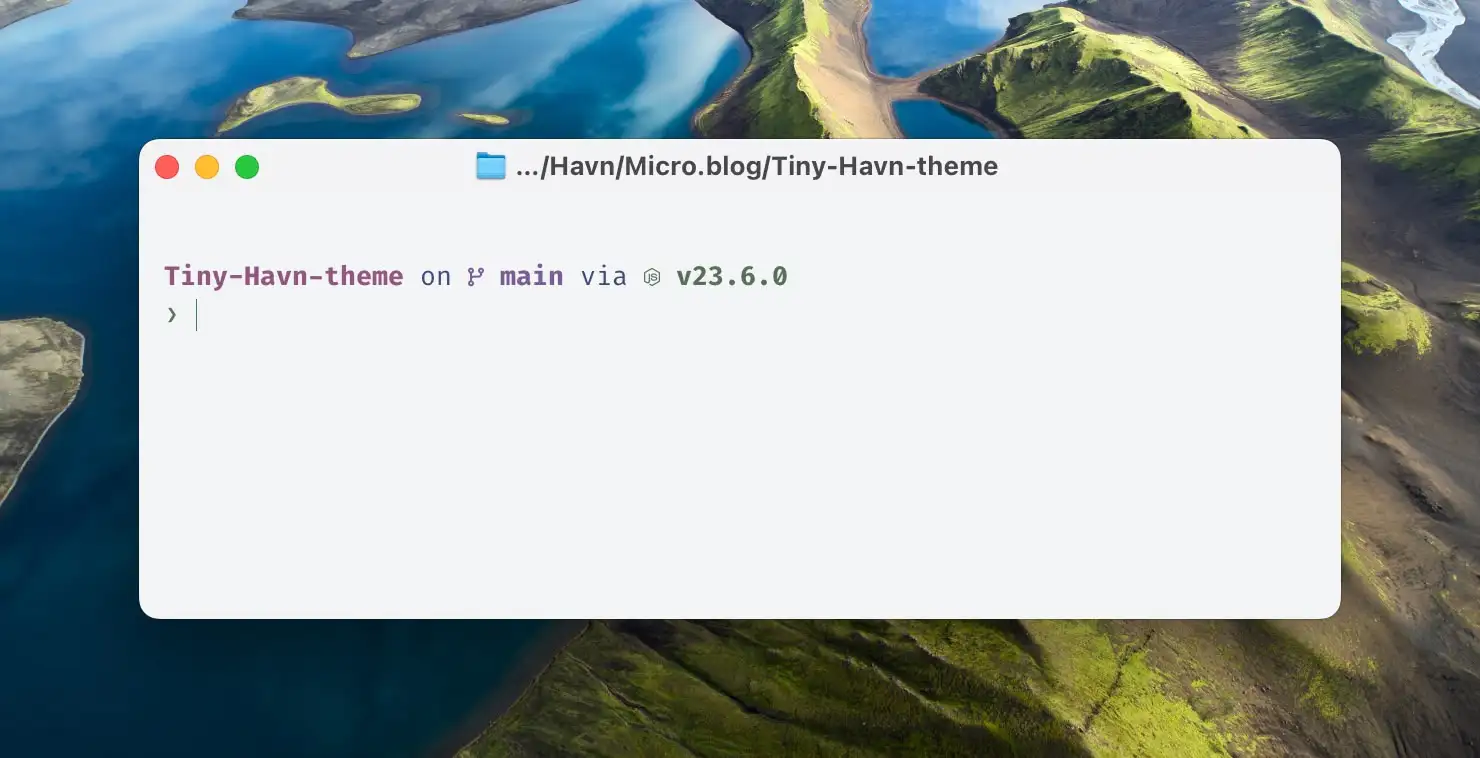
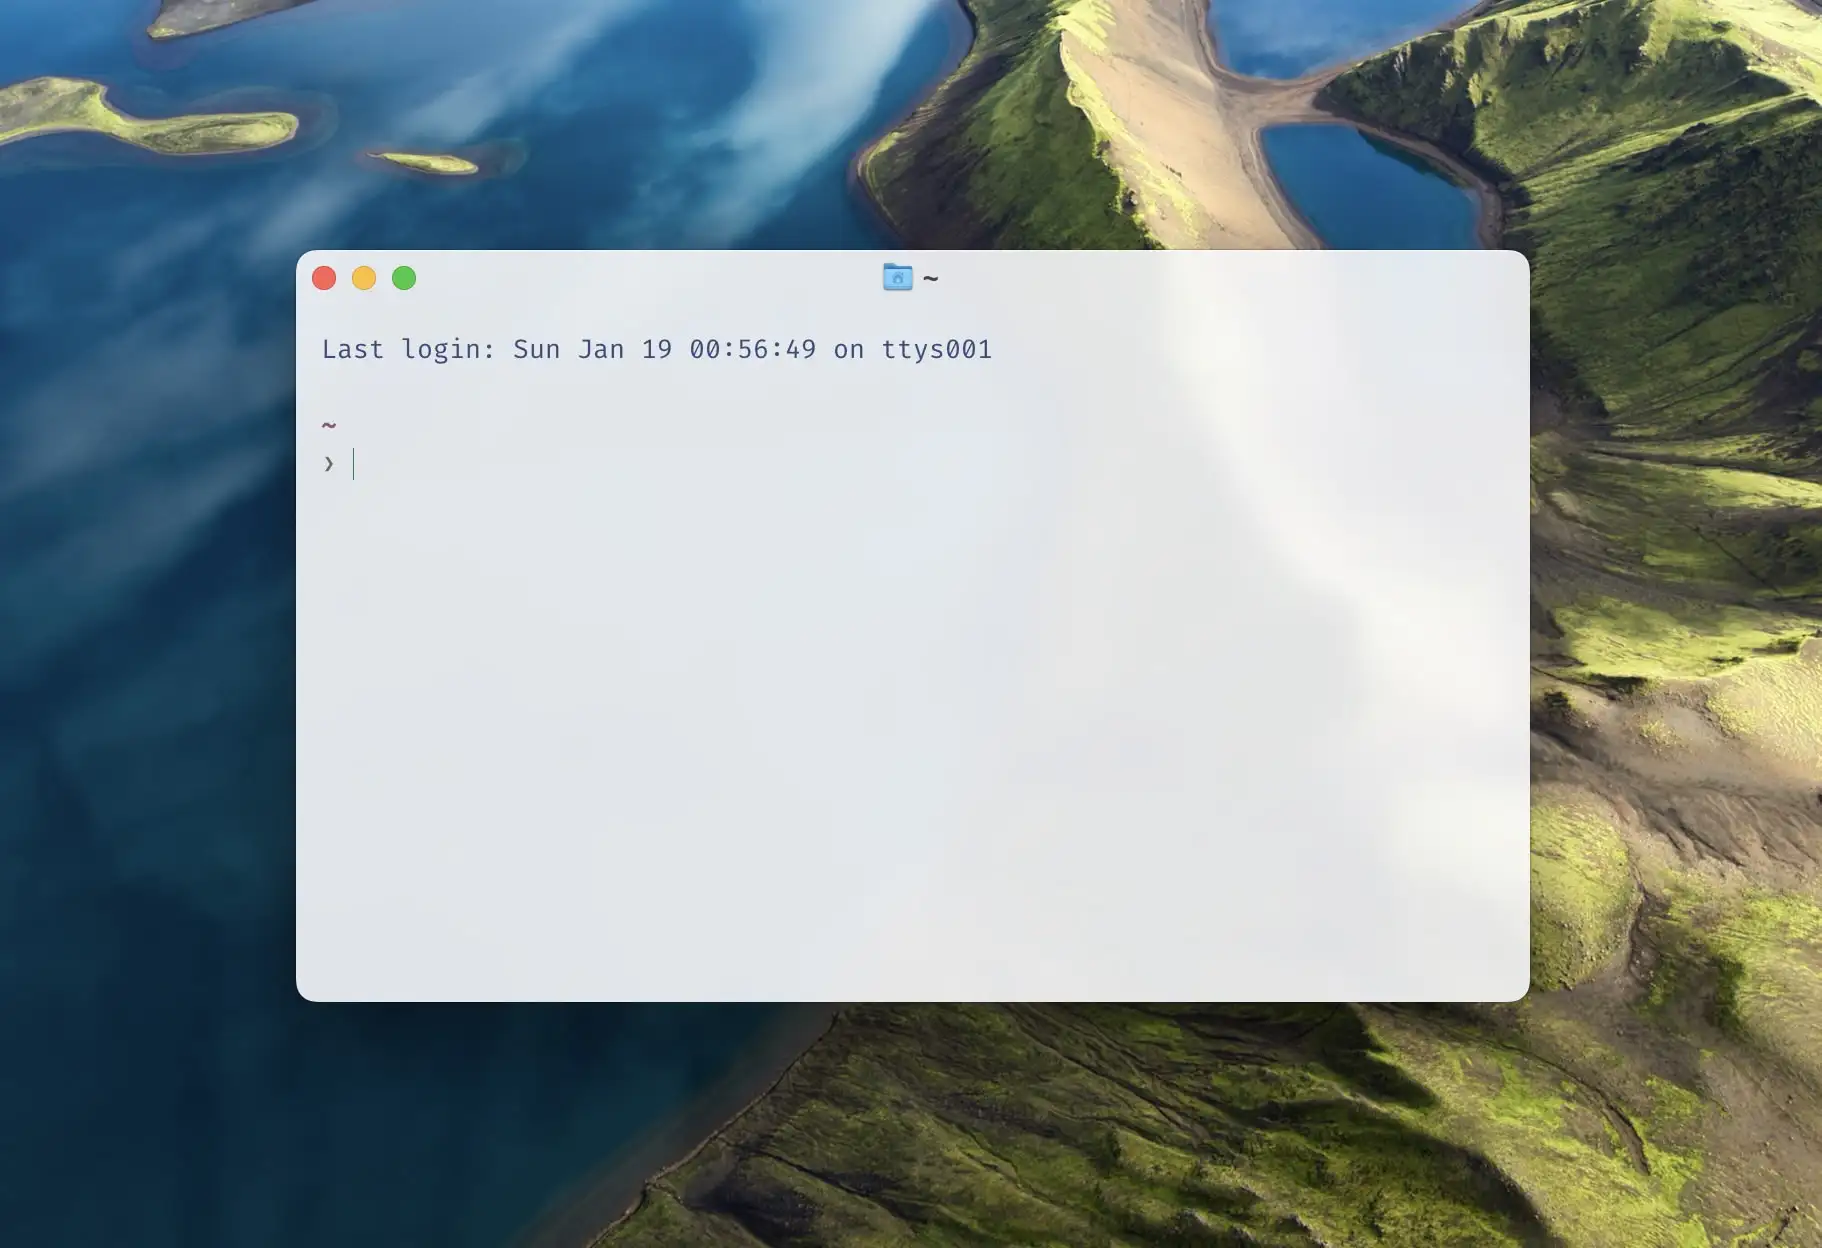
The image above is an example of an “empty” terminal window. And it, sort of, “asks” you for a command. Like, “What do you want me to do? Type it in here:”.
And the part that “asks”, is called the prompt.3
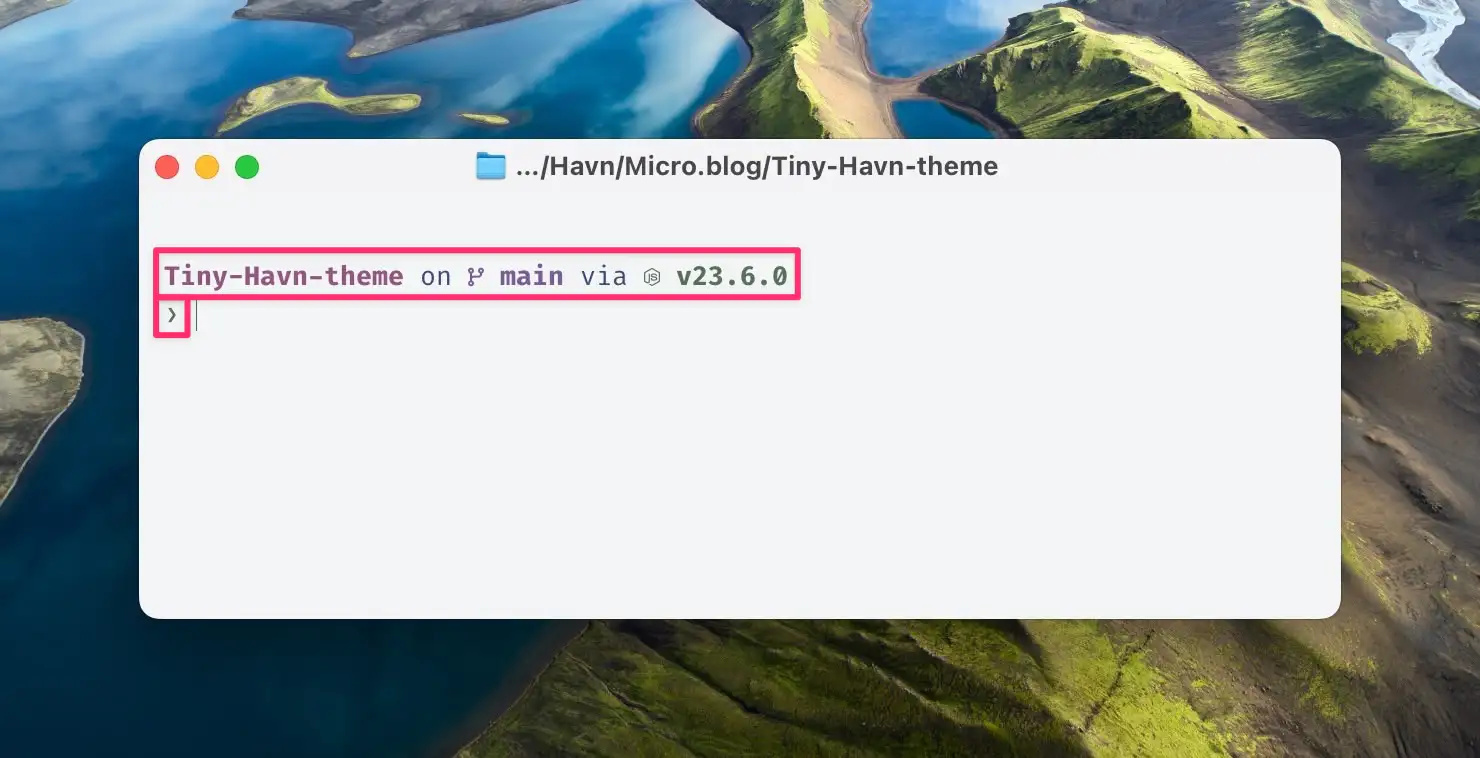
The parts I’ve highlighted are the prompt – and I can then type in commands below and after it. Currently, the prompt tells me the following:
- The folder Tiny-Havn-theme is the working directory – which is where I “am”.
- It has noticed that it’s a git repo – and this is currently on the main branch.
- It’s also showing that node.js (the icon) v23.6.0 is present.
What is included in the prompt, and how it looks, is highly customisable – and is something many enjoy tinkering with. I will go more into this in Part Three.

Working directory is a crucial concept when it comes to working with the terminal! The way I think about it, is that you are always somewhere on your computer when you’re using the terminal. You are always in a folder, like with Tiny-Havn-theme above.
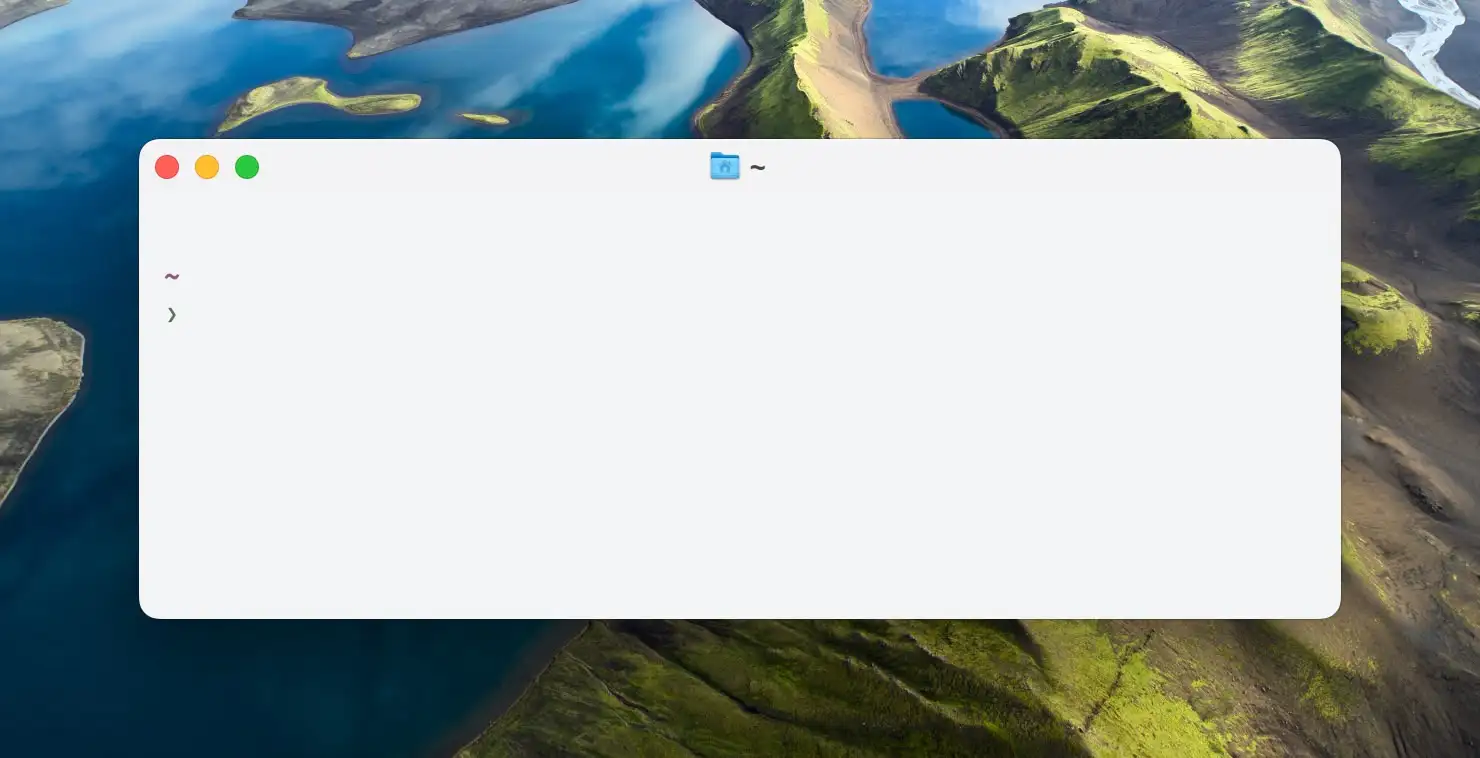
The example above is what things usually look like when you open up a fresh terminal window. And here the working directory is your Home folder (“Erlend” in my case). But as this name varies from user to user, the tilde symbol is used to indicate the home folder. So that’s why the working directory is just ~. And something like “~/Downloads” means the Downloads folder in your Home folder.
The command mkdir will create a folder. And without further specification, it will create it your working directory. This is one way the working directory matters.
But here’s another important way: By default, you can only issue commands to programs within your working directory.
This can be beneficial – however, some programs you absolutely want access to from everywhere. Luckily, you can tell your terminal: “Hey, programs in these folders are accessible from everywhere.” This is called your PATH.

You can run echo $PATH to see a terribly formatted result of the current folders. Among other things, I have this folder there: /opt/homebrew/bin.4 Both Homebrew itself and the programs I install with it gets placed into that folder. And as it’s “in my path”, I can run brew commands (and everything I install with Homebrew) from any working directory.5
Basic concepts, summarised:
- After a prompt (which tells you a bit about your context) you type command lines (and read outputs) in a terminal emulator (like iTerm).
- These commands are then interpreted by a shell (like Zsh),
- before getting passed on to things like CLI programs (like Homebrew).
- You’ll always be “in” a folder on the computer, while using the terminal. This is the working directory. But you can move around, of course!
- In general you can only use commands related to programs located in the working directory. If you want to be able to use a program from everywhere, it has to be placed in your PATH (which you’ll often do!).
- For some commands (like
brew list, which shows you a list of the apps you have installed with Homebrew), your working directory doesn’t matter. You have access to it from anywhere, and the action doesn’t do anything to your working directory. - However, sometimes a command (like
mkdir) will do something to your working directory (unless you specify otherwise) – so then “where you are” is relevant.
Now, click here to go to Part Two, to read about why people use the terminal voluntarily, and some things you can do with it.
Or, you can jump straight to Part Three, to learn how you can make your terminal more noob-friendly.
-
I’ll get back to this later. But a tip for HomeBrew is that you can write
brew search bitwarden(or whatever) to know that you’re using the correct name. ↩︎ -
I’ll skip “emulator” from now on. ↩︎
-
Not to be confused with AI prompts. ↩︎
-
I can find it by going to Macintosh HD, and show hidden files and folders. ↩︎
-
Another mentioned folder, is
/bin. And that’s where the built-inmkdiris located. ↩︎