My Setup for the M4 Mini as a Secondary Mac
NAS, Media Server, and Light Gaming
I spent the weekend setting up my little new Mac – and I have to say: it went pretty smoothly! Here’s what I did, and how you can do it yourself if you like.
The hardware
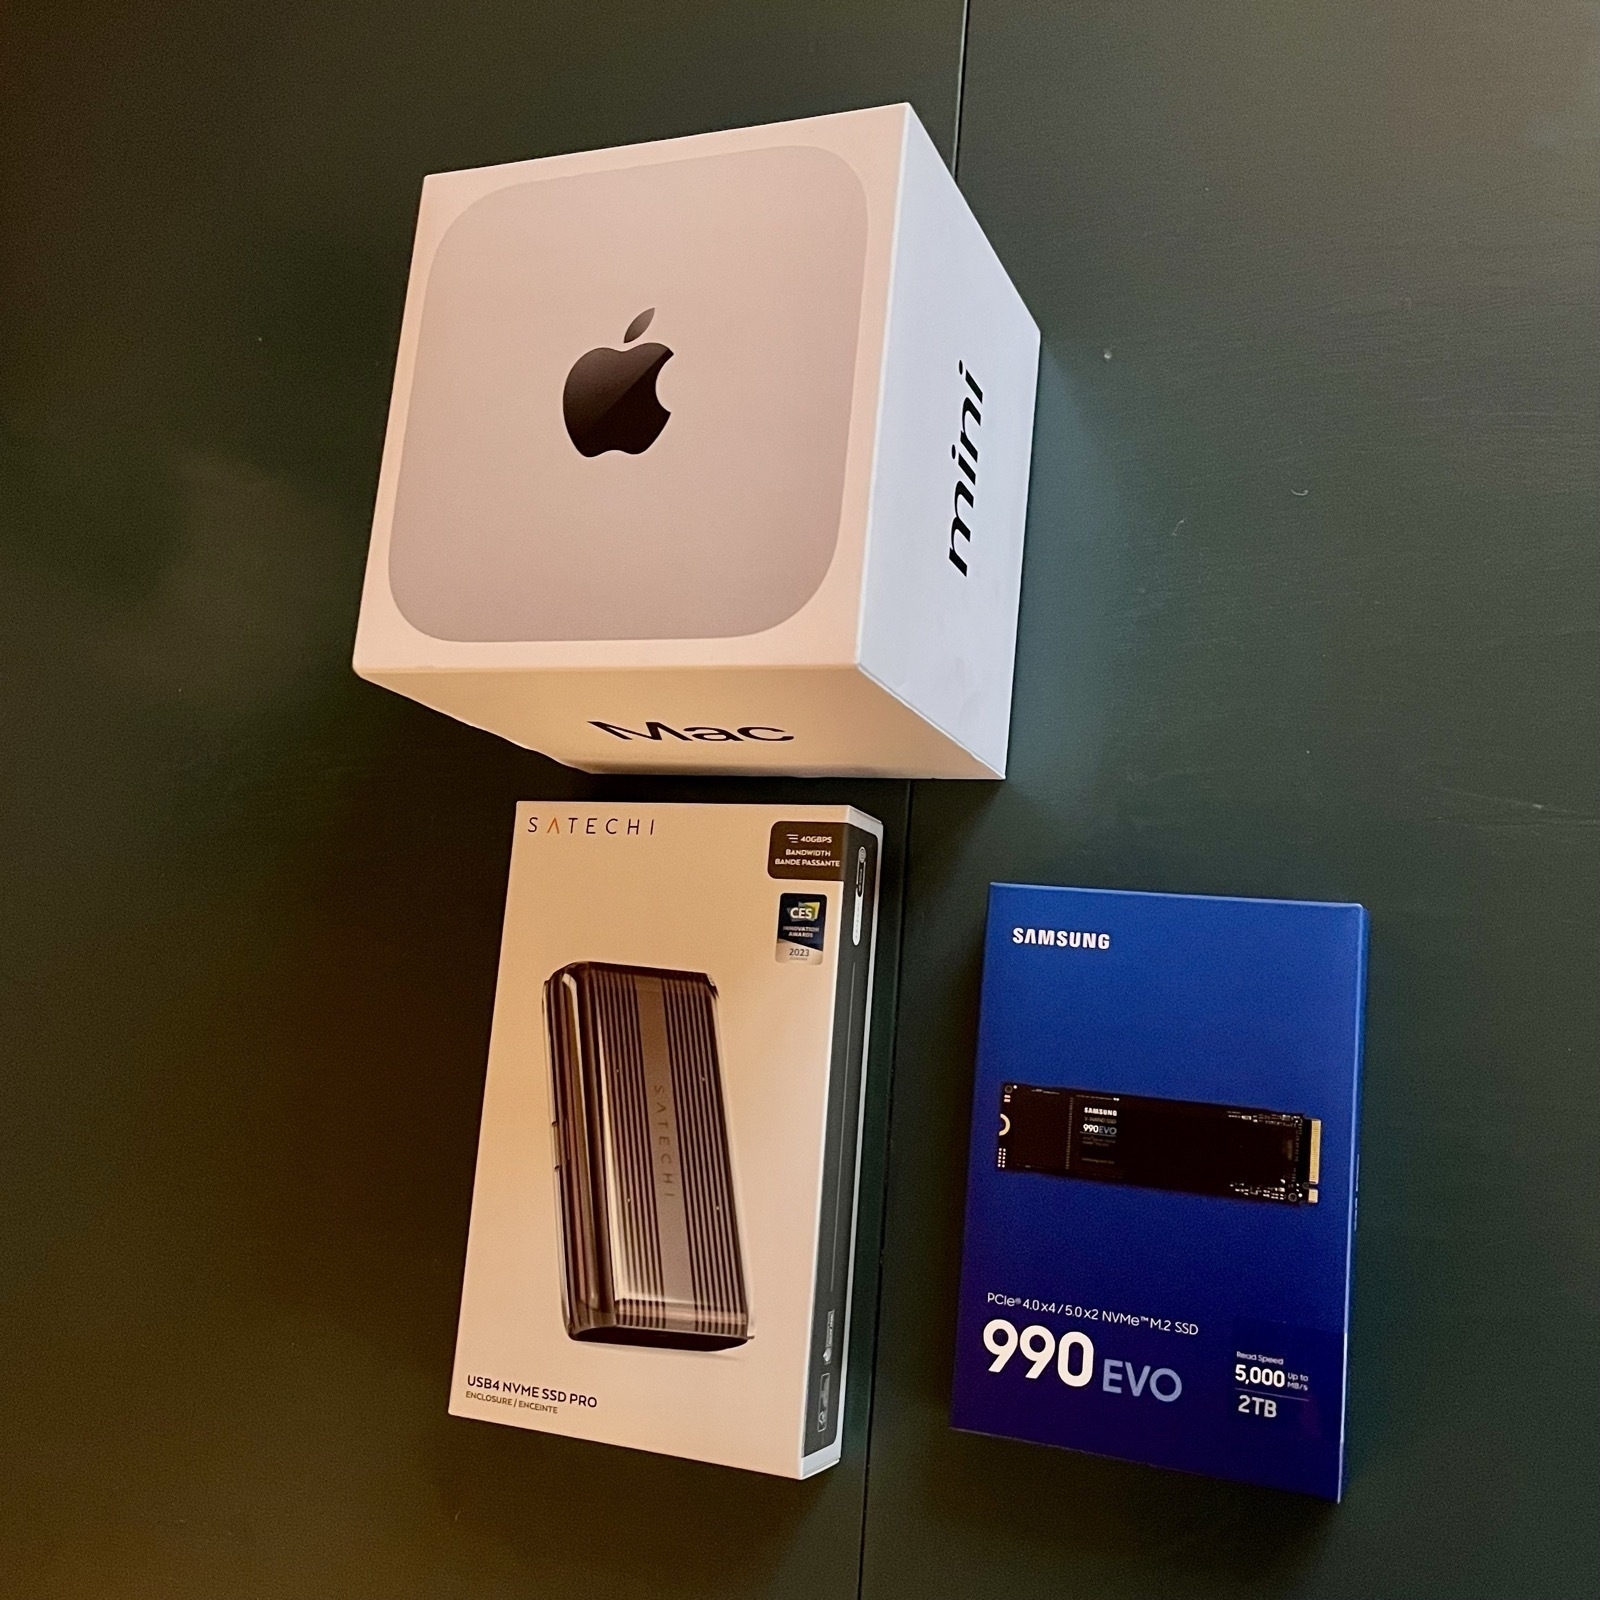
As Apple’s upgrade prices are certified insane, I went for the absolute base model. I did briefly consider getting 10 gig Ethernet – but I had to change too much about my setup to get any benefits from it. And I don’t really need that fast a connection for my use case.
16 GB of ram is enough for me, but the built-in 256 GB of storage is obviously too little. But as it’s a stationary machine, getting external storage works great.
Some drives will use regular USB speeds (for instance USB 3.2 Gen 2). These are cheaper – but if you go for USB 4 or Thunderbolt 3+ you will get about three times the speed. If you, like me, want to run programs (like games) straight from the disk, you’ll probably want the latter.
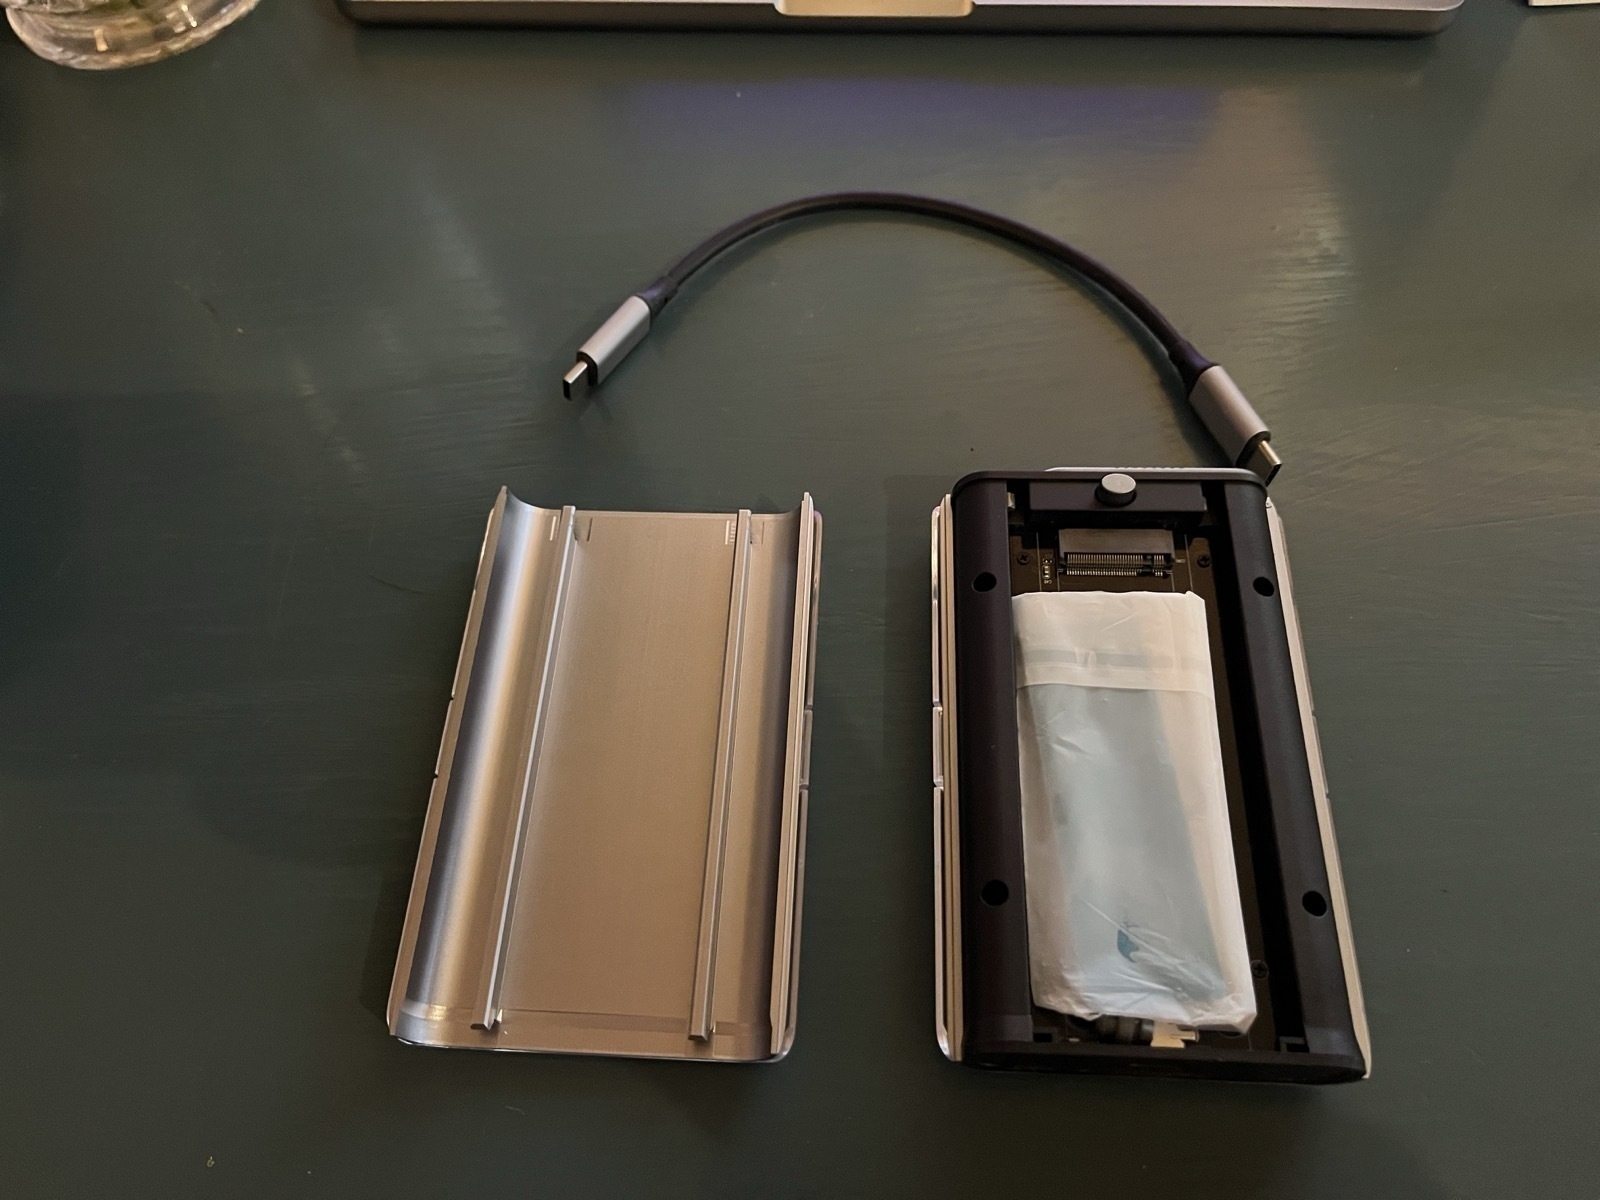
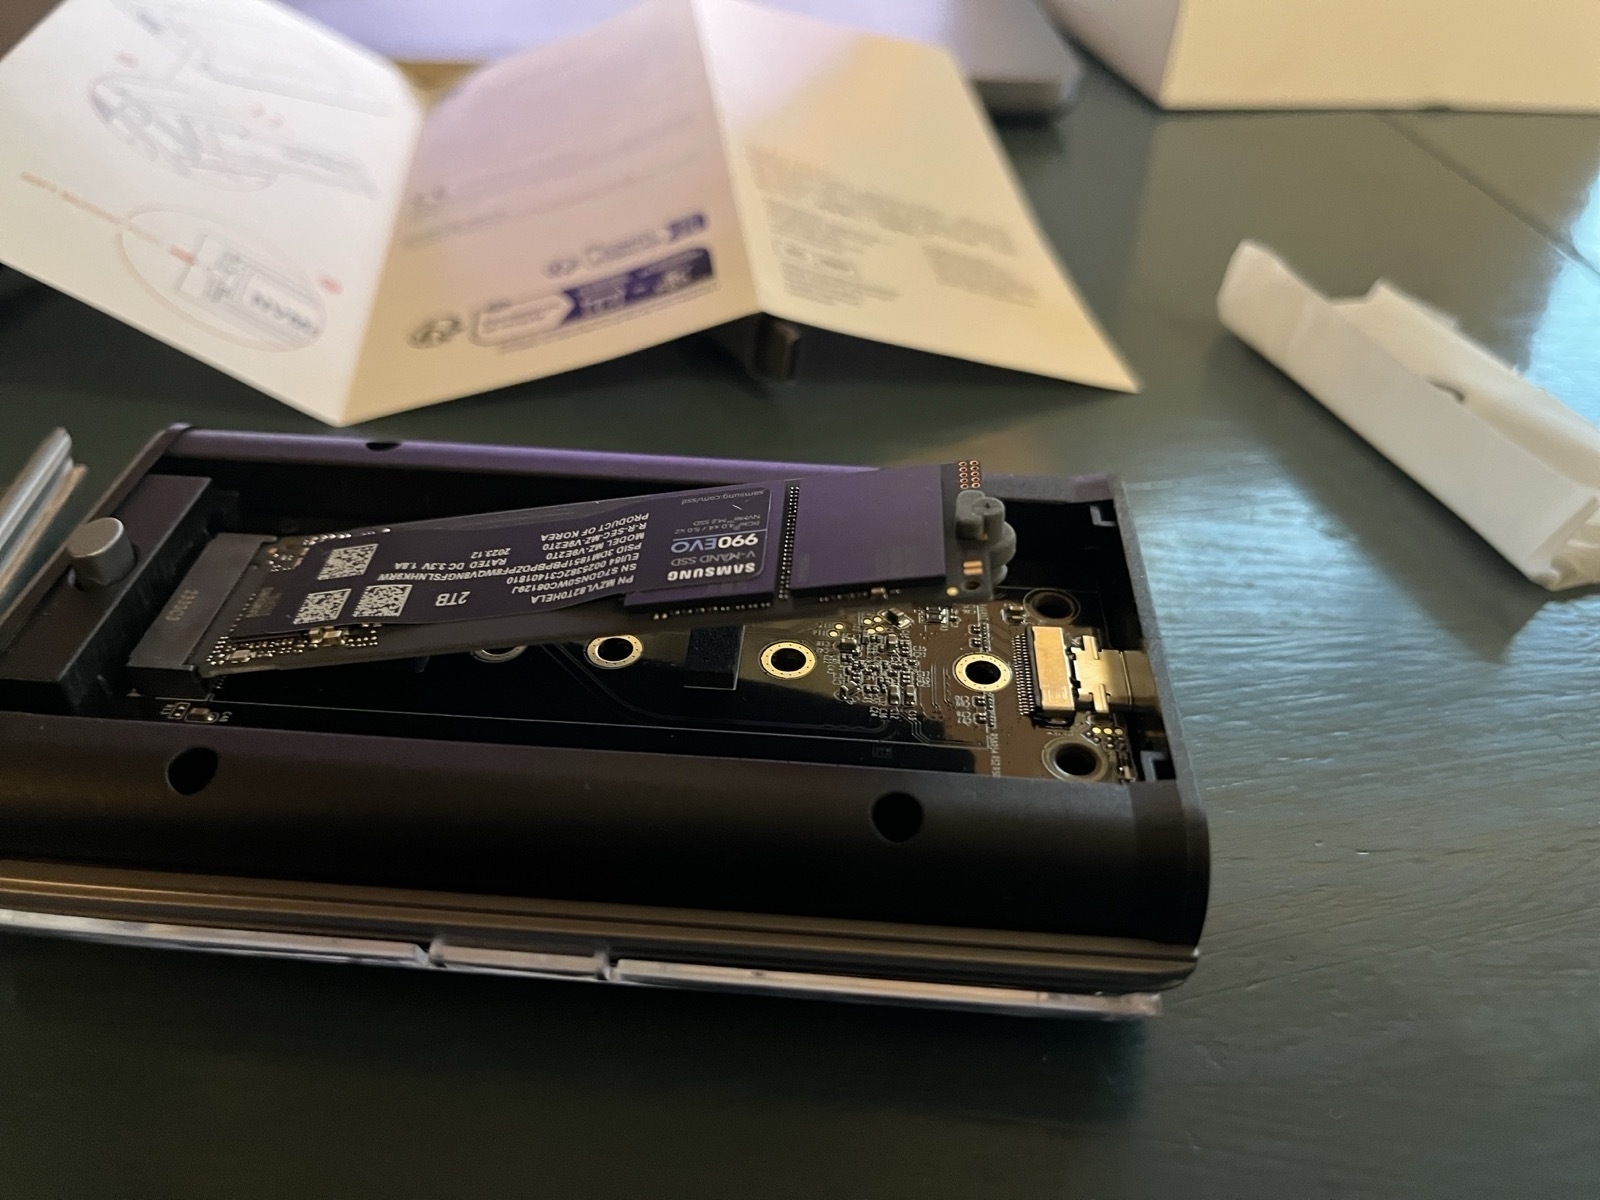
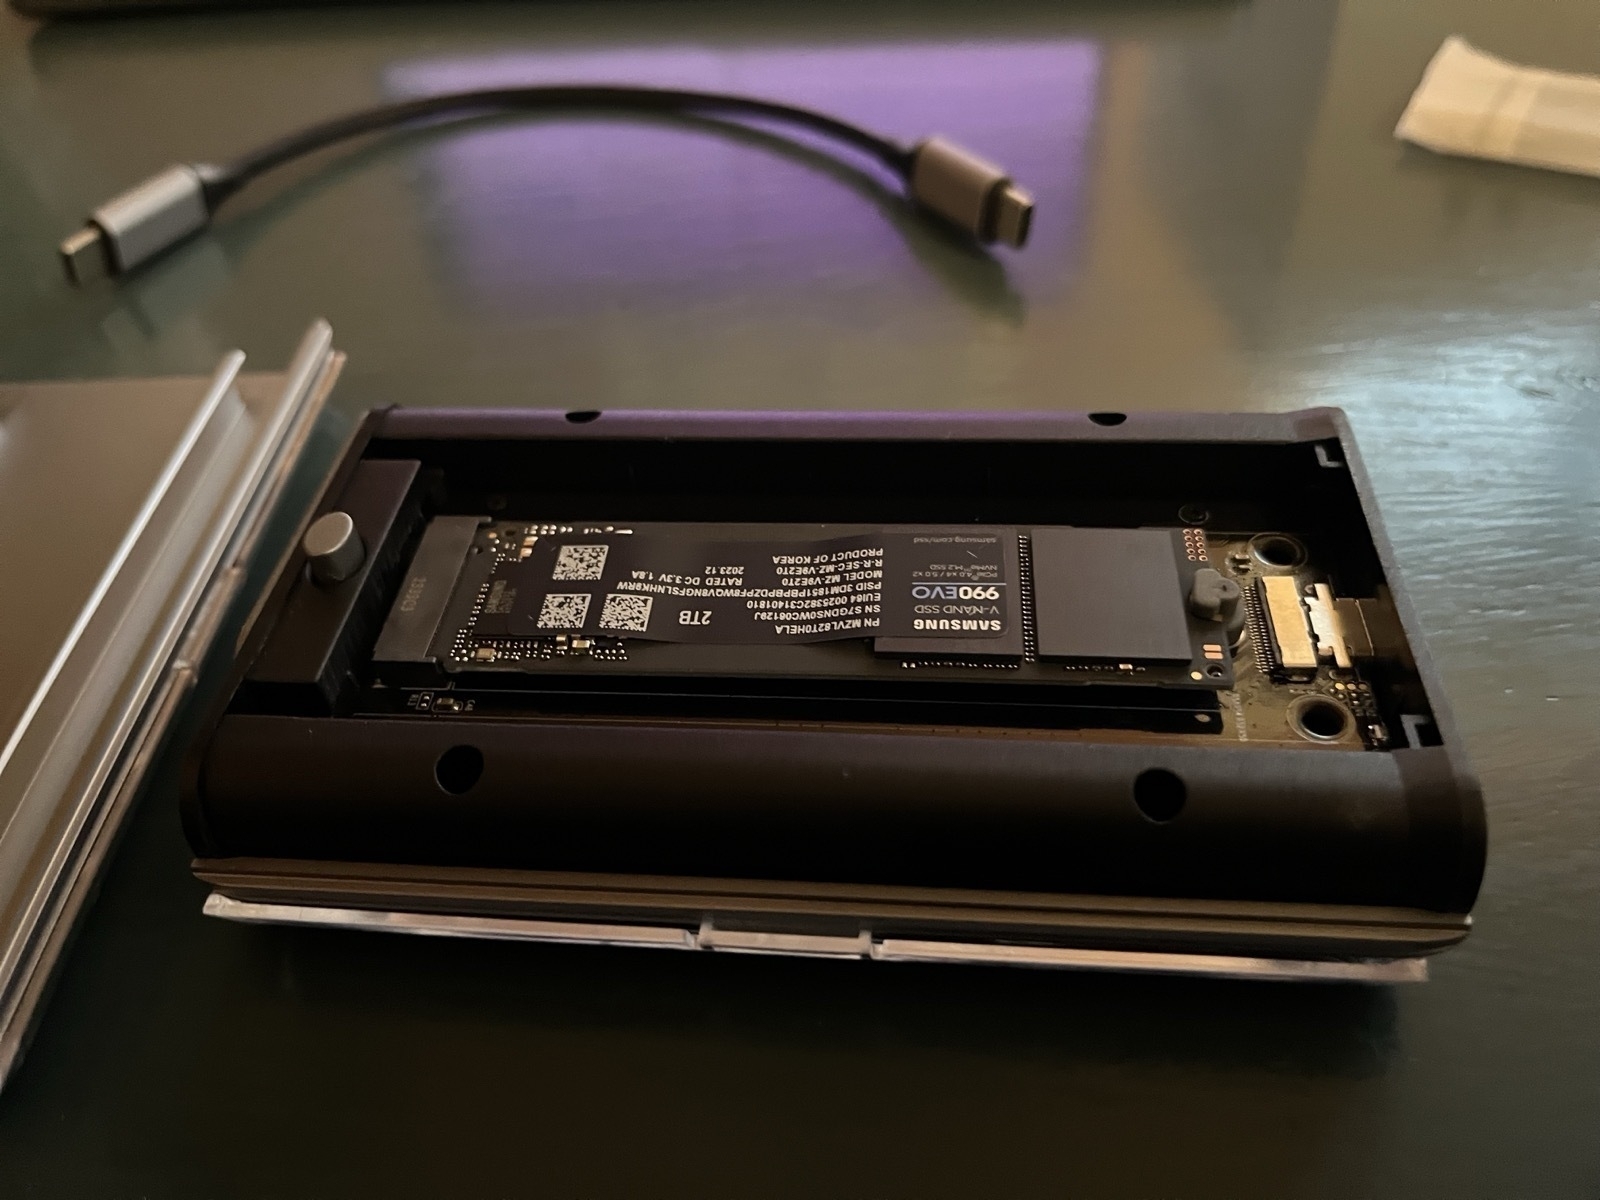
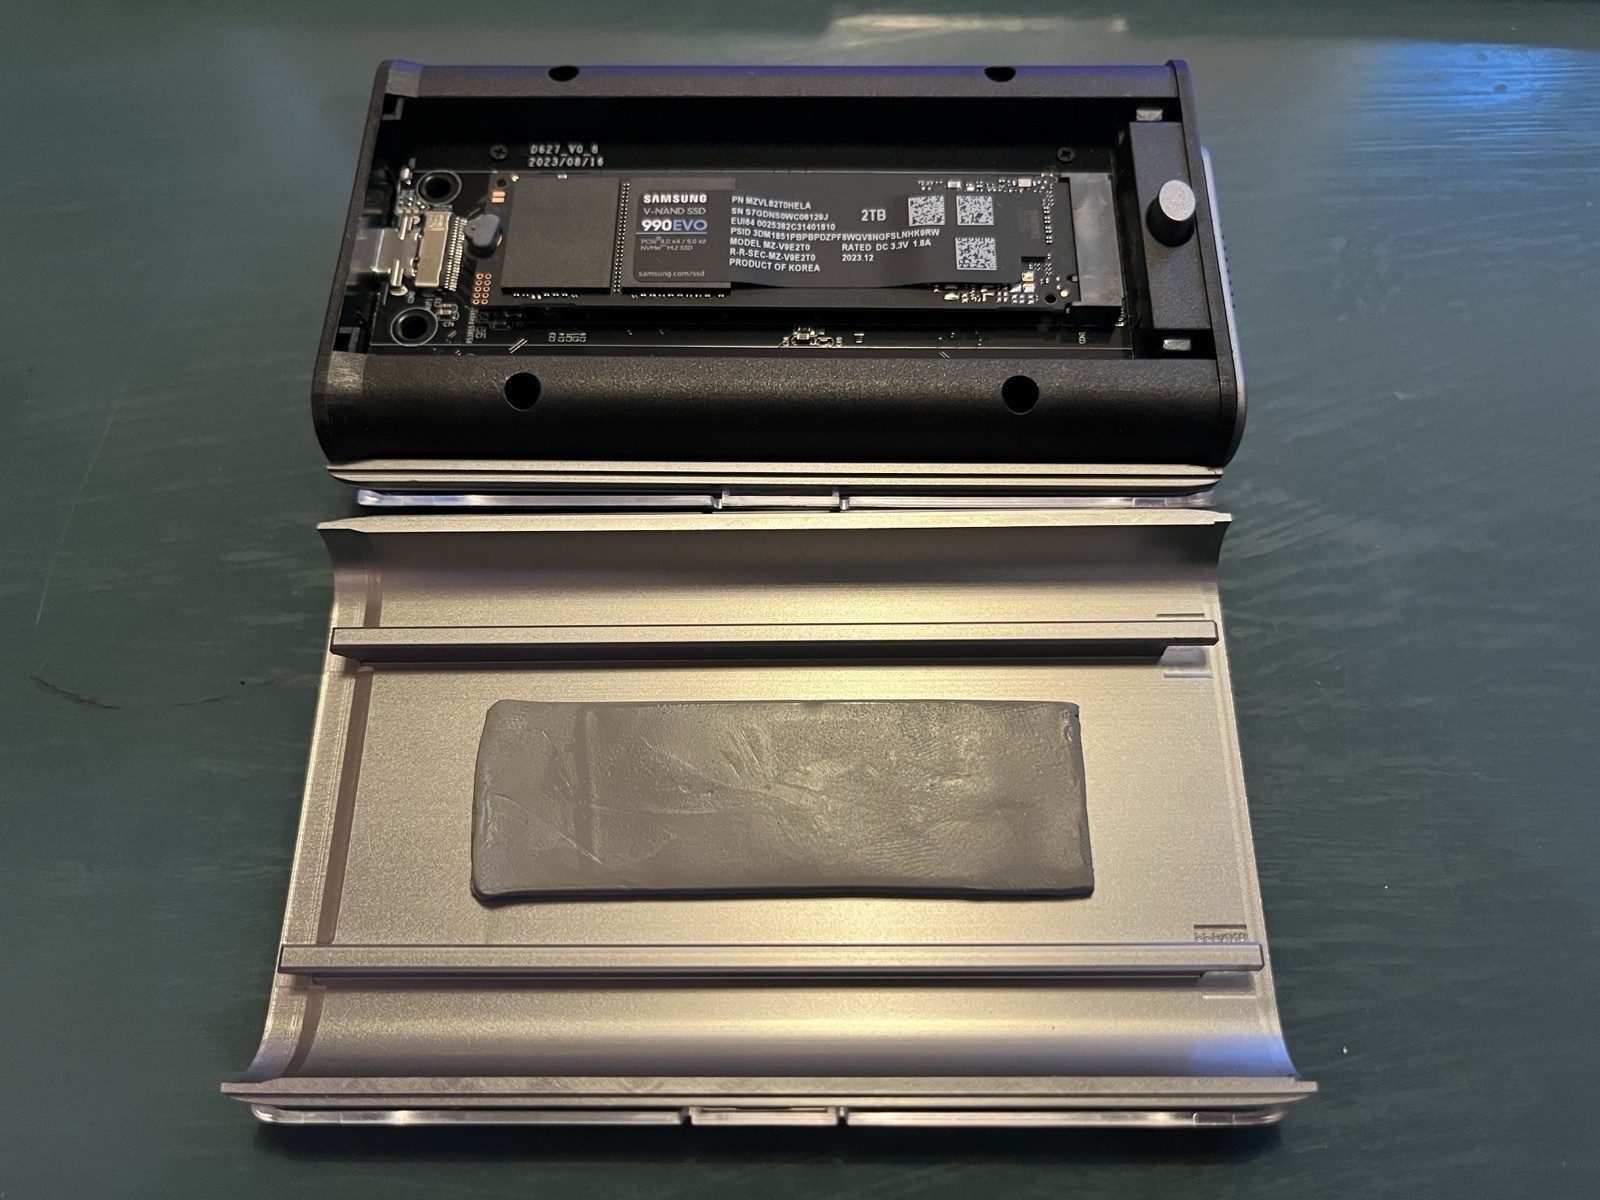
Instead of getting a regular external SSD like this 🖇️, I went for getting an enclosure + a separate drive. These are much less compact – but they’re flexible and upgradeable down the line.
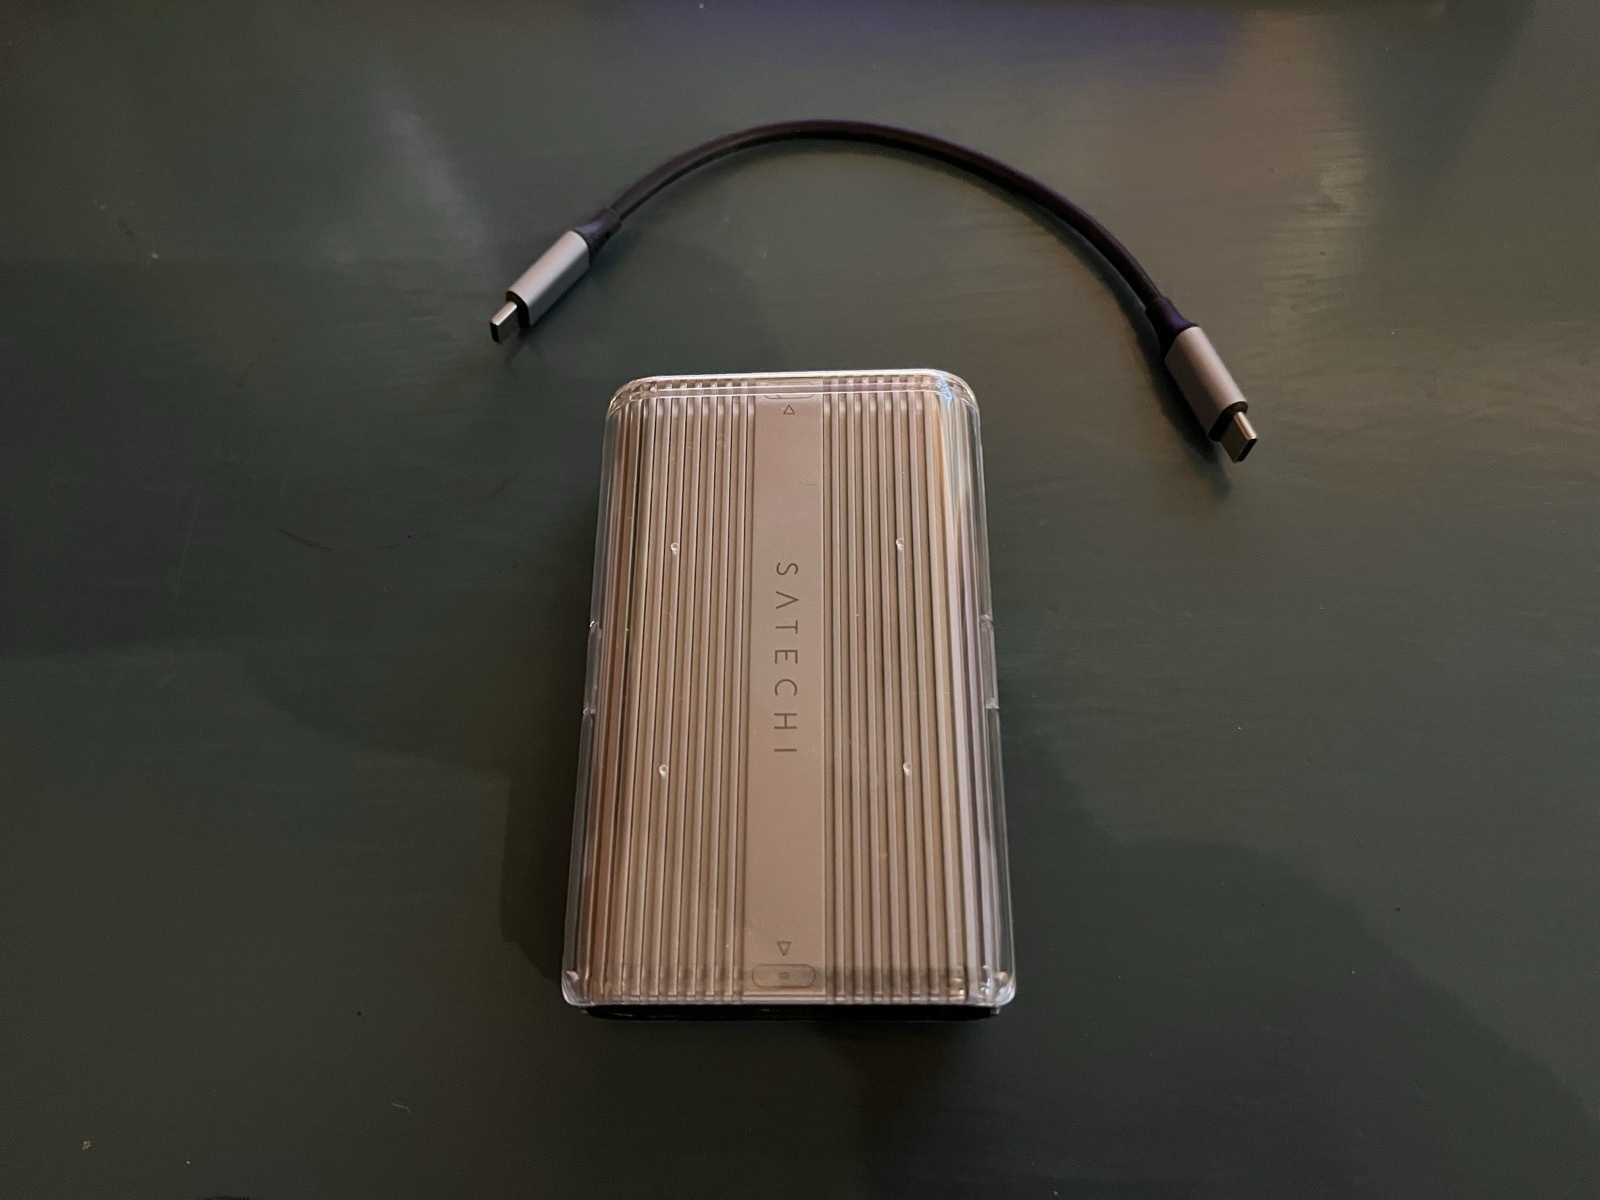
For enclosure, I have seen this 🖇️ from HyperDrive and this 🖇️ from Satechi receiving numerous recommendations – and I found both of them in Norway. The only difference between them (apart from looks) I could see, was that the HyperDrive is rated for a maximum of 4 TB, while the Satechi can handle 16 TB. I could only afford a 2 TB drive currently (and don’t need more currently) – but I still went for the Satechi, also because I’ve had good experiences with the brand previously. (BTW, they also have a much cheaper, enclosure 🖇️ for regular USB-C.)
My drive is a Samsung 🖇️ 990 EVO 2 TB SSD. It’s rated for 5000 MB/s, which is probably more than needed (but it was about the same price as slower drives here). Especially if you’re going for regular USB-C, the drive doesn’t have to be fast. (But perhaps get something name-brand, to make sure it’s stable.)
Drive setup
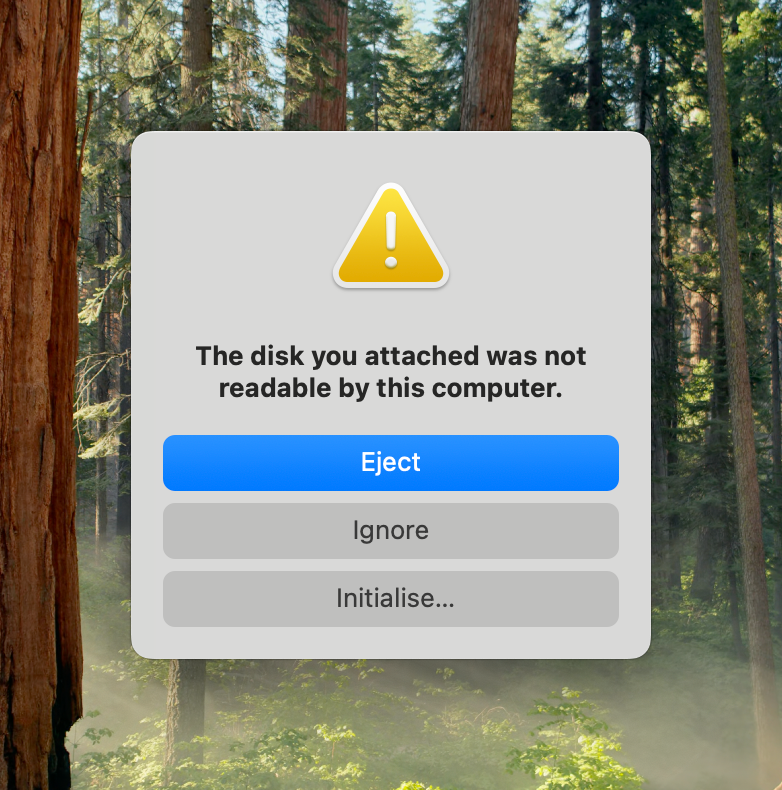
When I then connected it to my MacBook, I got this:
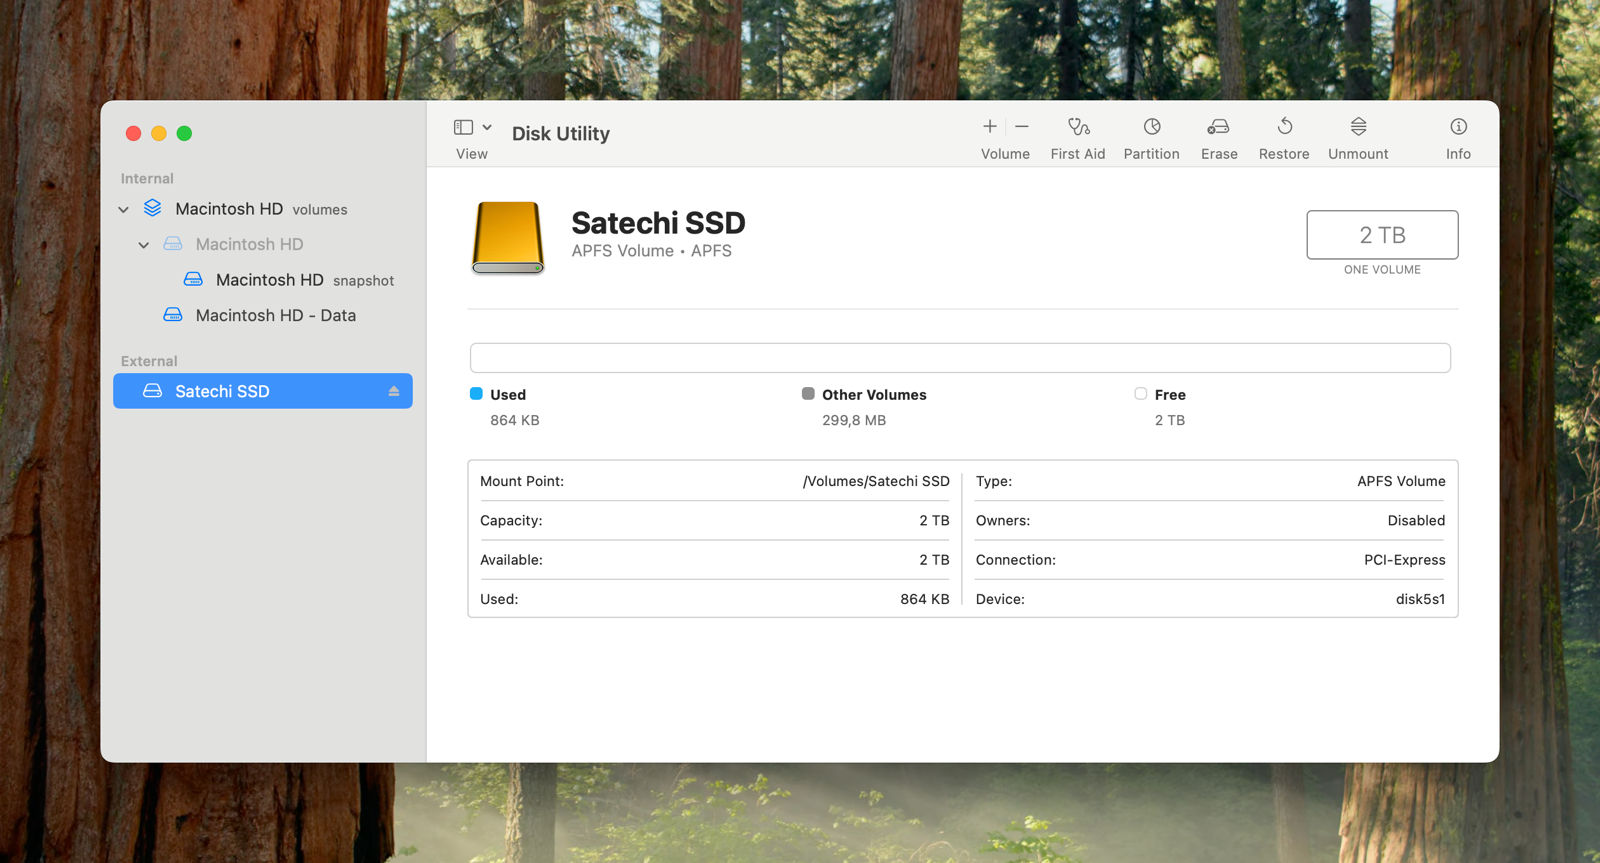
But don’t worry! Hitting “Initialise…”, or launching the Mac app Disk Utility, brings you here:
Hitting Erase up top, and formatting it to APFS, is all you need to make it work. (APFS isn’t the best for cross-platform-ness – but it’s the best for Mac, and needed for Time Machine.)
The speeds
Here are the speeds I got from different devices. 👇🏻 I ran a couple of tests, and these results were representative. Not too bad, IMO!
| Measurement | Enclosure | M1 Pro MB | M4 Mini |
|---|---|---|---|
| Sequential R: | 2445 MB/s | 4689 MB/s | 5221 MB/s |
| Sequential W: | 2508 MB/s | 4665 MB/s | 5318 MB/s |
| Random R: | 848 MB/s | 857 MB/s | 768 MB/s |
| Random W: | 844 MB/s | 852 MB/s | 780 MB/s |
The SSD enclosure is absolutely warm while in use, but not hot. I assume that’s OK? 😅
My placement
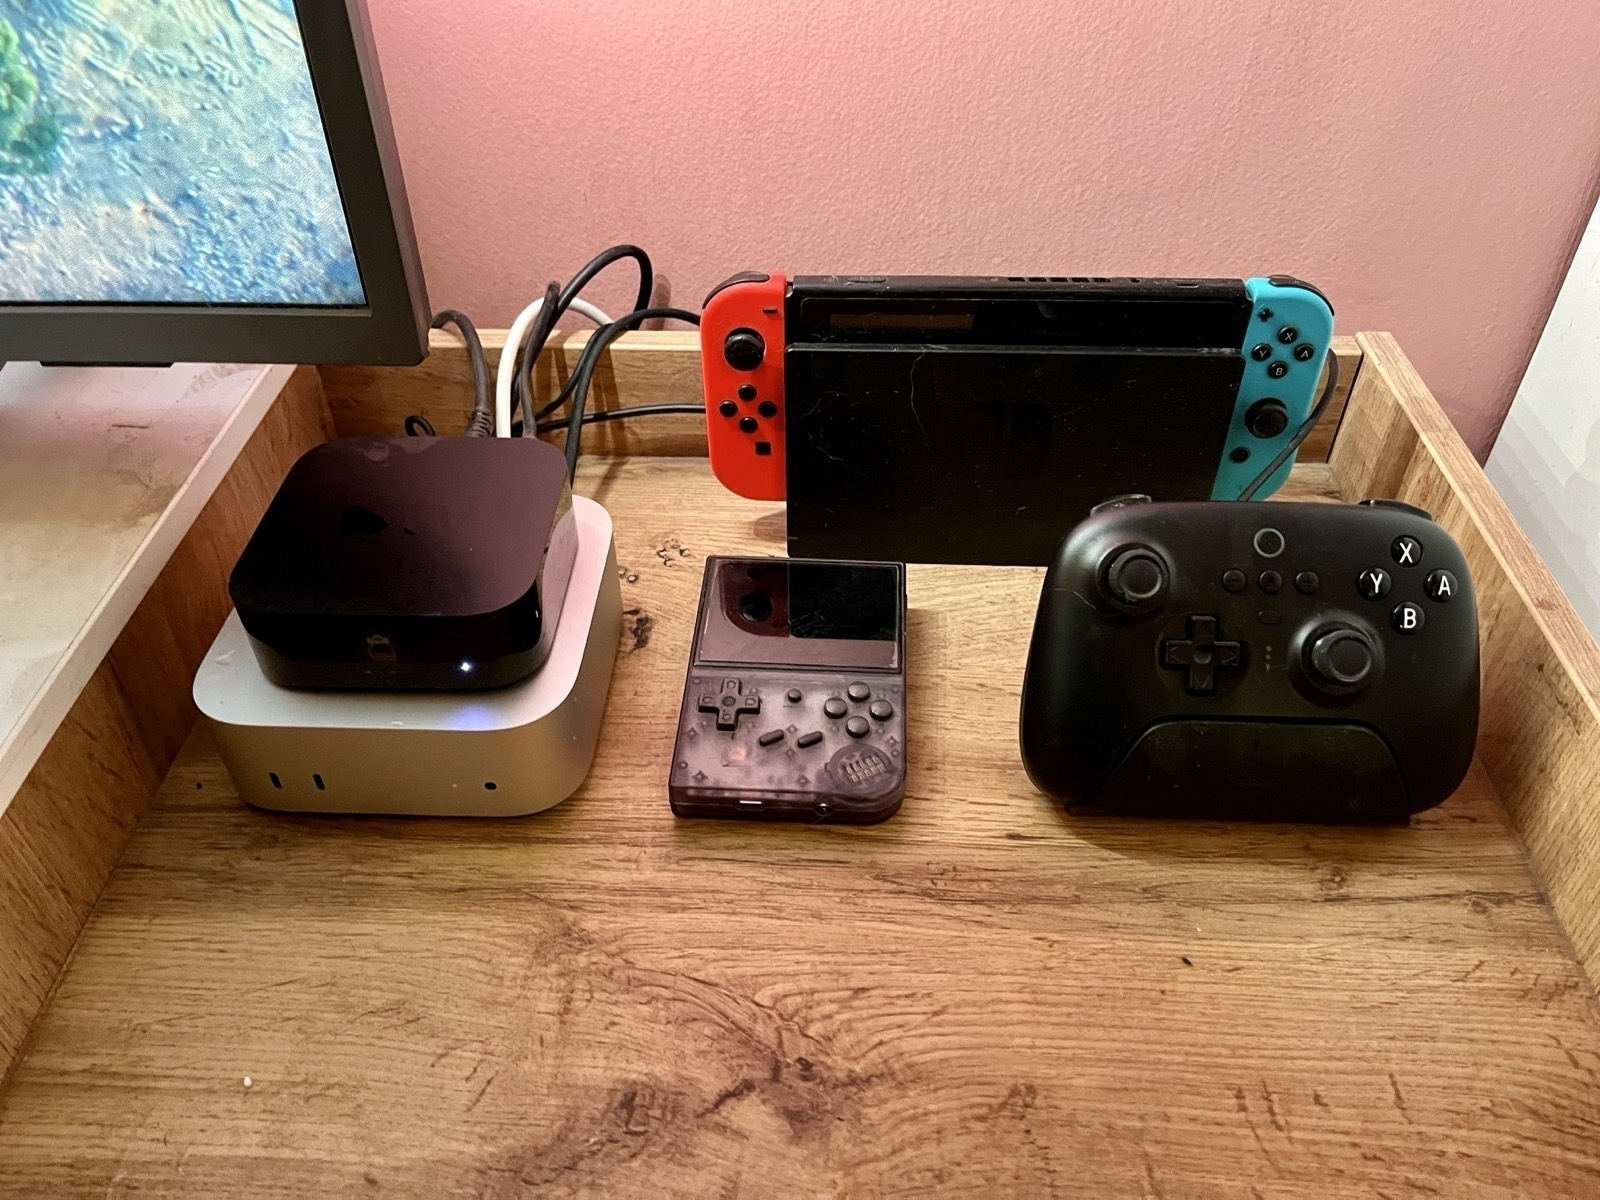
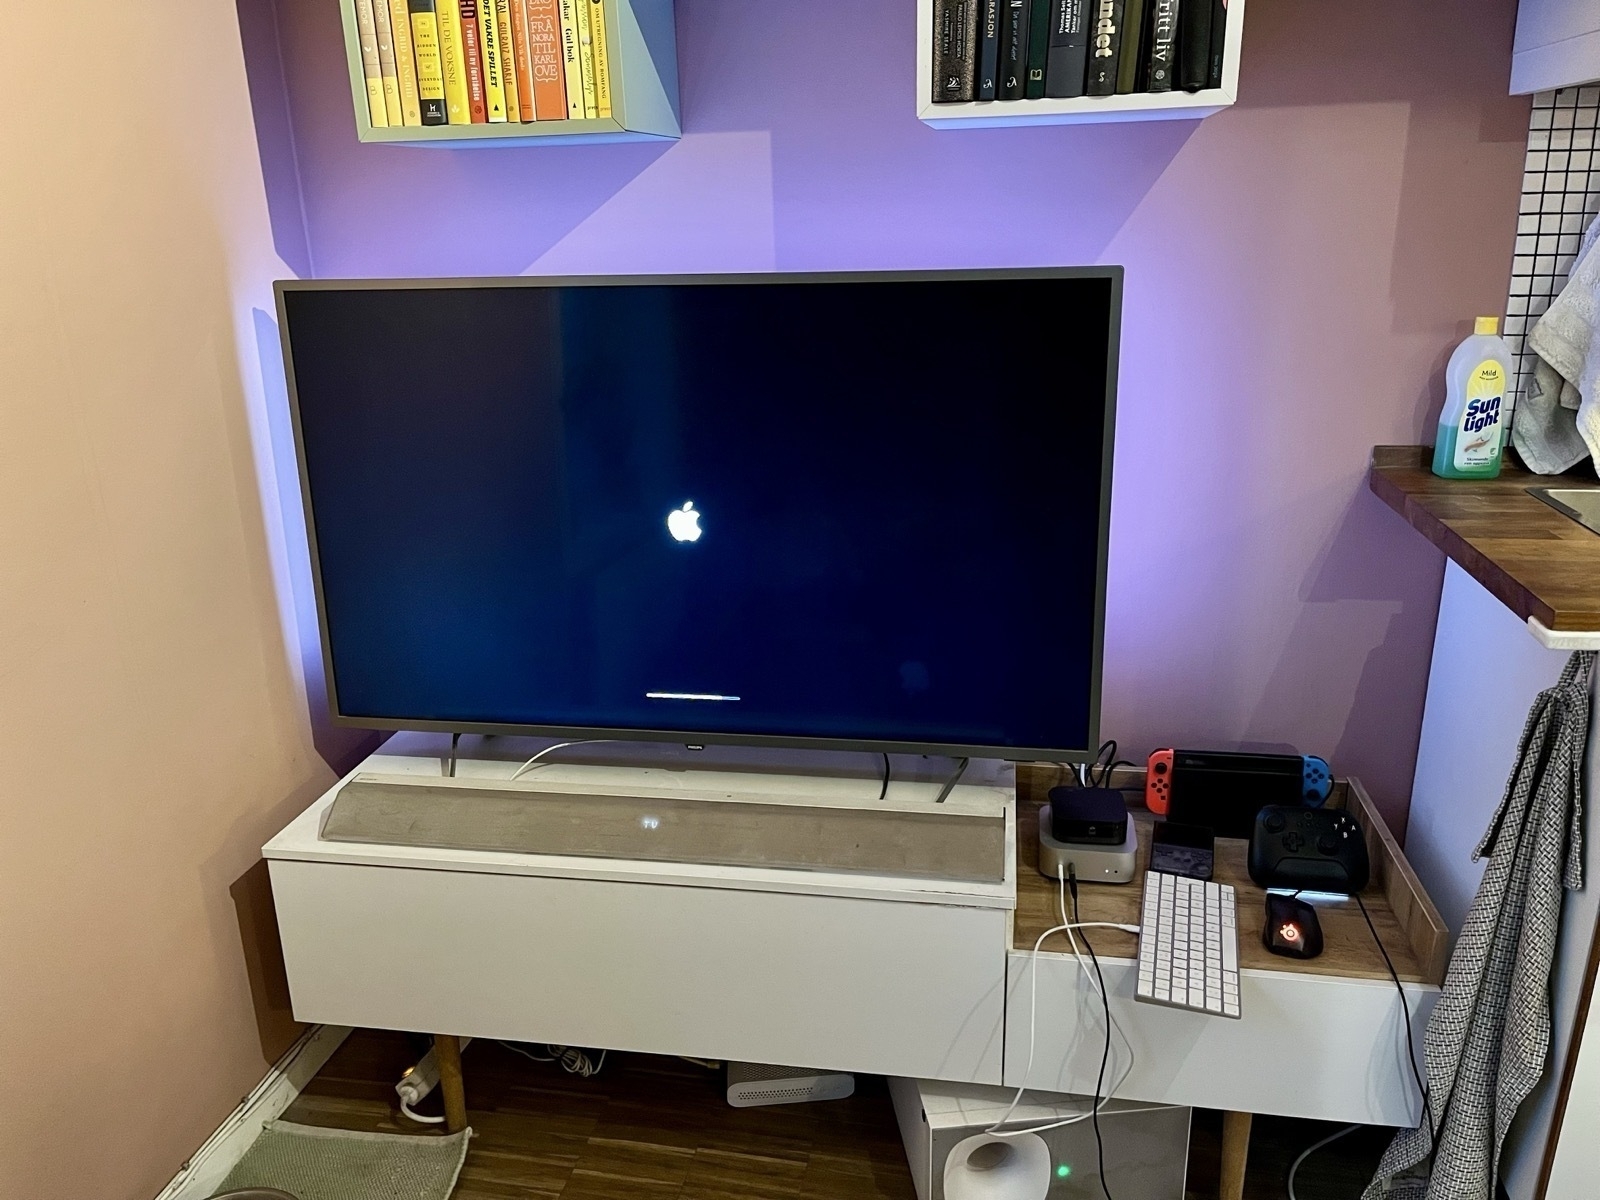
Next, I unboxed the Mac, and placed it where it’s supposed to be. The Mac setup would’ve been easier if I took it to my office, where I have my external screen, keyboard, and trackpad. But I made do with my TV and what I had at home.
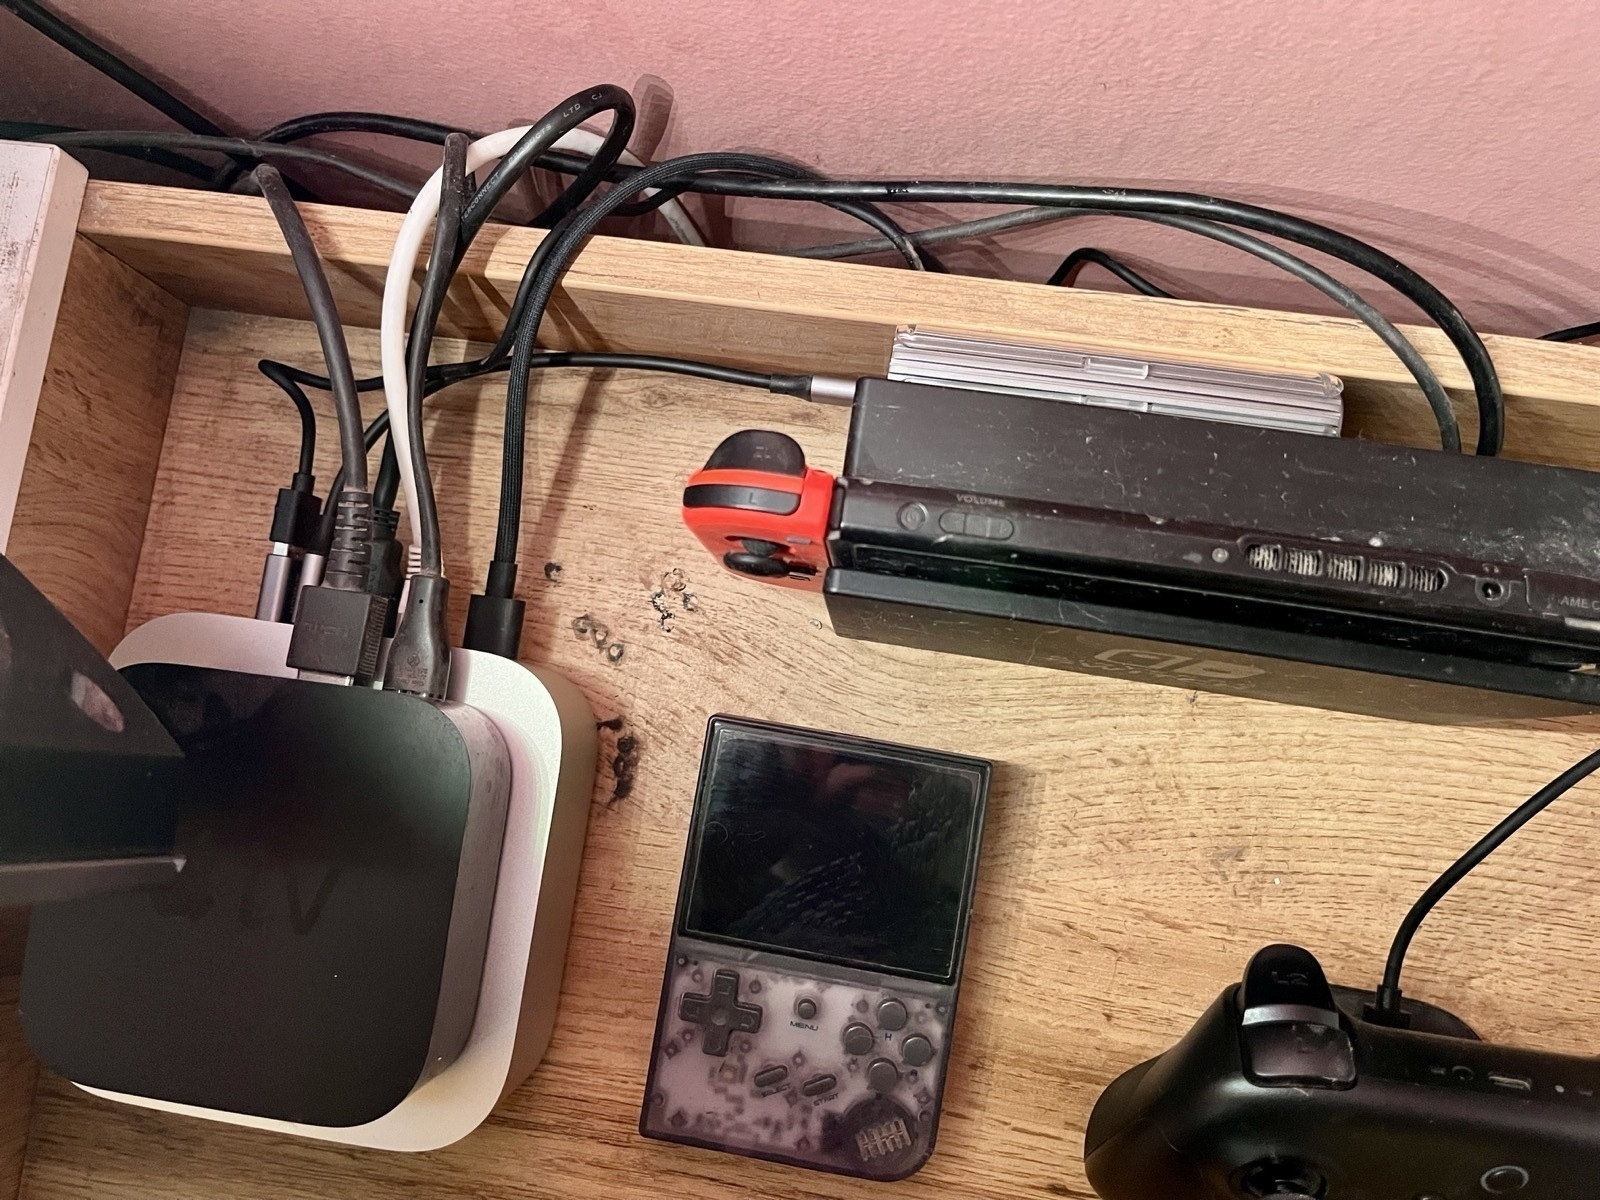
The following are permanently connected to the Mini:
- Power
- HDMI to the TV
- Ethernet
- The SSD Enclosure
- The 8BitDo dock
I’ve previously made a quick reviewed of the 8BitDo controller here – but things are even better with my current setup: The dock being connected to the Mac, not only gives it power for charging – it also makes it so the 2.4 GHz dongle in the base is connected to the Mac. Out-of-the-box the controller, sadly, doesn’t support Mac – but 8BitDo support sent me a beta firmware for the dongle, which makes it work! So now it’s connected to the Switch via Bluetooth and the Mac via 2.4 GHz – and I can easily change connection with a switch at the back of the controller.
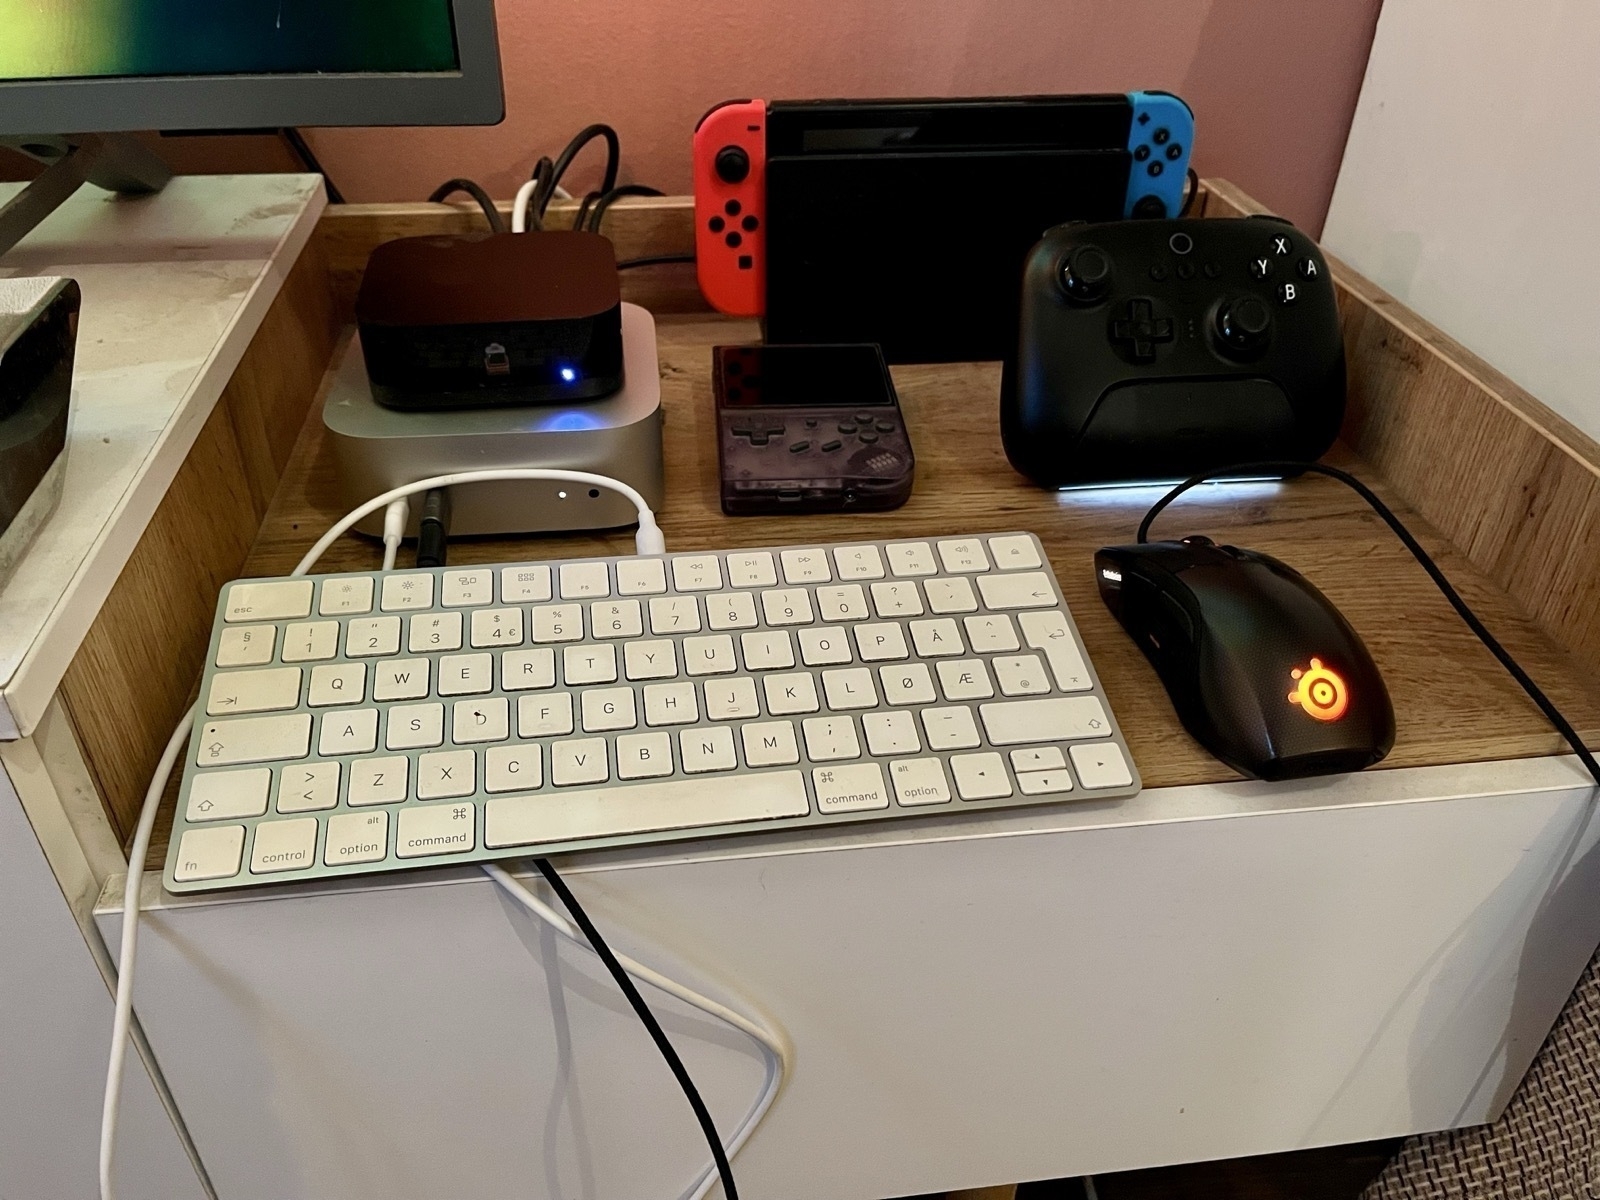
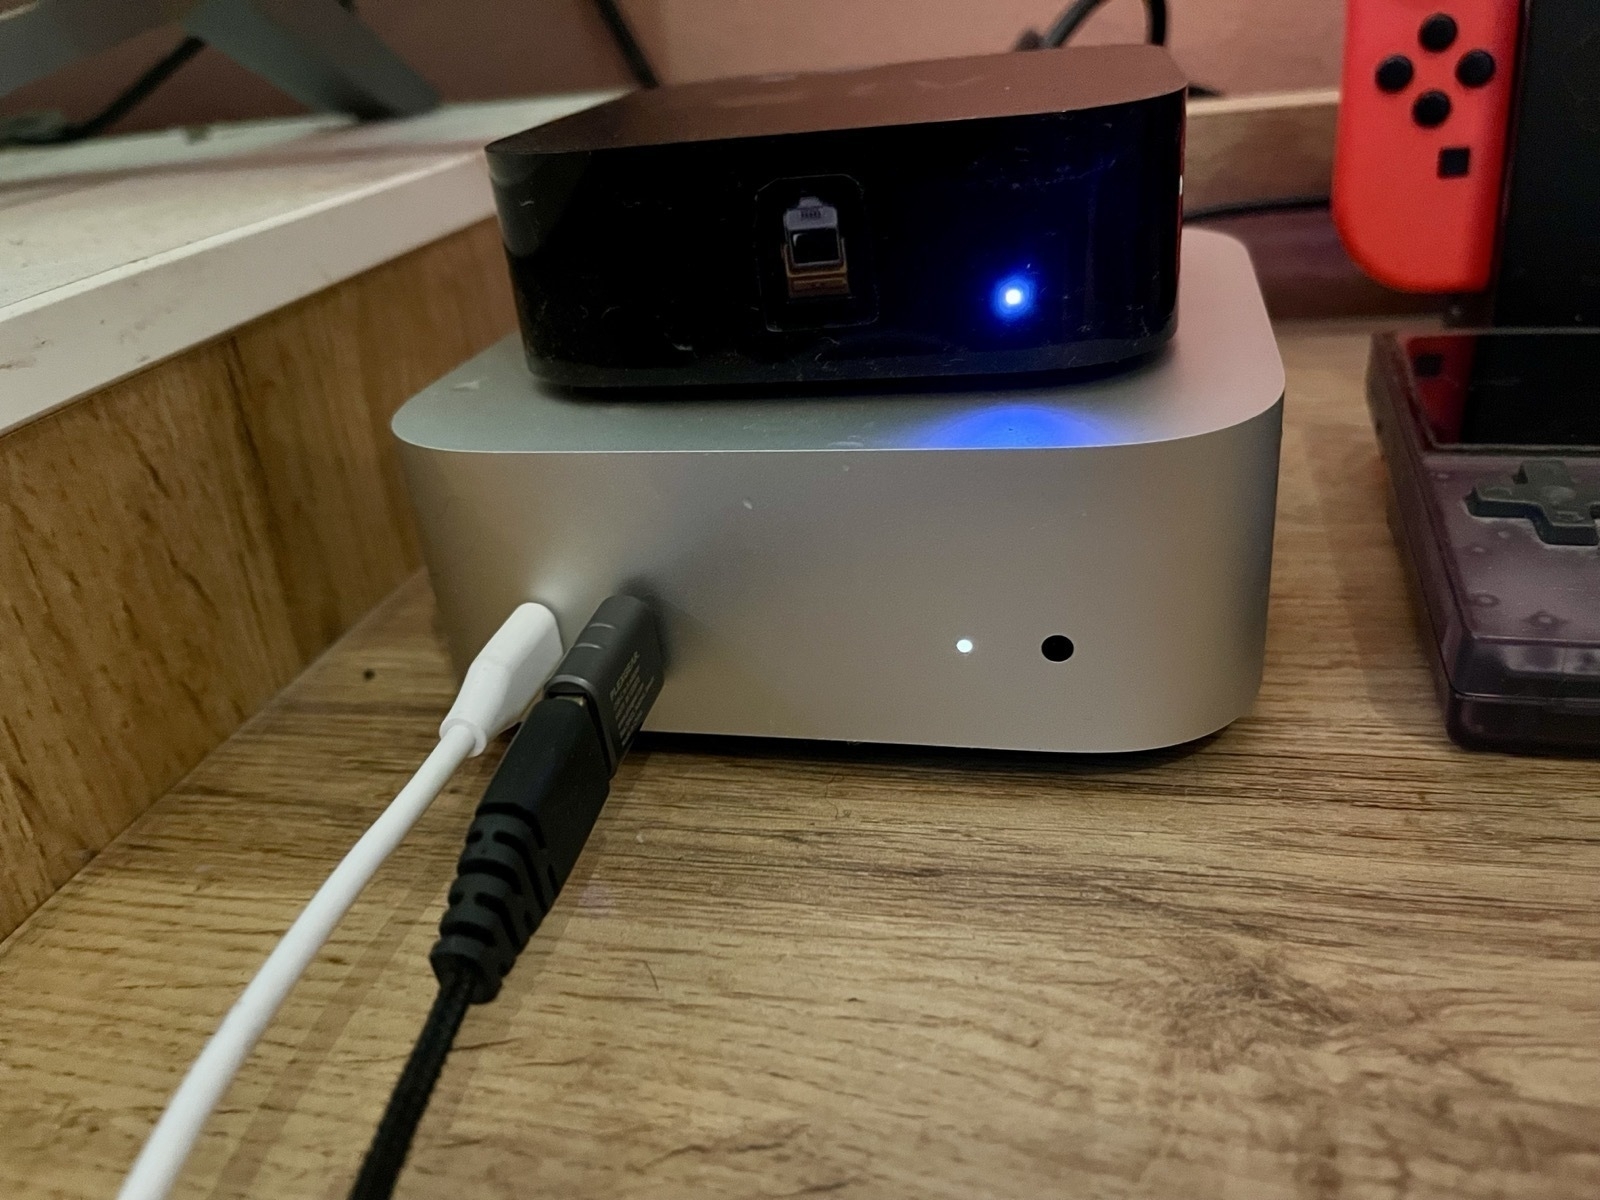
But I had to connect some temporary peripherals as well:
I think the last image, including the USB-C adapter on the mouse’s USB-A cable, shows why the front-ports are nice, and why the lack of USB-A ports is a total non-issue.
Sadly, I don’t think I could set up the Mac Mini by only using my MacBook – so I had to connect some peripherals. I could probably have made do with only the keyboard – but I didn’t know the following: When you tab through to select things like Confirm buttons, you have to hit Space (and not Enter/Return, for instance). So a mouse was practical – even though I didn’t have a wireless one.
Mac setup
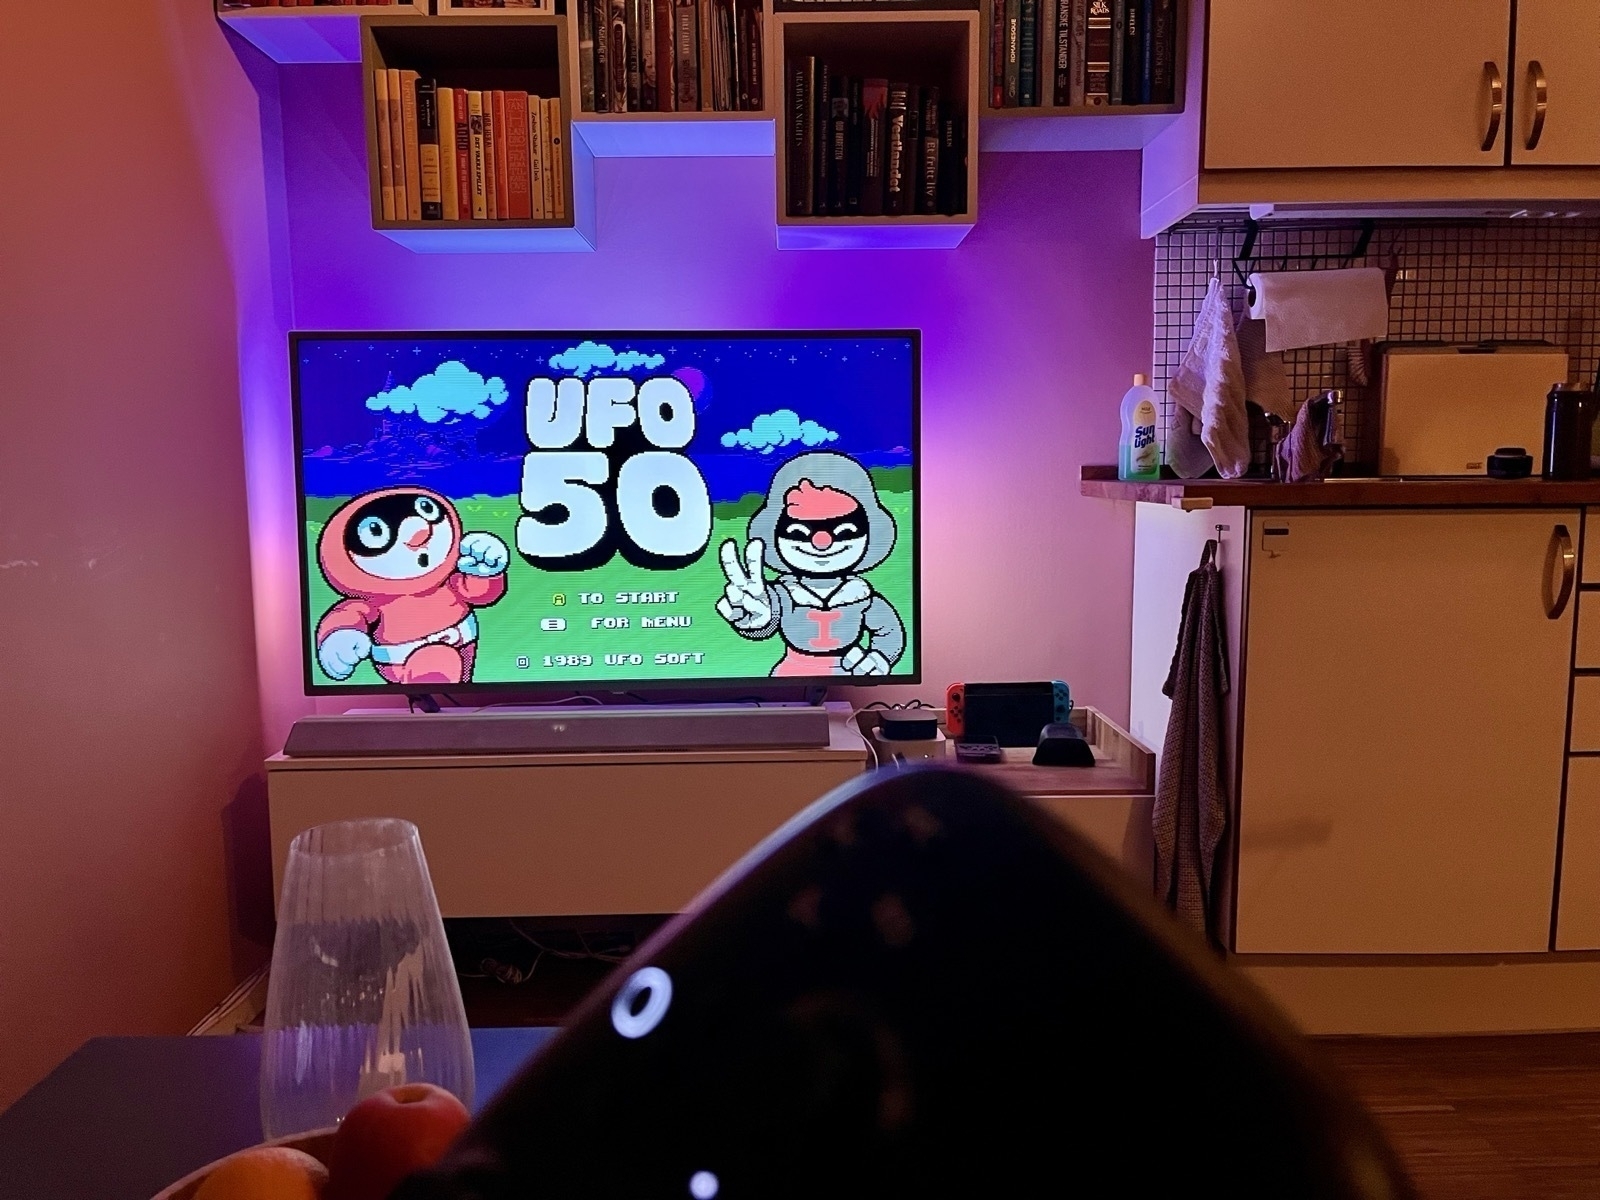
As mentioned in the subtitle of this post, my use cases for this Mac are NAS, media server, and light gaming. And here’s the software stuff I did to make it happen.
Screen setup
My TV is a pretty average older Philips 4K TV (with the, IMO, underrated feature Ambilight) – and I had a couple of issues regarding resolutions in macOS. What I wanted was to run it in 1080p HiDPI, which means that the screen has the size as if it is running in 1080p, but it’s technically running in 4k. Every “pixel” in the 1080p is actually four pixels. (I’ve written more about this here.) However, I could only choose between regular 1080p or 540p HiDPI!
I did find a fix for this, though, by installing (and buying) BetterDisplay Pro. This allowed me to override the given resolution, making sure macOS knew the screen was 4k, and allowing me to select 1080p HiDPI.
File and screen sharing, and remote control
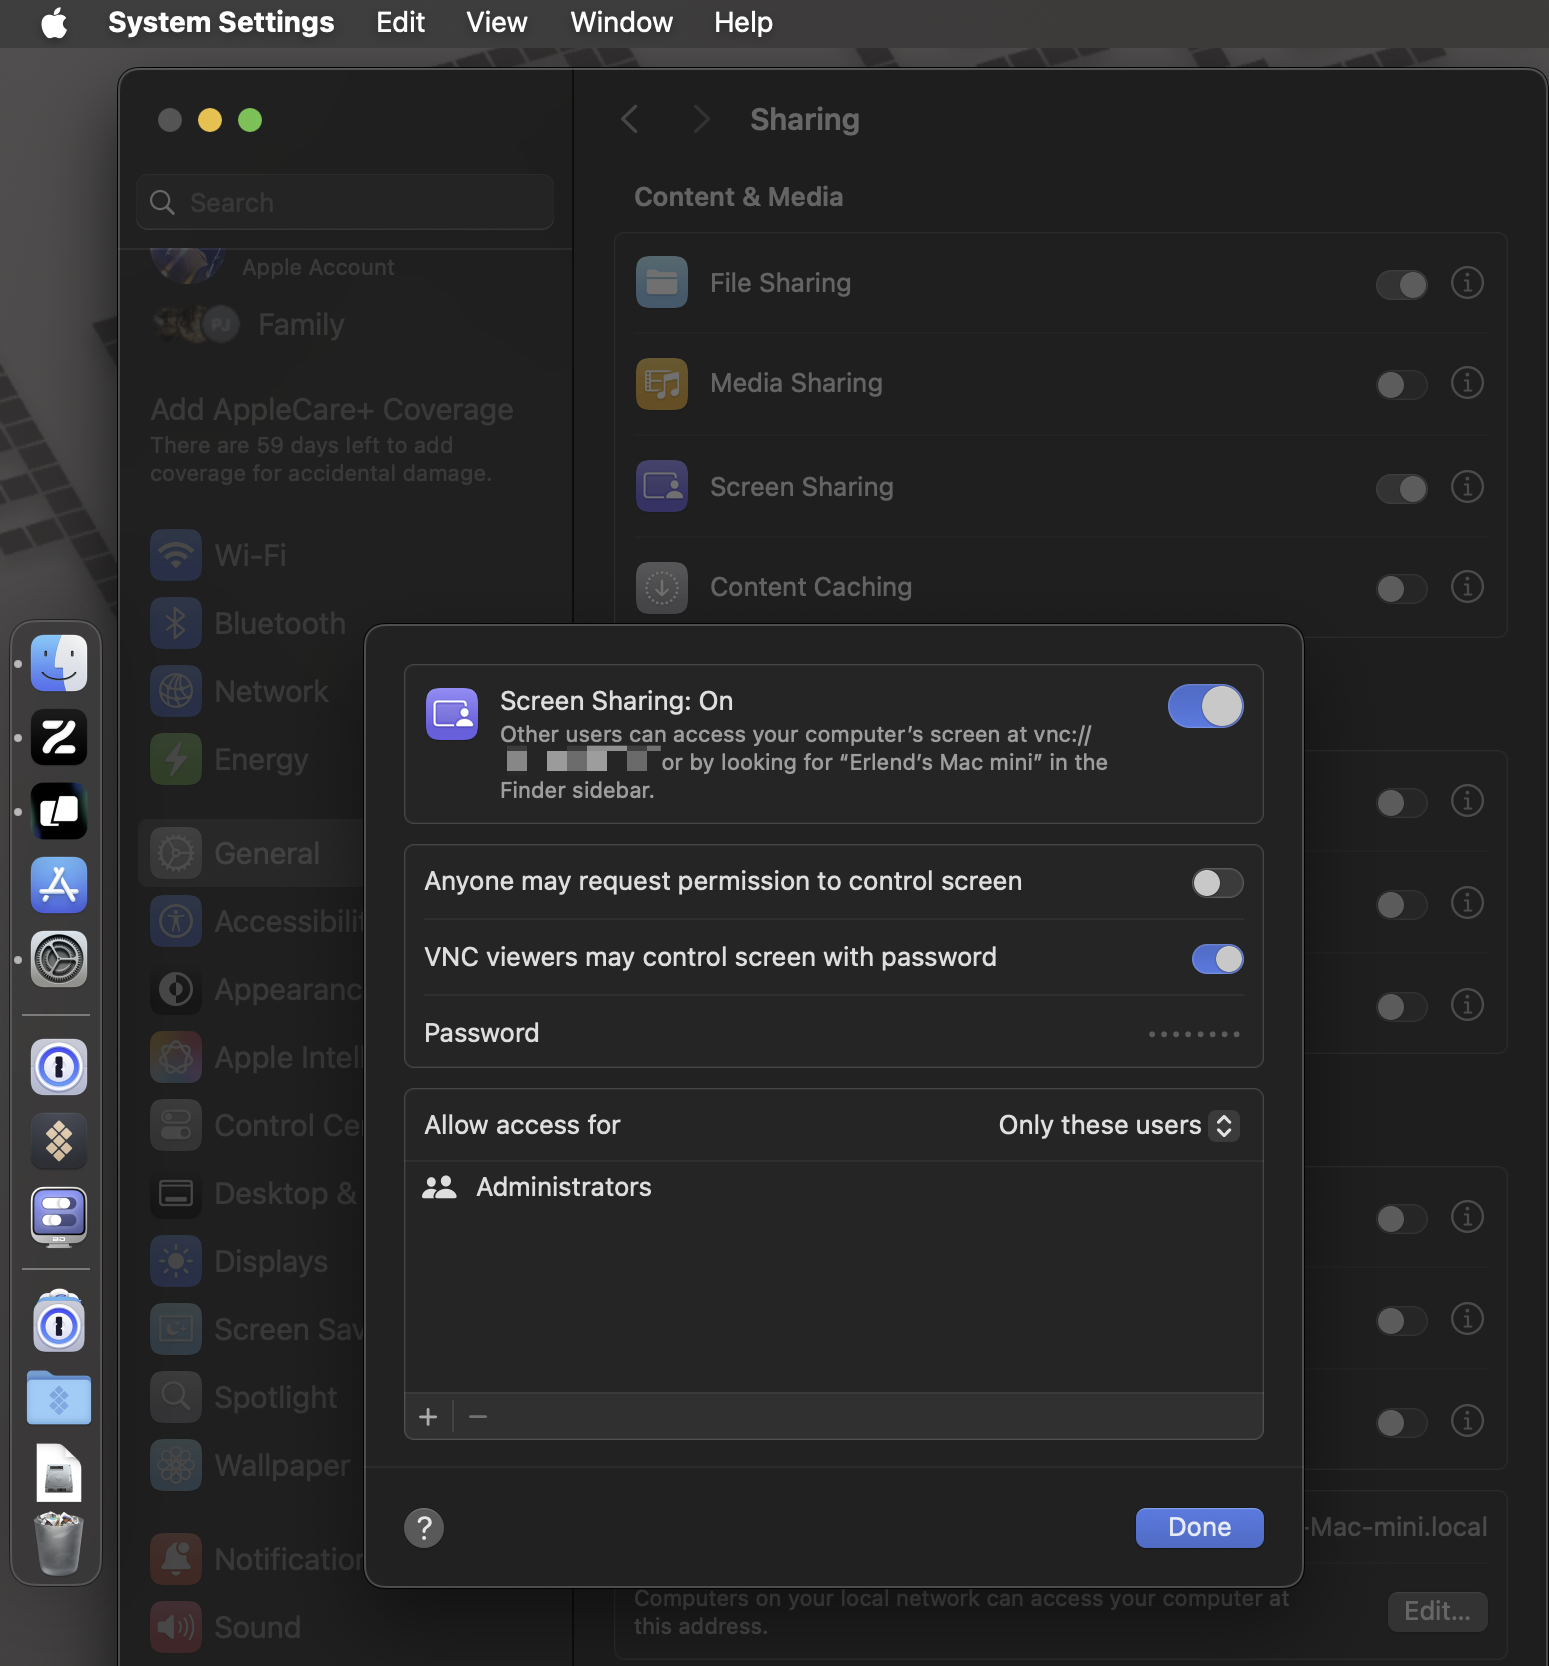
Quickly, I wanted to find a way to control the Mini from my MacBook. And here I’ll outline the two ways I do it.
Doing it via Screen Sharing is nice because then I don’t have to be able to look at the TV while doing it. However, initially, that method was really unstable for me. I think it was because the network was being taxed by initial setup, downloads from cloud storage, etc. So, in the beginning, regular Continuity was the way to go. This meant I could just move my mouse up and above my laptop screen, to have the built-in MacBook trackpad and keyboard control the Mini.
Here’s a video of me moving from my iPad, via my MacBook, and to my Mini, with Continuity:
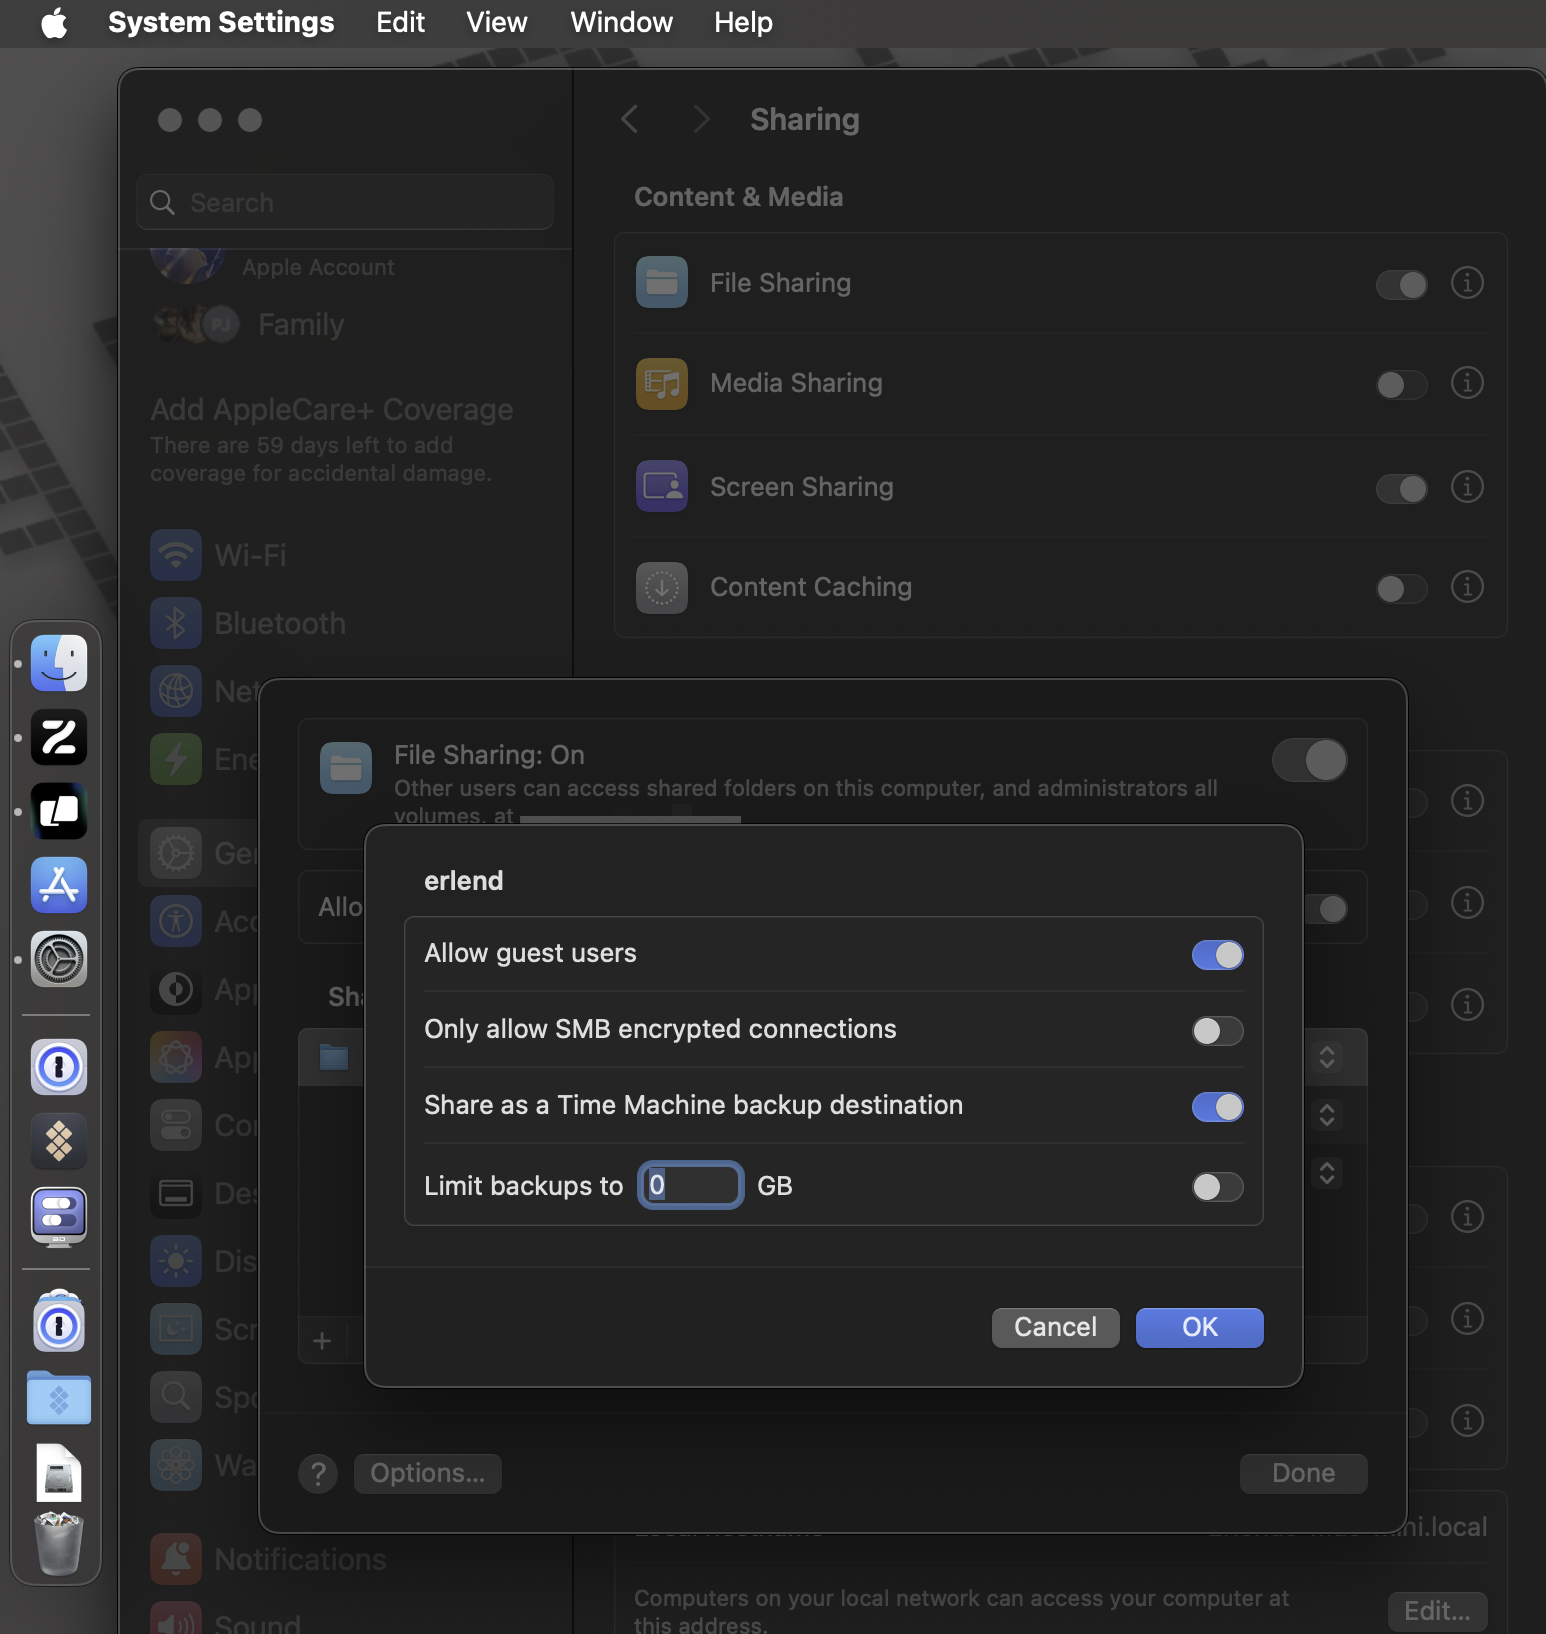
You’ll set up screen and file sharing the same place: System Settings -> Sharing
This last screenshot is of the File Sharing options – but I forgot to show one thing: I added the home folder (named “erlend” in my case) as being shared. It’s the folder icon you can see in the background. I then right-clicked that folder, and turned on Share as a Time Machine backup destination.
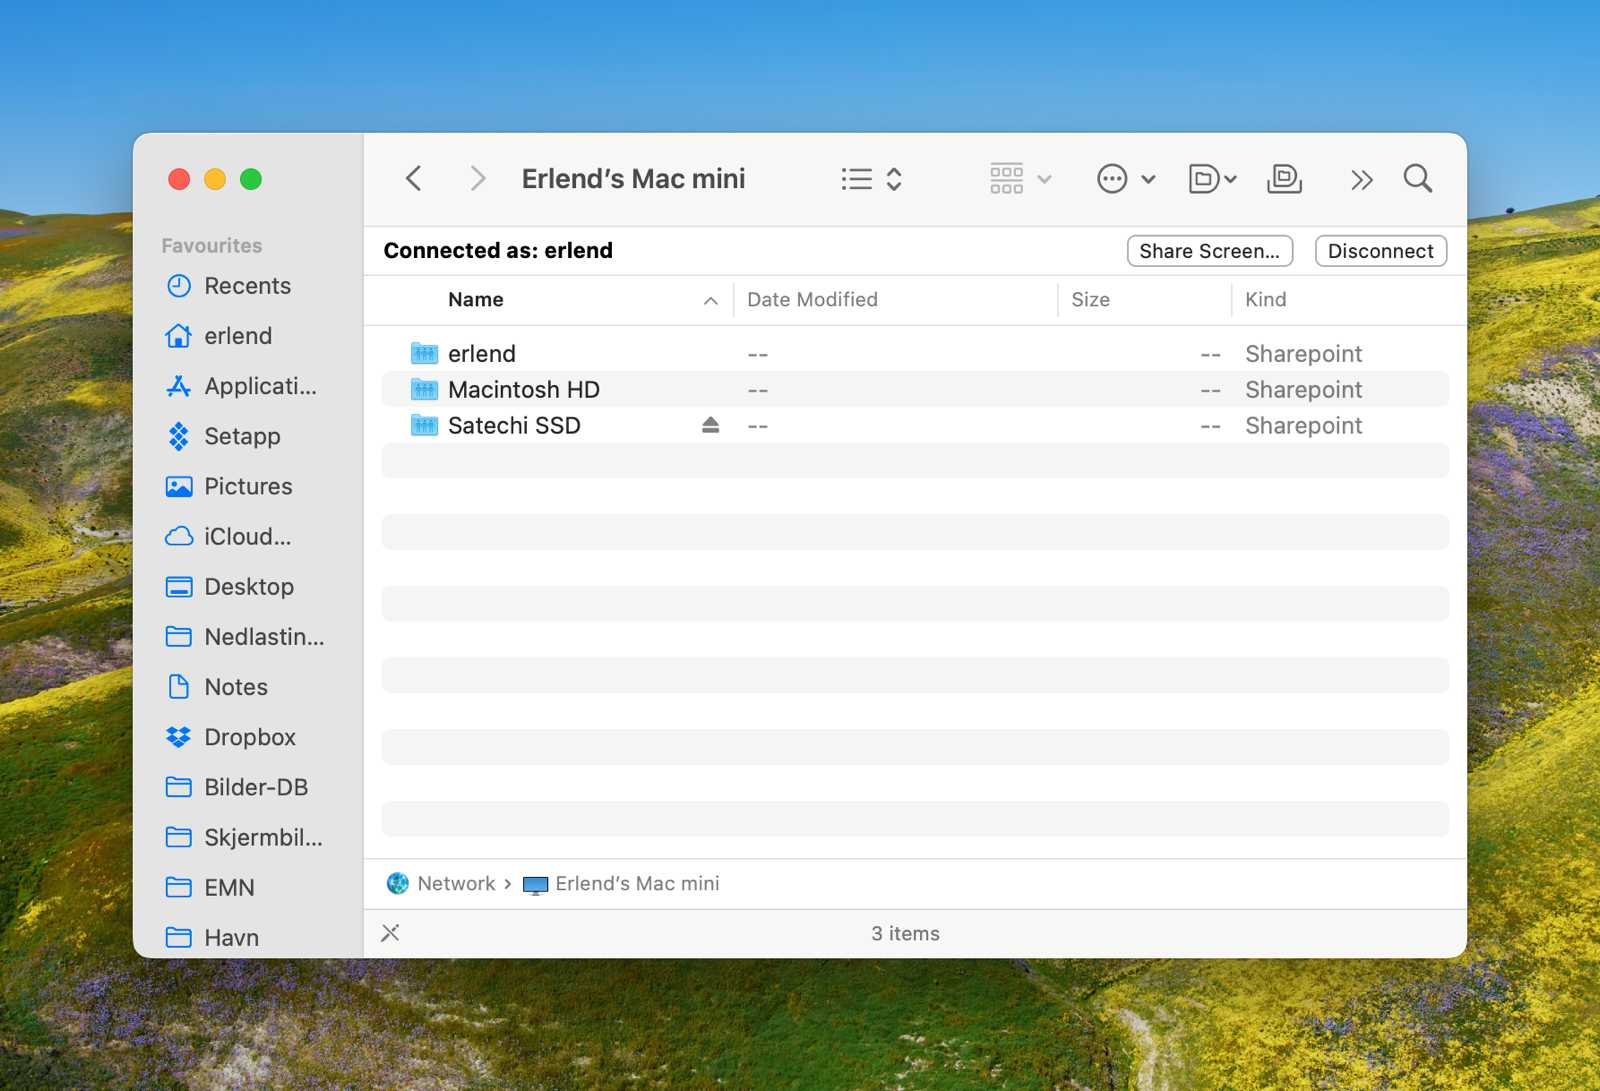
All of this, leads to the following, when I select Erlend’s Mac mini in the Finder sidebar:
As you can see, both my home folder, internal disk (Macintosh HD) and external disk (Satechi SSD) are available. I can also hit Share Screen… up top to take control of the Mini.
Time Machine
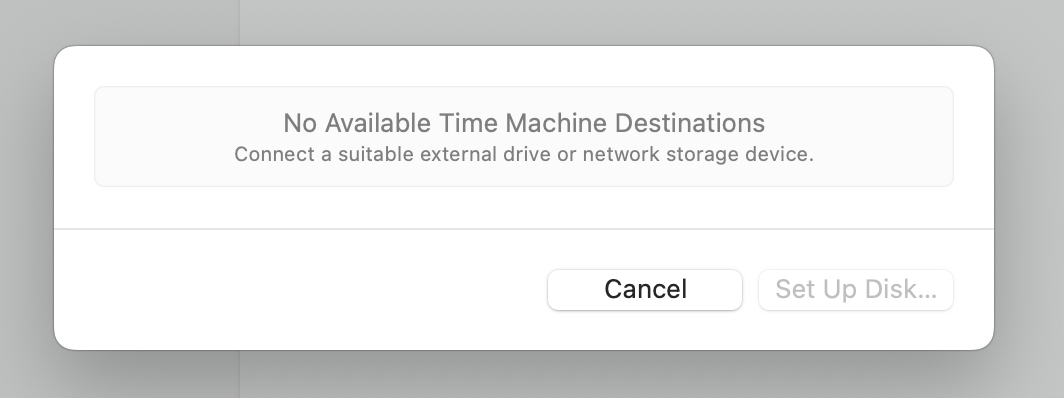
If you haven’t enabled Share as a Time Machine backup destination, you’ll get this when trying to set it up:
But by following the steps I outlined above, it becomes possible to select the external drive connected to the other machine here.
Other uses of external drive
As the internal storage is so paltry, I have to set up the Mini to use the external drive as much as possible. And here are some ways I’ve done this:
Dropbox
Due to Apple depreciating some APIs, you can’t have your Dropbox on an external drive if you use the default client. But if you use Maeastral, this becomes possible.
Be warned, though: Running the initial Time Machine on two laptops, while also syncing iCloud and Dropbox on a new machine, is best done overnight…
App Store
Recently, Apple added this new option to the App Store:
I don’t think I’ll install anything over 1 GB on this Mac – but I thought I’d shout it out anyway!
Steam
I’ve installed two versions of Steam on the Mini: A regular macOS install, and a Windows version via Whisky. And if you go to the Steam settings, and Storage, you can select a default destination for your game installs. This can also be on an external drive, so I chose that, of course.
Media server – Jellyfin
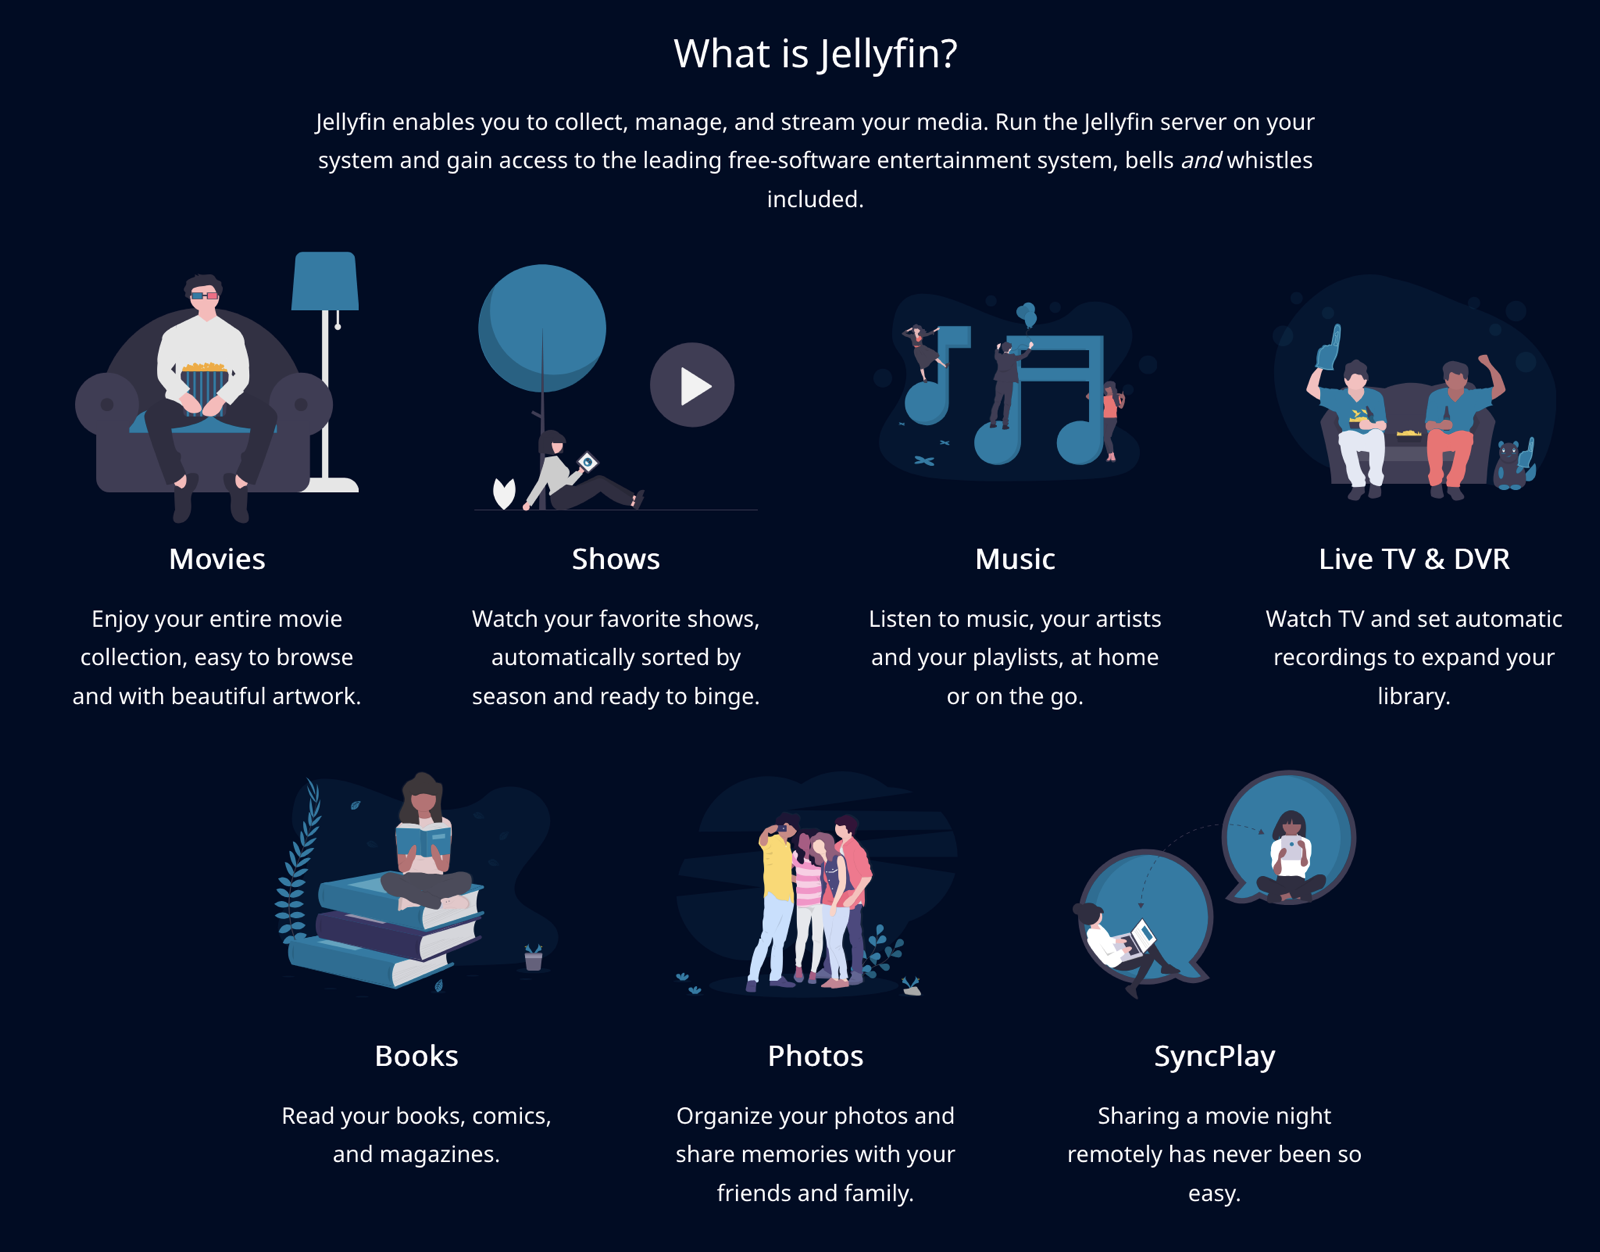
The last step in my setup, was to set up the Mac up as a media server. I’ve used Plex previously, but I wanted to give the open-source alternative Jellyfin a shot. And I love it!
The installation was relatively easy. The only hiccup I had, was that when I followed this guide to turn on hardware acceleration, I also turned it on for AV1 – and this broke stuff. I posted in the forums here, and in minutes I got a reply telling me to turn off AV1, and everything worked.
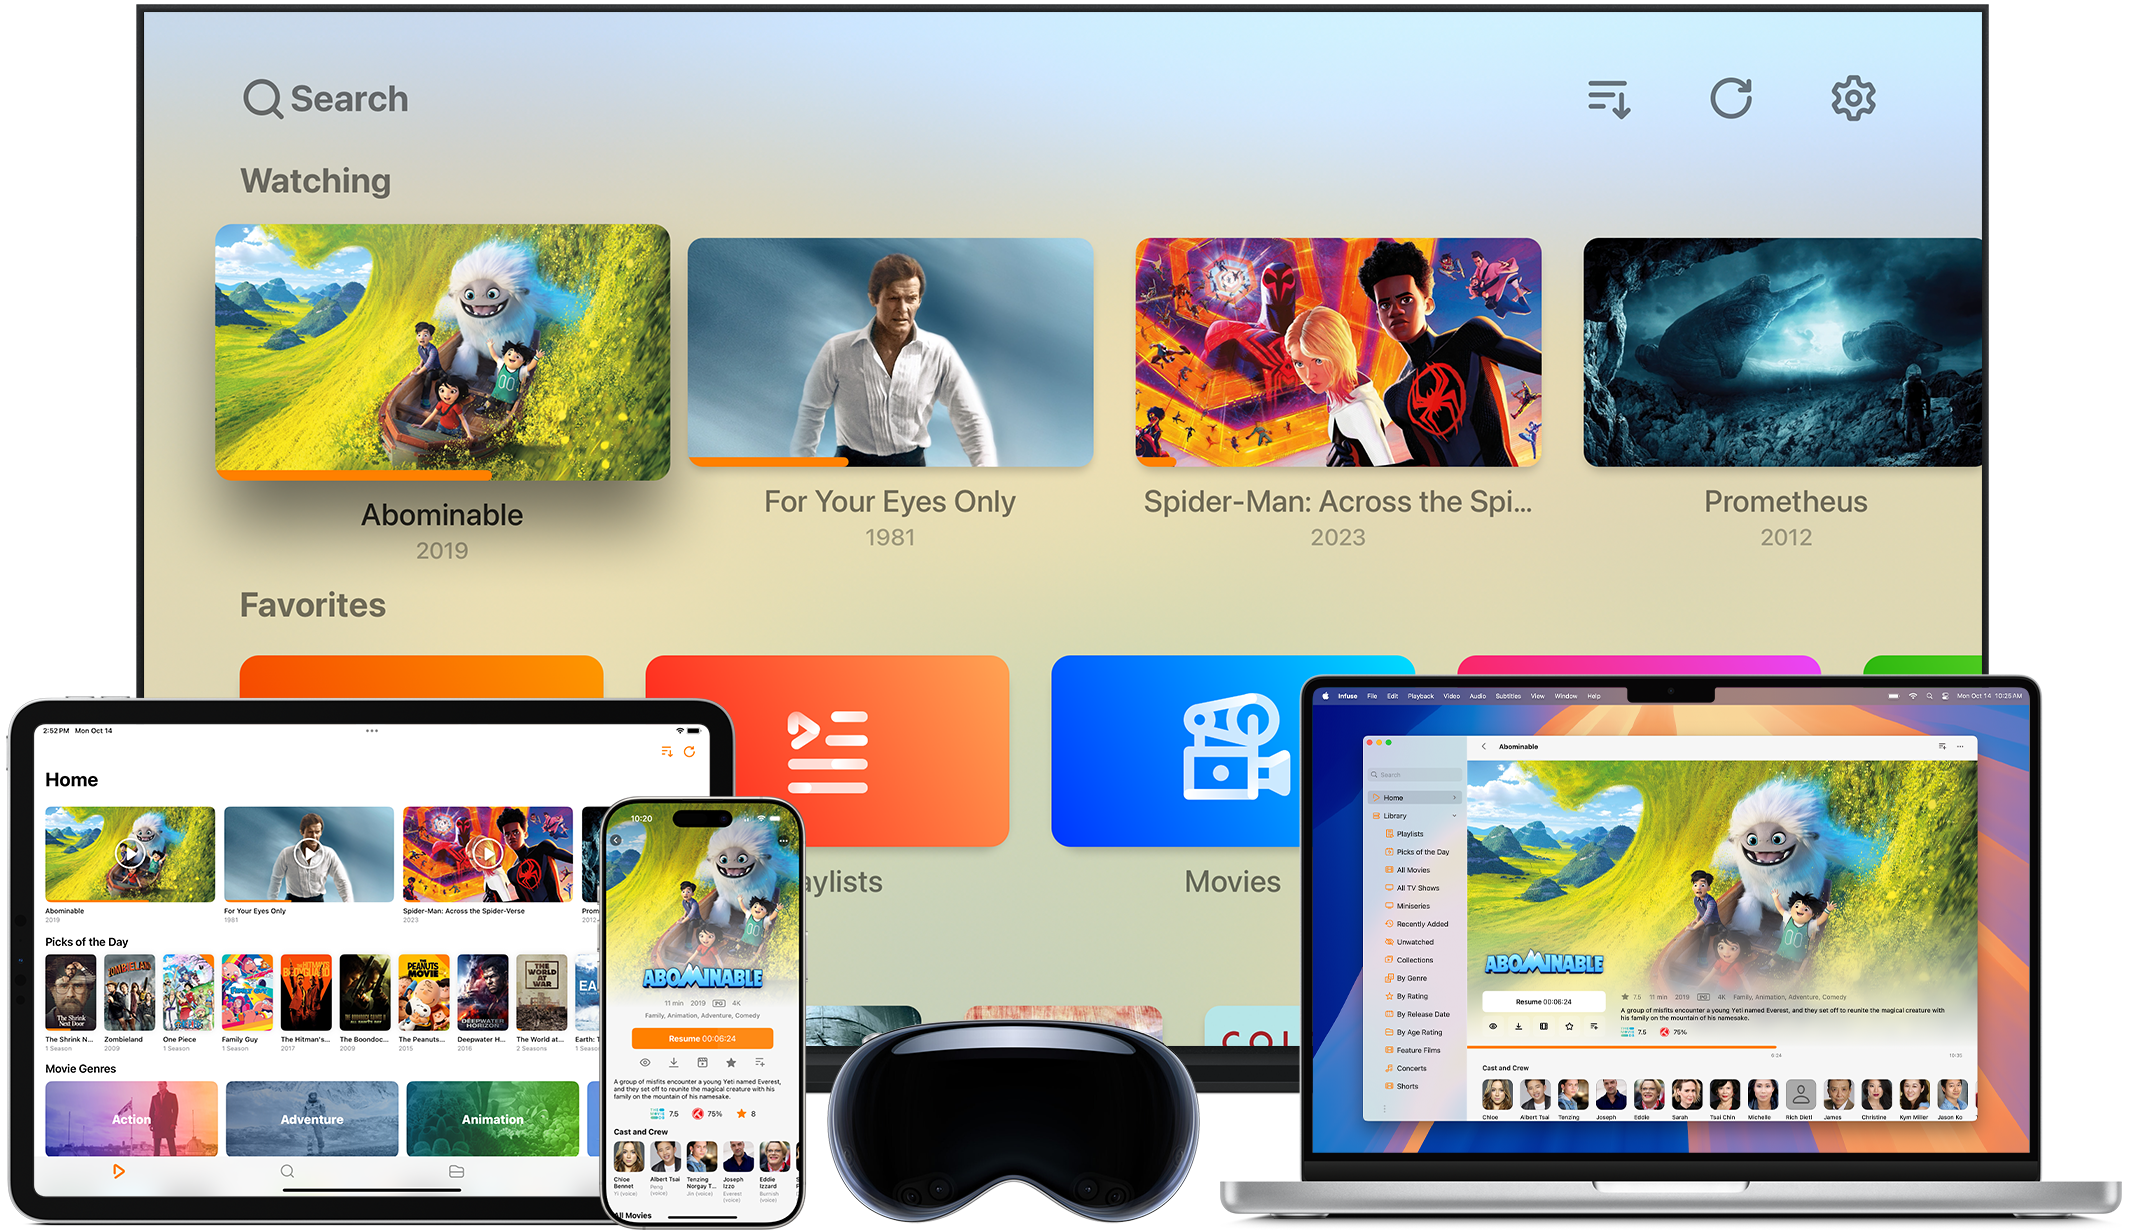
But the best part about Jellyfin isn’t Jellyfin. It’s that I can use Infuse as a client. I just love un-bundling and third-party options, as I’ve written about here and here. It’s great that the people writing Infuse can be laser focused on making a delightful video player, while it’s OK if the people behind Jellyfin focus on creating a good backend. I love that I don’t have to choose media server software based on whether I like the player!
Pretty painless
… is how I’d summarise the process. And I bet I’ll discover new things to use this machine for as times goes by! Will keep you updated – and please don’t hesitate to ask questions!
And I have a question for someone who knows: Can the Mini do its job even if I let it go to sleep? 🤔
