Technology
- It’s better for them if you stay in their app.
- The reason is that they can advertise new stuff (you’re not watching yet), to make sure you stay with the service. This is also why Continue Watching isn’t always at the top.
- If you’ve finished watching a show (perhaps through Apple TV (app)), you’ll might go on to something from another service next. And then you’ll might cancel your subscription after a while.
- They don’t have to.
- Even though they’re not as dominant as they used to, Netflix is really popular. So they feel like they can get away with not participating.
- One “full-sized” WebP version,1
- and a lazy placeholder PNG version (that has only 24 pixels as its max height/width).
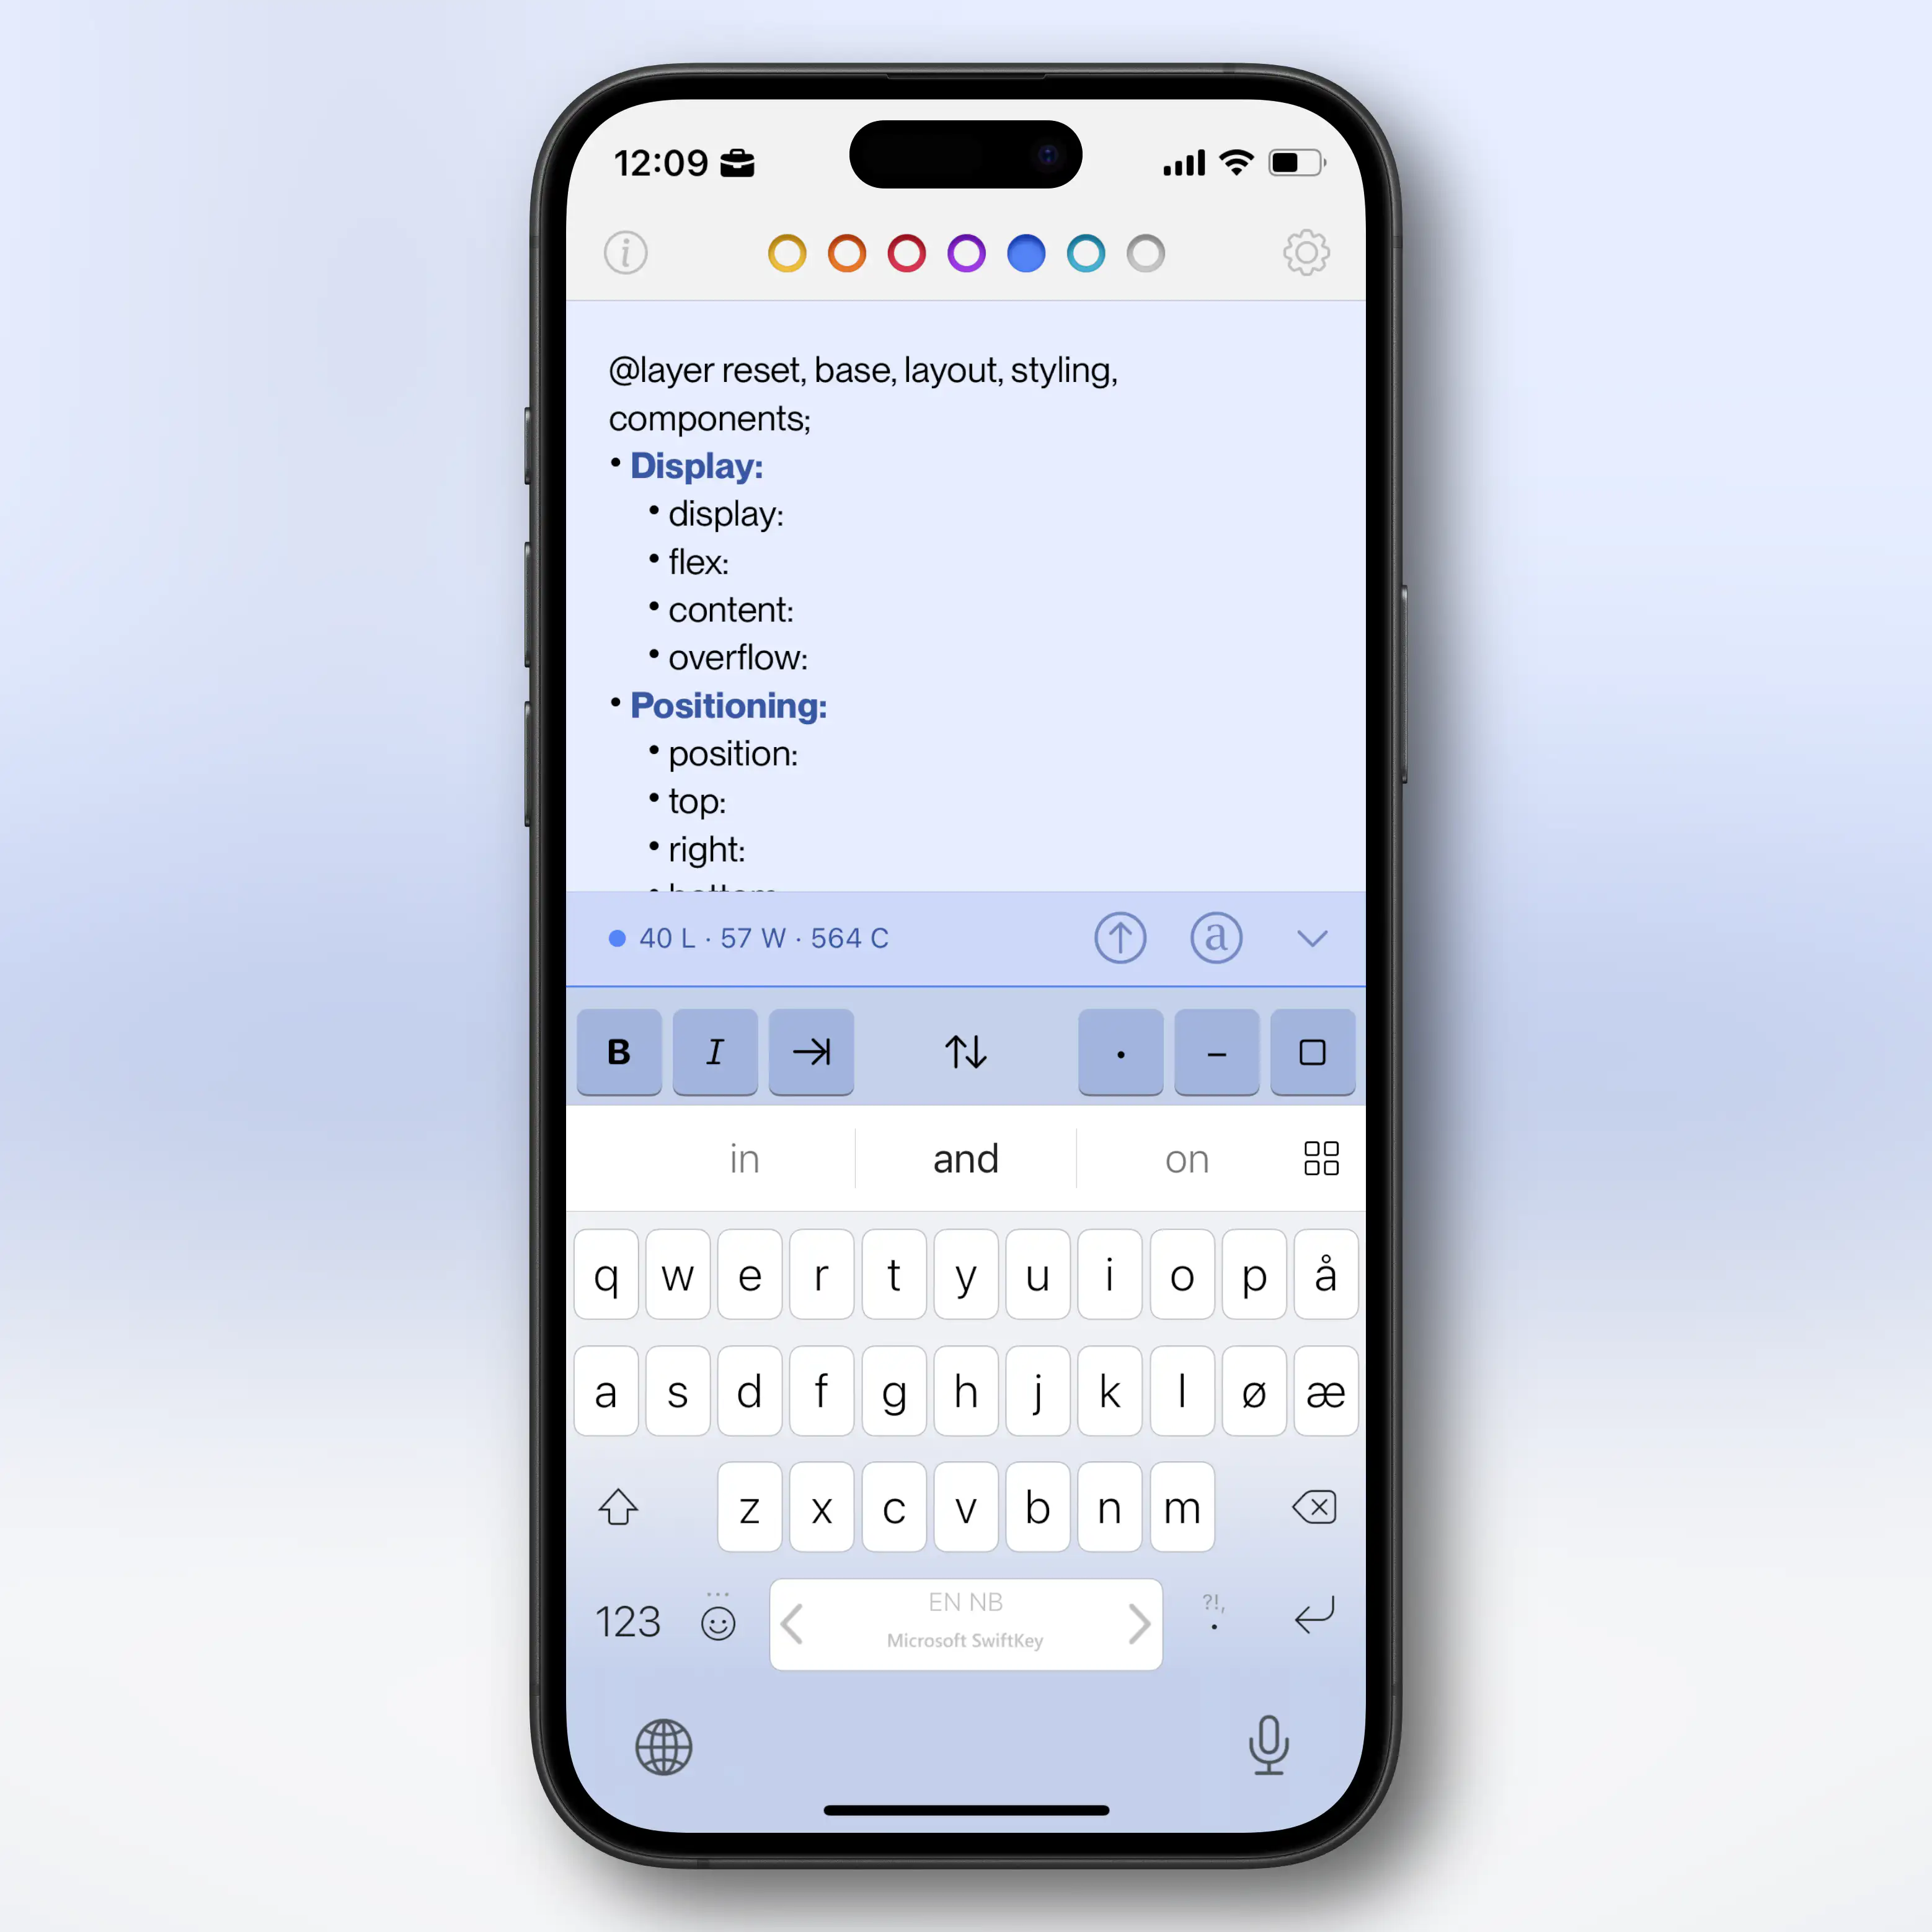
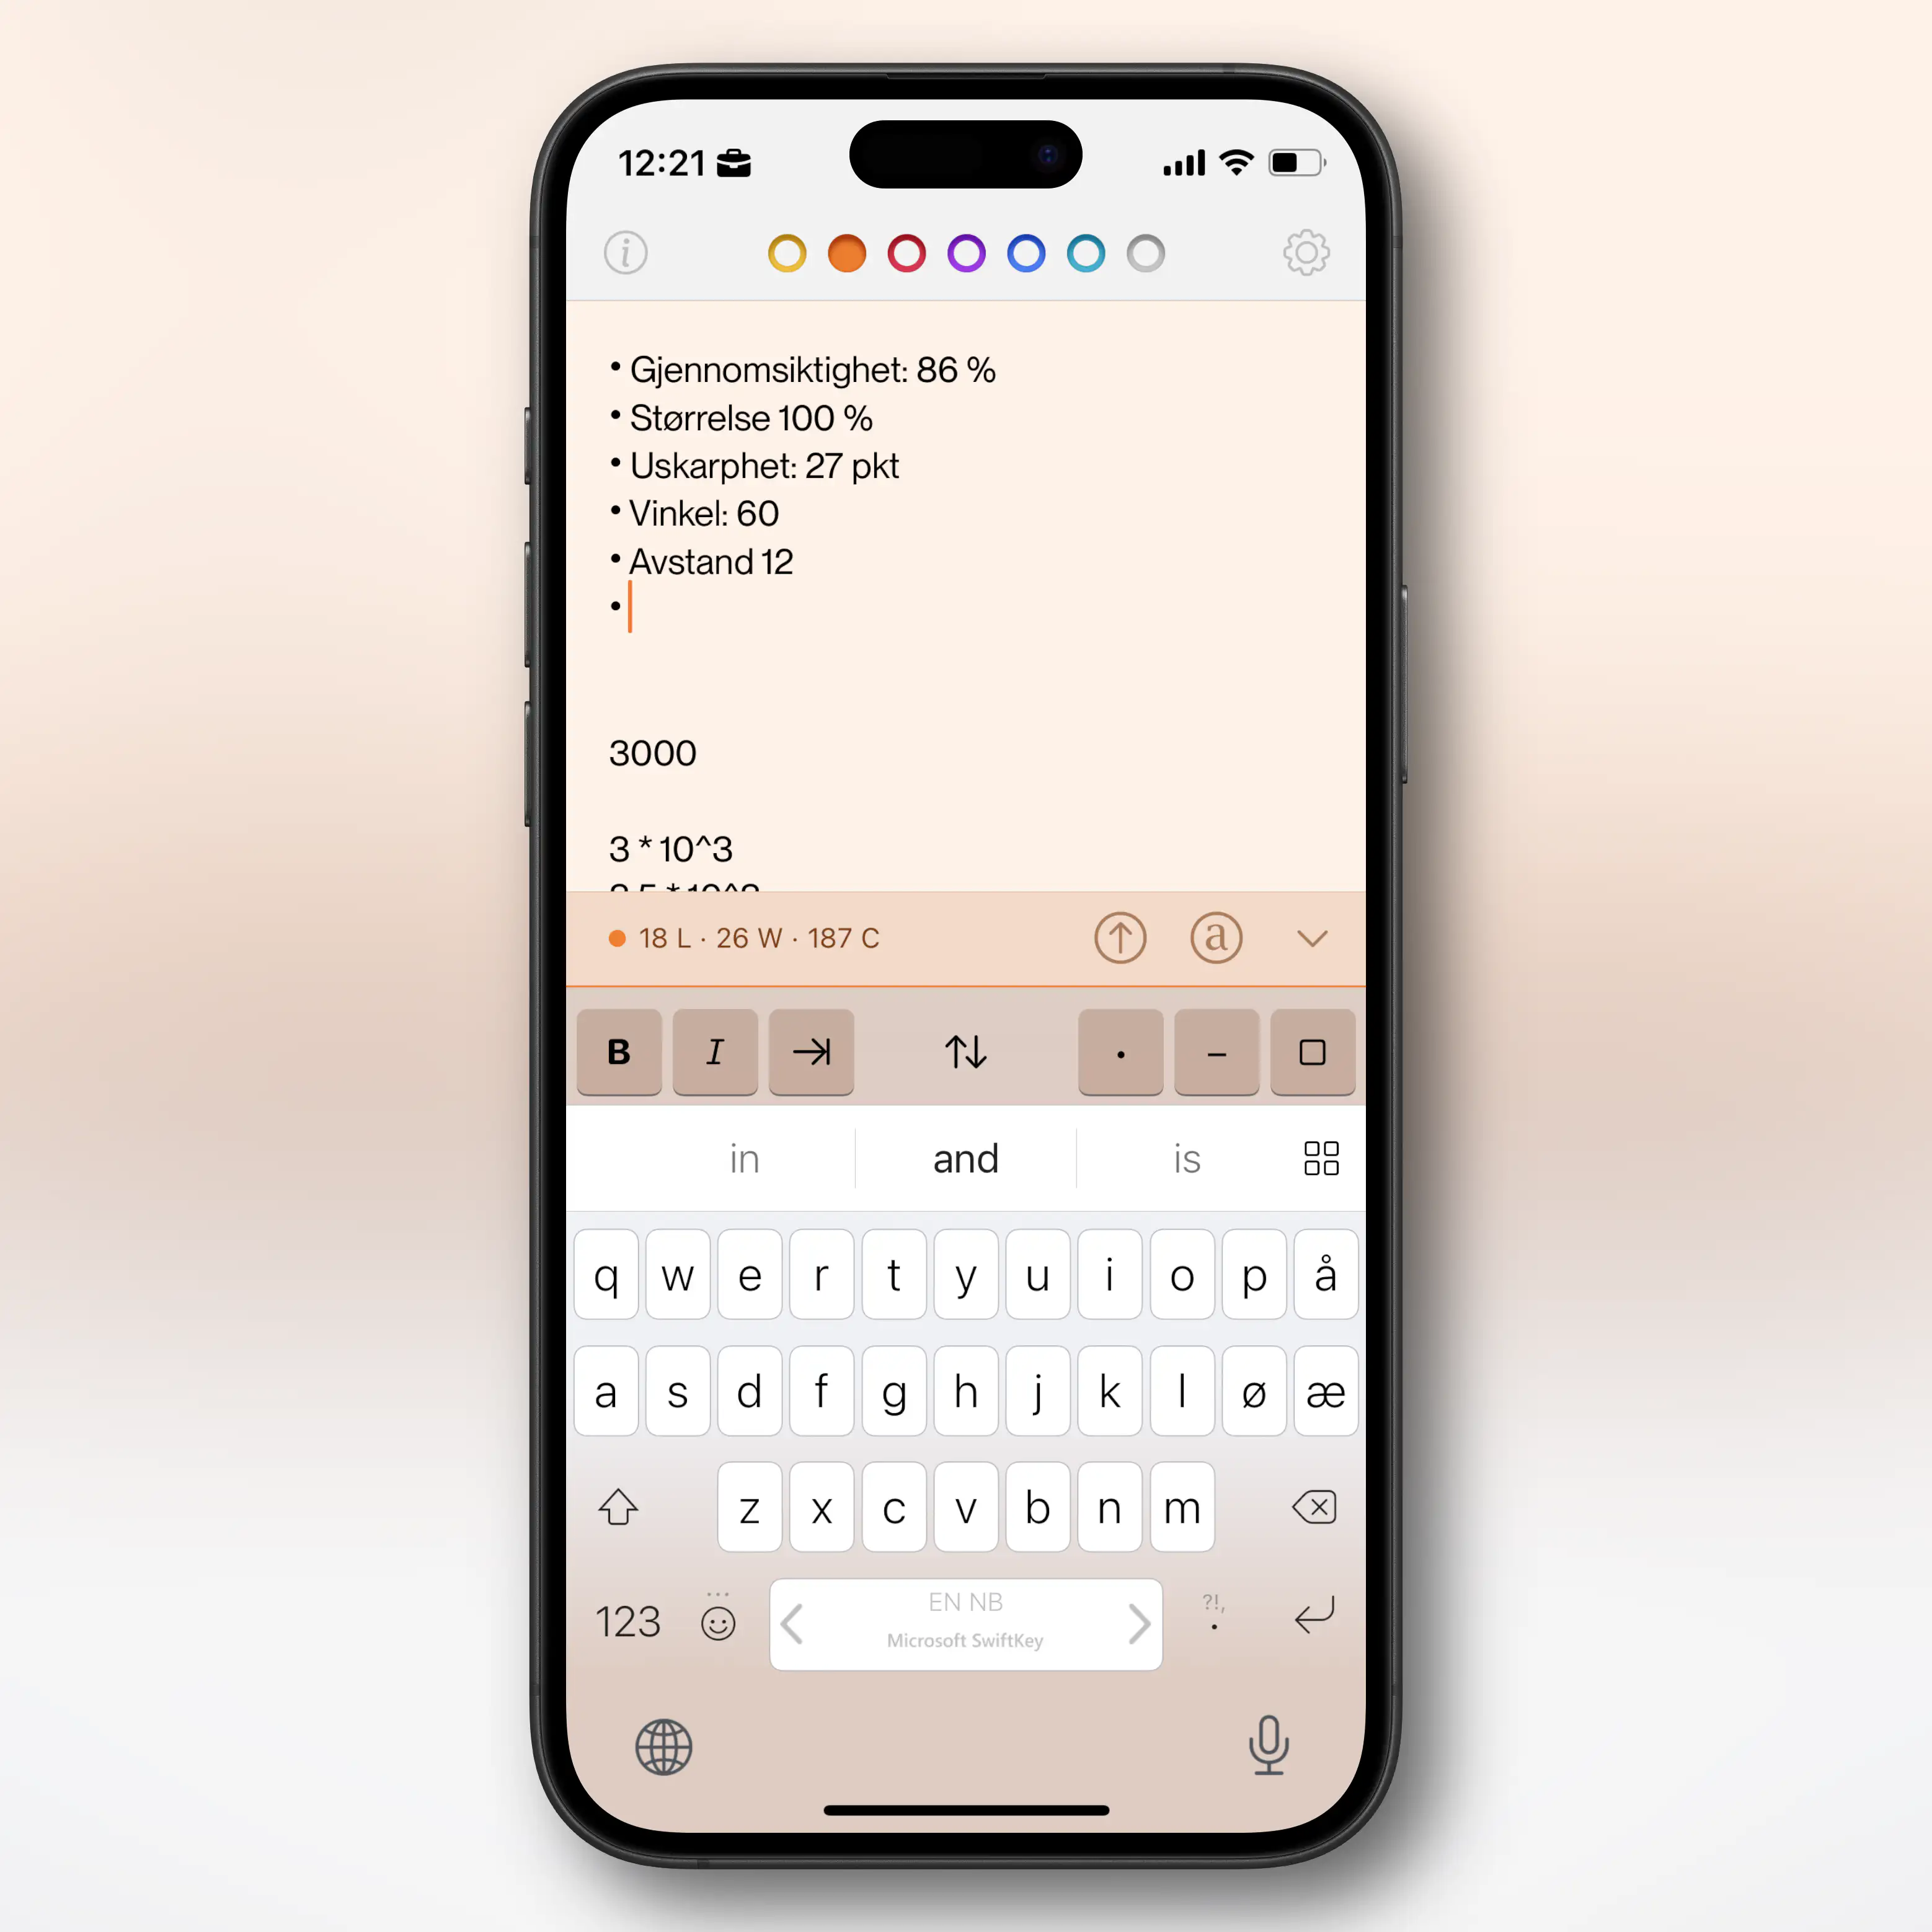
- A best-in-class text engine, that can jump between Markdown (plain-text) and Preview (rich text) Modes.
- This is also already great on both Mac, iOS, and iPadOS. (No Apple Watch, though.)
- The UI is made to be minimalistic, mimicking just a piece of paper.
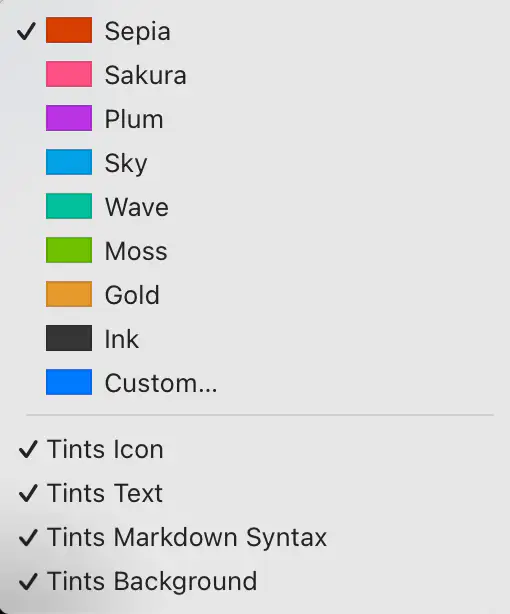
- Paper ships with several beautiful accent colours, and great support for them in the UI.
- It also provides good export features. (Including for copy/paste.)
- It’s simply the best Markdown editing experience I know of. (And I’ve tried a lot.) Only Bear comes close.
- And it’s excellent both on Mac, iPad, and iPhone.
- It’s very minimalistic (just opens as a blank, white “sheet of paper”).
- At the same time, it has a bunch of hidden advanced features and customisation options.
- It’s a file-based editor, as opposed to being library-based.
- One good thing about this, is that it can be used in conjunction with other Markdown apps,
- like using it as a nicer editor for notes stored in NotePlan, Obsidian, etc.
- The first one was about basic concepts,
- the second about why you might want to use and become familiar with the terminal,
- and this is how you can make your terminal more noob-friendly (regardless of what you’ll end up using it for).
- run through all folders in a parent,
- add a hidden folder in each, named .Originals,
- and place a copy of each file in that hidden folder.
- Part Two: The Why and What
- Part Three: A More Noob-Friendly Terminal
- Be effortless to use (and relatively easy to adjust)
- Both provide a good experience with simple switches, and with dimmers.
- Working with different brands of switches and bulbs.
- Keep everything in HomeKit.2
- Glow (warmest)
- Cream
- Glass (coldest)
- From the night before 🌙: Glow
- 1 hour after sunrise ⛅: Cream
- 3 hours after sunrise ☀️: Glass
- 3 hours before sunset 🌥️: Cream
- 1 hour after sunset 🌙: Glow
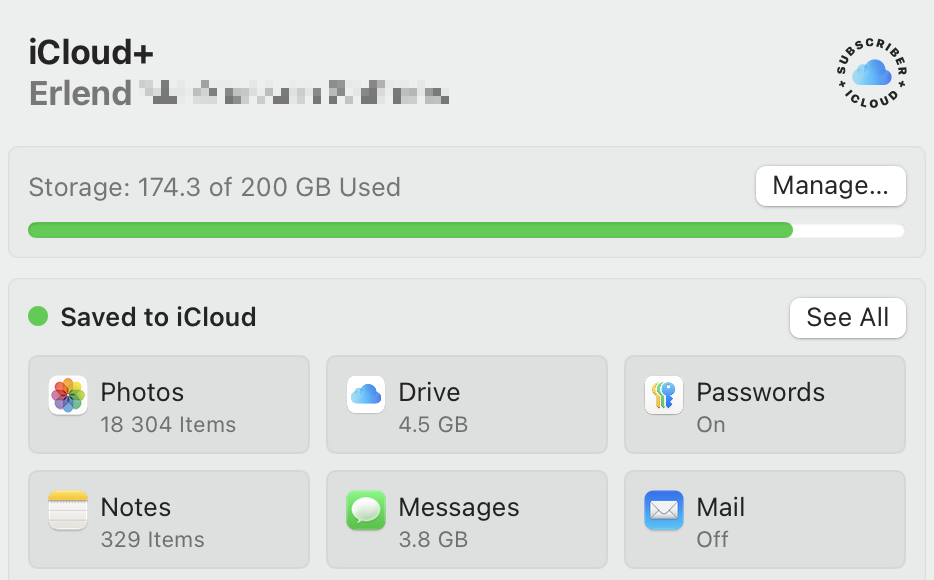
- Photos.app is the largest culprit, using 128.7 GB.
- Backups use 27.3 GB – but I intend to set this up to back up locally to my Mac Mini.
- iCloud Drive only uses 4.5 GB, as I’m babying it quite a bit.
- Messages uses 3.8 GB – but this could probably be removed as I don’t use iMessage as my default chat app.
- My wife is currently on her own 50 GB plan – but we do have an iCloud family. (So I wouldn’t mind combining these.)
On the Need for Friction
Imagine talking to a medieval farmer, about the concept of excercise. Giving yourself “useless” physical strain, to improve your health? Let’s call this idea artifical physical excercise. That wouldn’t make any sense to someone who would get more than enough strain through just living their life.
And while it will vary greatly, from person to person, how much artificial exercise is needed, everyone agrees that we need to look after our physical health in today’s society.
When discussing this, people will mention which of these they enjoy the most, which they find effective, how to fit it into their lives, etc. Some of it are games, competitions, sports, and more – and it can be your job, a favourite pastime, a hobby, or just something you tolerate.
It can also be adjustments you make to your life, like riding a bicycle to work, or changing your desk setup. Let’s call this incidental physical exercise, in opposition to deliberate physical exercise.
But, in this context, this is my main point about this: It’s very accepted to talk about doing things for your physical health, even though it might not be the most comfortable, fun, or easy.
And similar to how technological improvements increased the need to look after the health of our bodies, it has now made it important to look after the health of our minds as well.
Learning and AI
If you’re at the gym, there are many examples of how technology can enhance the effectiveness of our artificial physical exercise. However, using a forklift to lift weights might be more effective and comfortable, compared to doing it yourself – but it also makes the action completely useless! The point isn’t that the weights get lifted, but that you do it. This is in contrast with a warehouse, where the point is to get the stuff lifted.
In Defence of Netflix Not Being in the Apple TV App
I like the Apple TV (box). It’s the only way I watch TV! I like that it’s a competent and fast piece of hardware, without ads*, that gives me easy access to all the streaming I want.
That it’s an app platform, makes it easy for even my niche Norwegian services to be a part of the platform. It can also have things like the excellent Infuse media player (for local files and Jellyfin).1
Apps can also choose to serve their content to Apple’s frameworks: This makes the content searchable with the global search, and also adds the content to the Apple TV app. A section of the app is “Up Next”, where you can continue watching things from different services:
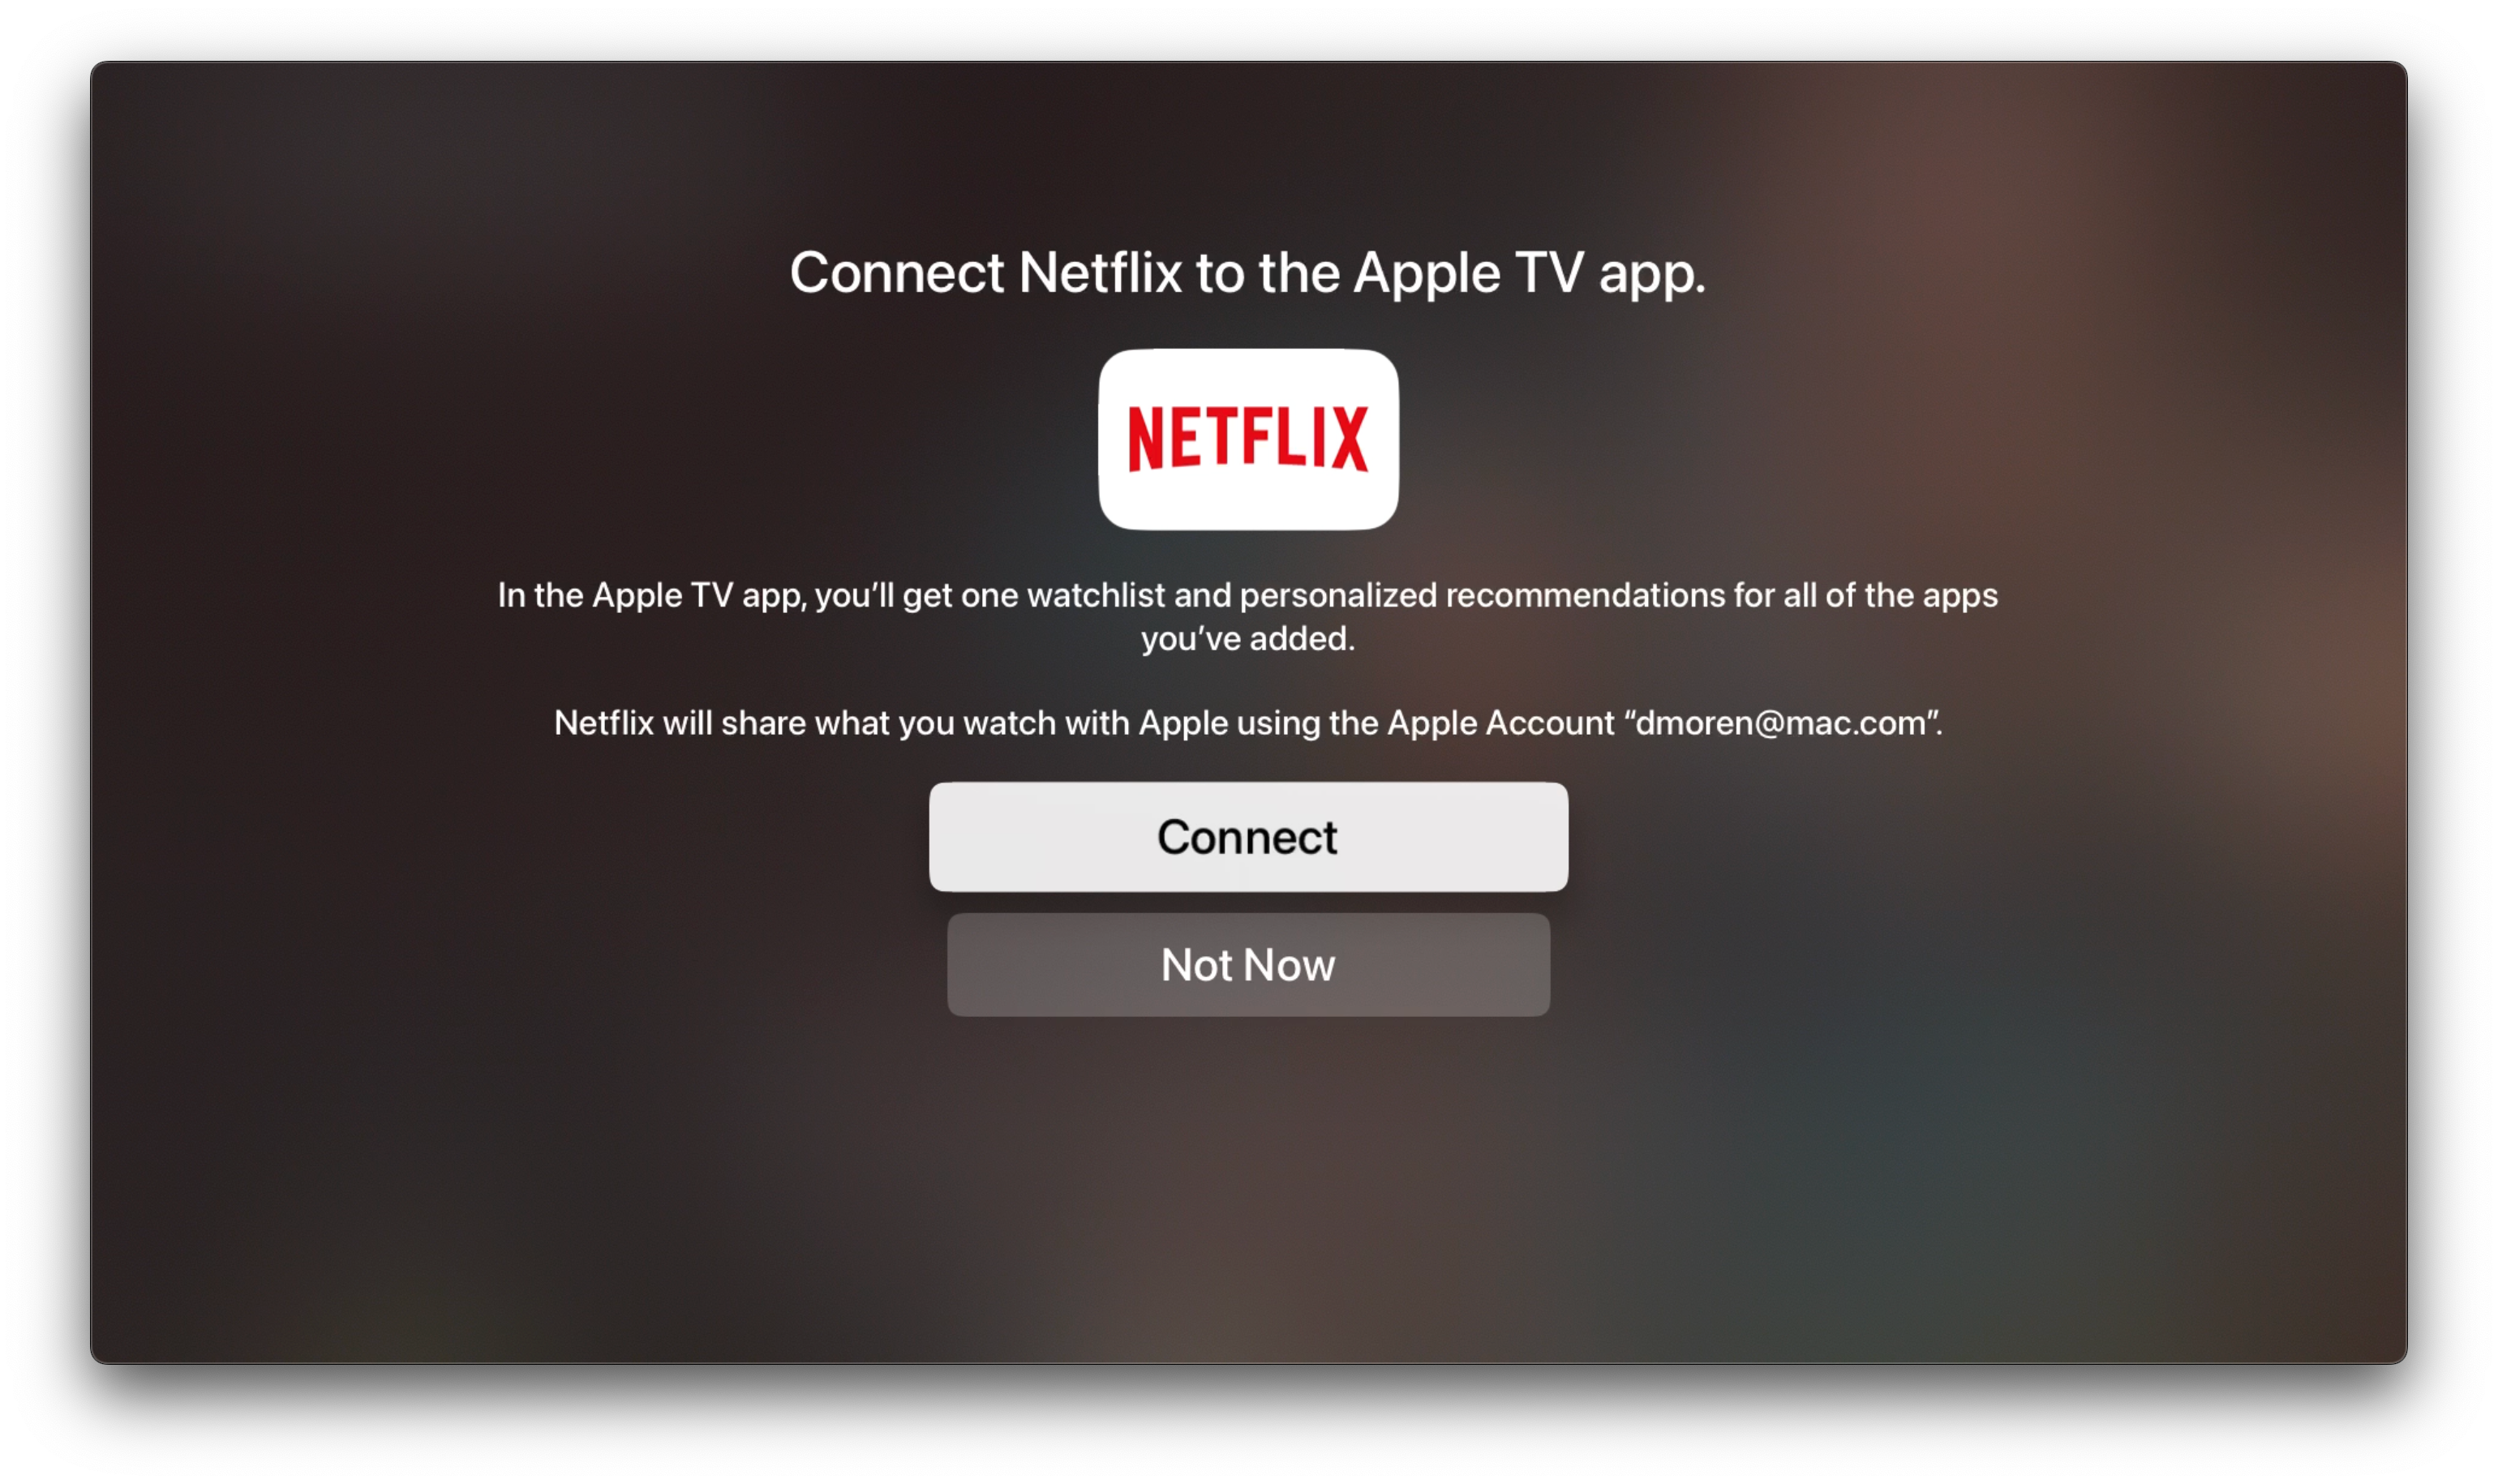
However, annoyingly, Netflix doesn’t participate.
And before I defend them, I want to highlight the cynical reasons they don’t:
The mistake
Last week, there was a bit of writing because someone accidentally flipped the switch, and made Netflix actually participate:
Netflix quickly turned it off again – and the take that was the most popular in this cycle, was perfectly summarised by this great quote:
Netflix deeply regrets accidentally making Netflix a better product for its customers.
As someone who uses both Netflix, the Apple TV (box), and Apple TV (app), Netflix participating would be better for me. But I think I have more understanding towards Netflix than most.
The defence
My first thought was that it was funny hearing someone like John Gruber criticising the move. When Apple themselves don’t play nice with others, to instead give users a unified experience (or whatever), he’s usually quick to defend them. And when they do this, it’s also because they’re dominant enough to not have to.
But I also think John Siracusa had plenty of good points on this, in the latest episode of Accidental Tech Podcast. And I’m stealing some of these here.
My Blog's Photo Workflow, Powered by Shortcuts
And Thoughts on Alt Text
I use many images on my blog. But that’s not because I’m a photo blogger, or use a lot of decorative illustration images – it’s usually because I want to show and/or explain something.
I’m pleased with where my flow for uploading these, and adding them to my blog posts. So I would like to show what it looks like, and give thanks to Jarrod Blundy over at Hey Dingus, as I’ve built it around a shortcut of his.
The shortcut starting point
Jarrod has shared plenty of cool shortcuts, over at his Shortcuts Library. And the one I started with, was the one called Bulk MB Image Uploader. The point of this was to be able to upload several images at once to Micro.blog – which is the hosting provider we both use. However, uploading in bulk like this isn’t necessary to me. I just used the framework surrounding access to the Micro.blog API/app token, so I don’t have to use the website, and can do it all from shortcut actions.
More features
After being yelled at, by various web efficiency tests because my website used too many resources, I wanted to optimise the way I use images. And this involves two steps: Compress the main images, and add lazy loading (with a temporary lazy image, that keeps the layout while the image loads).
So, my version of the shortcut (which only works with one image at the time), actually uploads two images to Micro.blog:
I’m using Jason’s GLightbox plugin for Micro.blog to get a lightbox for the images, and I combined that with this guide for lazy loading.2
So the code my image uploader shortcut spits out, looks like this:
✉️ Tapestry Feedback Feedback Feedback
Not too long ago, I wrote some feedback to Iconfactory’s latest app, Tapestry. I just got some great feedback on that, from them, so I wanted to provide a response.
Here’s what they wrote, on Mastodon:
There’s a lot in your post. Thx for such thoughtful feedback, it’s appreciated. Some things like the ability to turn off the service name is coming. The thing to keep in mind is this: just because a particular part of the design doesn’t work for you, doesn’t mean it wasn’t designed that way for a reason that you may have not considered.
The service name is a perfect example. Lots of people are colorblind or even unsighted. To them they cannot tell posts apart simply by color.
So while we are going to add the ability to turn off the service name, that’s why it’s there by default. Avatars are never going to move to the right side. Their placement was carefully considered as was how they appear with their transparency.
Everything you see is the result of over a full year of design, testing by over 1,500 TestFlight backers & then tweaking to adjust things that didn’t work as well as originally planned.
In the end Tapestry may not be for everyone & that’s fine
If Tapestry ends up looking & behaving like Reeder or Surf or… what’s the point? We designed the app the way we wanted it to look & behave using feedback from our testers as a guide. The design will continue to evolve based on feedback like yours (which is thoughtful) but it can never be all things to all people.
Many have told us they love Tapestry so it seems to be doing a lot of stuff right but it can always be better. We’re gratified but will continue to improve going forward. 👍
Here’s my response:
Thanks for reading my feedback, and getting back to me with such an interesting response! And looking back at my own feedback, I see that it was harsher than what was intended… Sorry!
✉️ Micro Social: A New Third-Party iOS App for Micro.blog
And Some Very Early Feedback
Greg Morris is someone whose blog I’ve followed for a while, but I didn’t know was a developer. But now he has released a third-party iOS client for Micro.blog!
As he’s mentioned, it happened “quite accidentally”, and it’s very early days. So this post is just me letting people know it exist, and providing some very early feedback.
To Greg:
Oooh, I love that you’re making this! I’m 100% in the target demographic for Micro Social. (Someone who uses, but doesn’t like, the default Micro.blog app — and is willing to pay for something better.)
I’ll try to provide some more useful feedback later, as I’ve used the app more, that you can use if you’d like. 🙂
Here are some first-impressions:
(In general I like it! So these “negative” comments are meant to be constructive. 🫶🏻)
I’m currently running an iPhone 13 Mini — so the phone is probably both older and smaller than what you use. ☺️
I had several crashes two updates ago, but it’s fine now. But I’ve noticed that avatars load slowly when I scroll (even if I scroll slowly). Maybe you can have the lazy loading start “earlier”?
I really like that you have avatars and names on a separate line, so you can use full-width content. (Instead of having weirdly large left-margins, that far too many apps has. I have strangely strong feelings about this…)
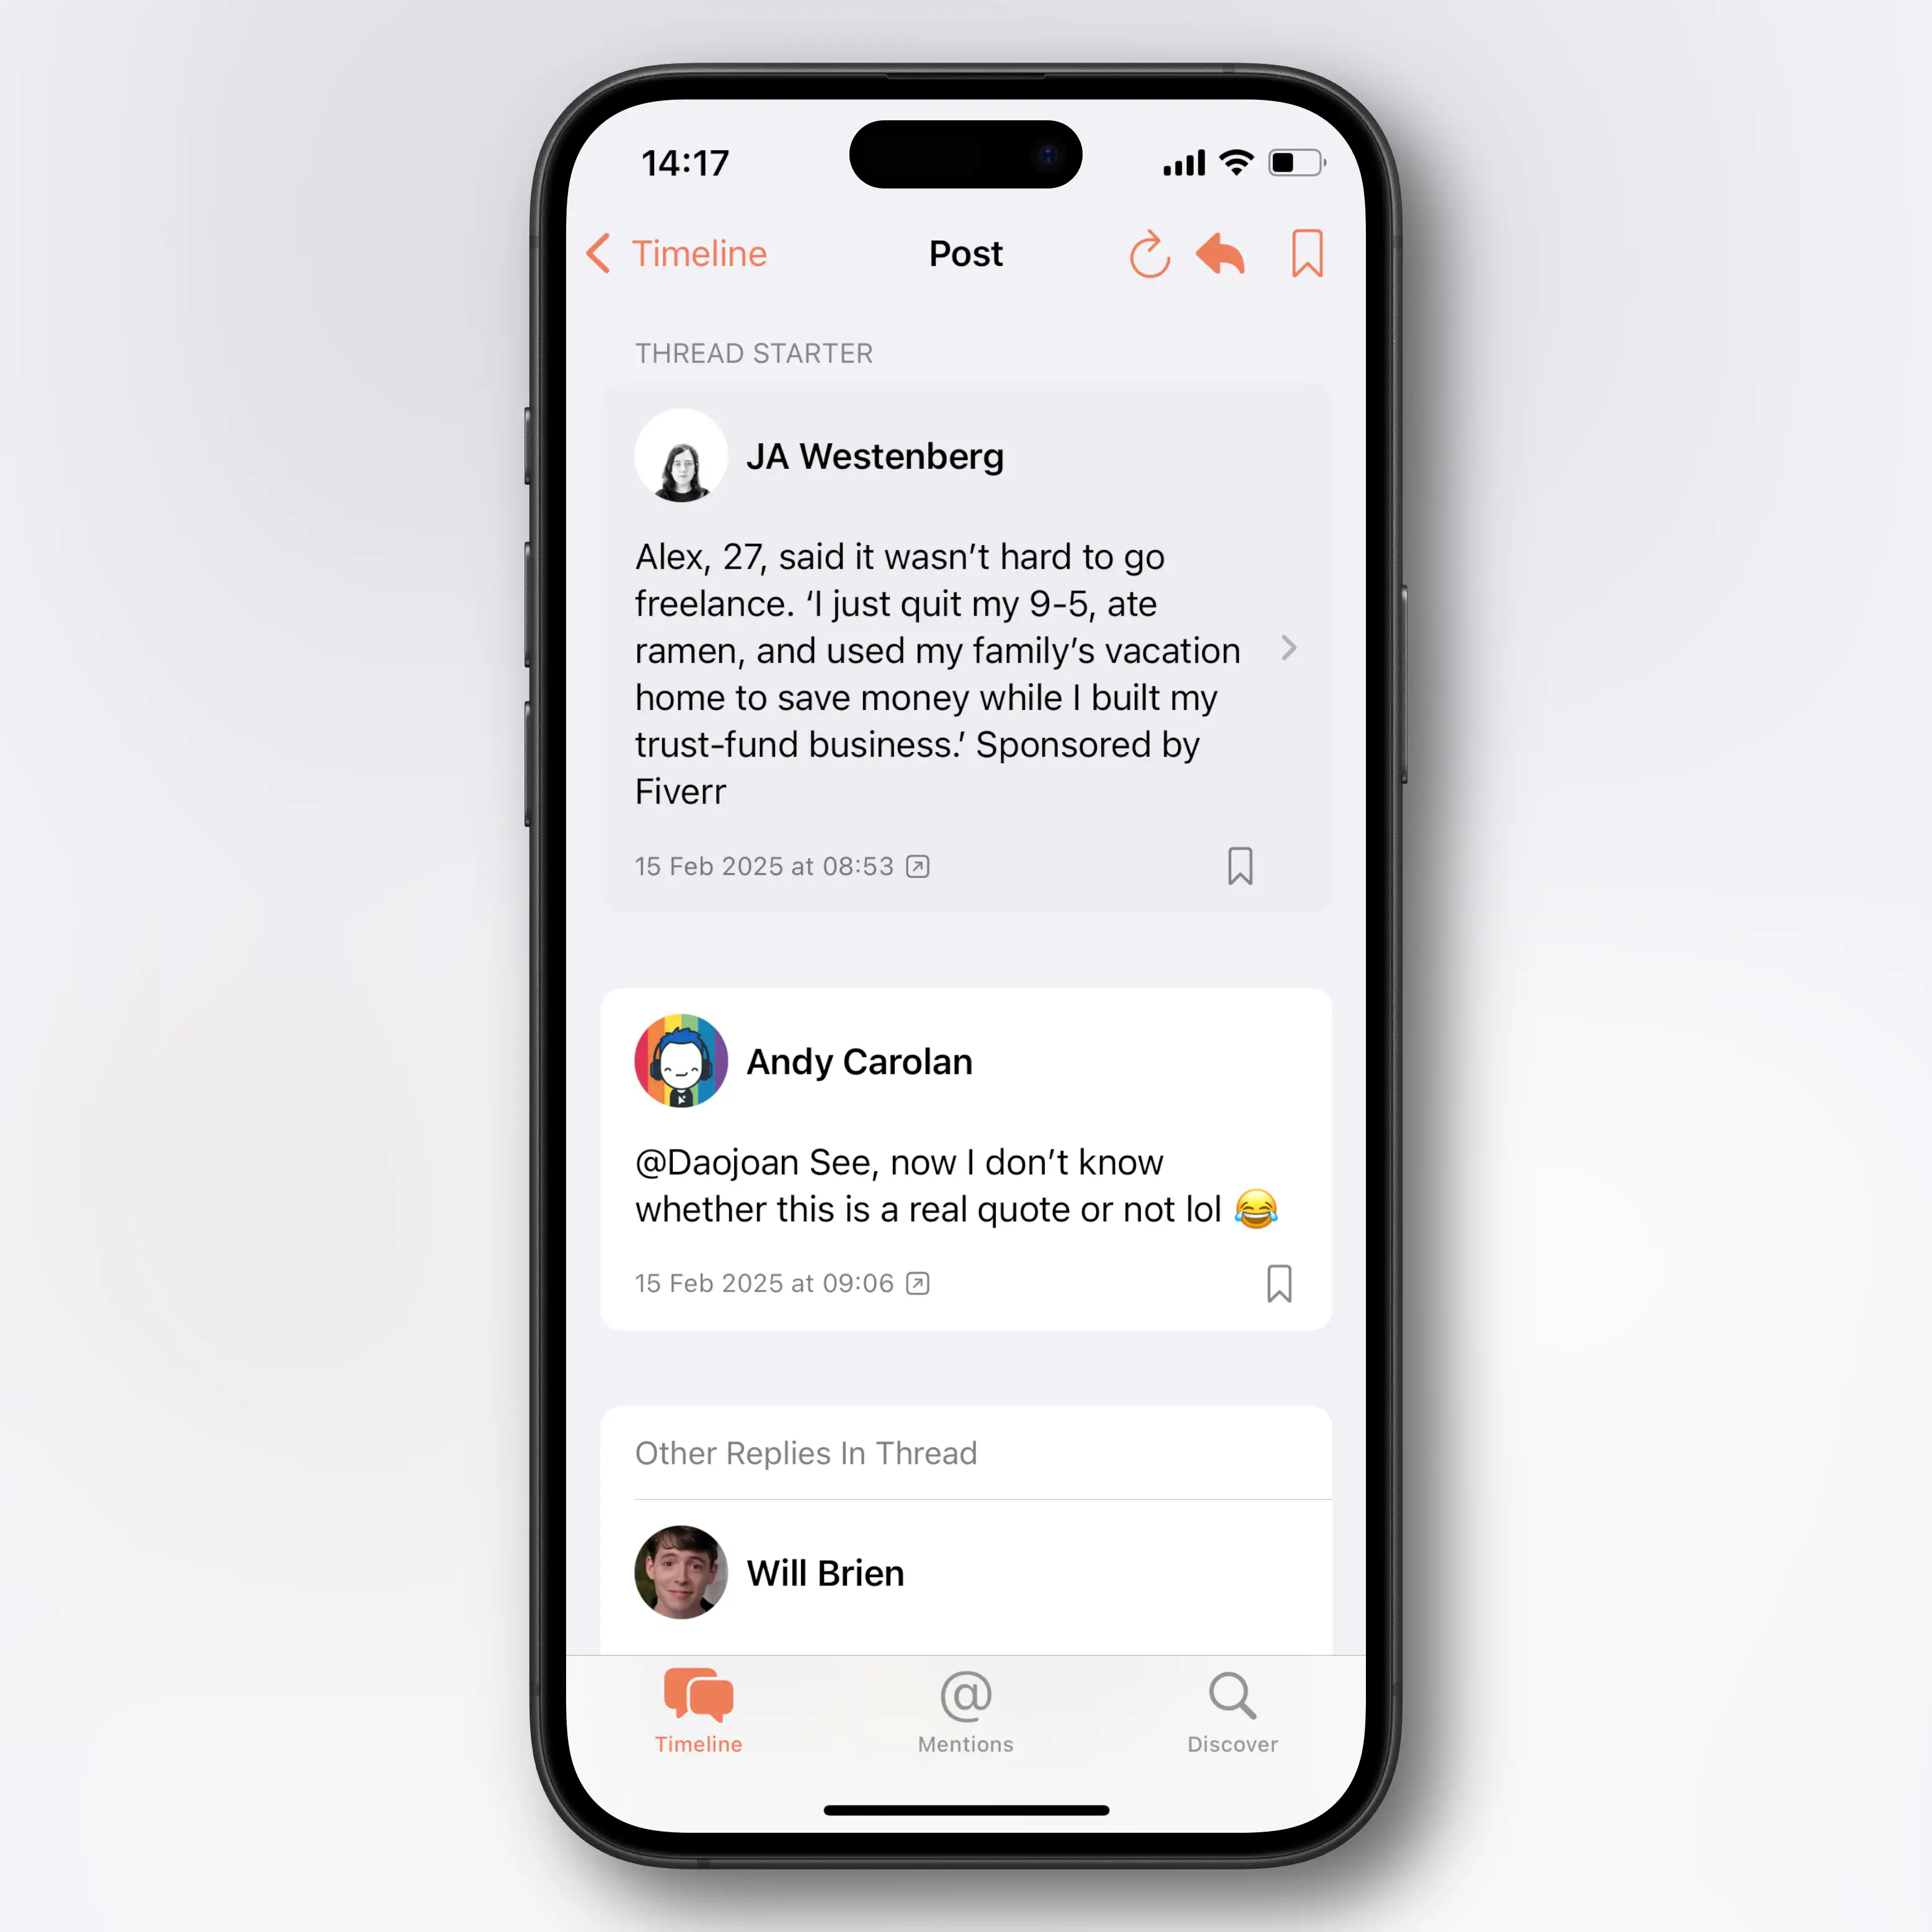
I also really like the “card look”:
However, on my Mini phone, I wish you were a bit more stingy with the padding, as the content gets too narrow. Especially on the timeline, due to the extra arrow on the right side. Is this needed?
The Paper Dev Should Give Their Take on a Tot-Like App
I recently wrote a review of Iconfactory’s great app, Tot.
I like it – but editing text in it does make me miss my favourite places to do this: Paper and Bike.
And this process made me realise that the Paper dev has all* the pieces in place to give their take on an app like this. And it makes sense from a business perspective!
The pieces
Here’s what I would do:
My suggestion for a name (also to make it easier to discuss here) is Slate.
A slate is a thin piece of hard flat material, historically slate stone, which is used as a medium for writing.
The next question is how much it’s OK to copy from others. Let’s pretend it’s fine to take all …
The best parts from Tot:
Fixed number of notes
I really like that Tot only supports 7 notes, that are all “internal” to the app.1 I also love how they’re distinguished from each other by colours.2
Having exactly 7 would a bit on-the-nose… But one of the reasons I liked the “Slate” name, is that you could one-up, rhyme, and go for 8!3
Perhaps the 8 notes could be regular, accessible Markdown files in the app’s iCloud folder, to simplify automation? But that you can’t create other notes with the app, and it can’t “find” other notes if you place them there.
The business model
App review: Tot
Yesterday, I wrote about Iconfactory’s newest app, Tapestry. Today, I want to do a little review of another great app of theirs, Tot.
“Your tiny text companion”
Tot is a scratchpad app, for fleeting notes. It was inspired by Tyke, which explains the need for this well:
I made Tyke because when I’m working I often need a little bit of scratch paper to jot something down.
Sometimes it’s because I need to paste it someplace or other times it’s because I just want to clear the formatting and edit it.
I used to use a new text editor window for that job. Now I don’t have to.
—From the Tyke website
I use Tot for things like writing down everyone’s take-away orders. I also use it when I need to keep some text in a small Mac window that stays on top, or small pieces of info I might want to look up from time-to-time.1
The business model is also both clever and fair: It’s totally free on Mac, and then you pay once for iOS (€20) and Apple Watch (€2).
My favourite part of it, is that it allows you to store 7 notes. It’s more than 1, but still limited. You swipe between them, and they are beautifully colour coded.2 This makes it so you don’t fall into the trap of wanting to name your notes, or keep them forever. You’re supposed to move on.
These 7 notes are synced between Mac, iPhone, iPad and Apple Watch, with great apps for each.
Purposeful limitations
✉️ My Issues With the Tapestry Design
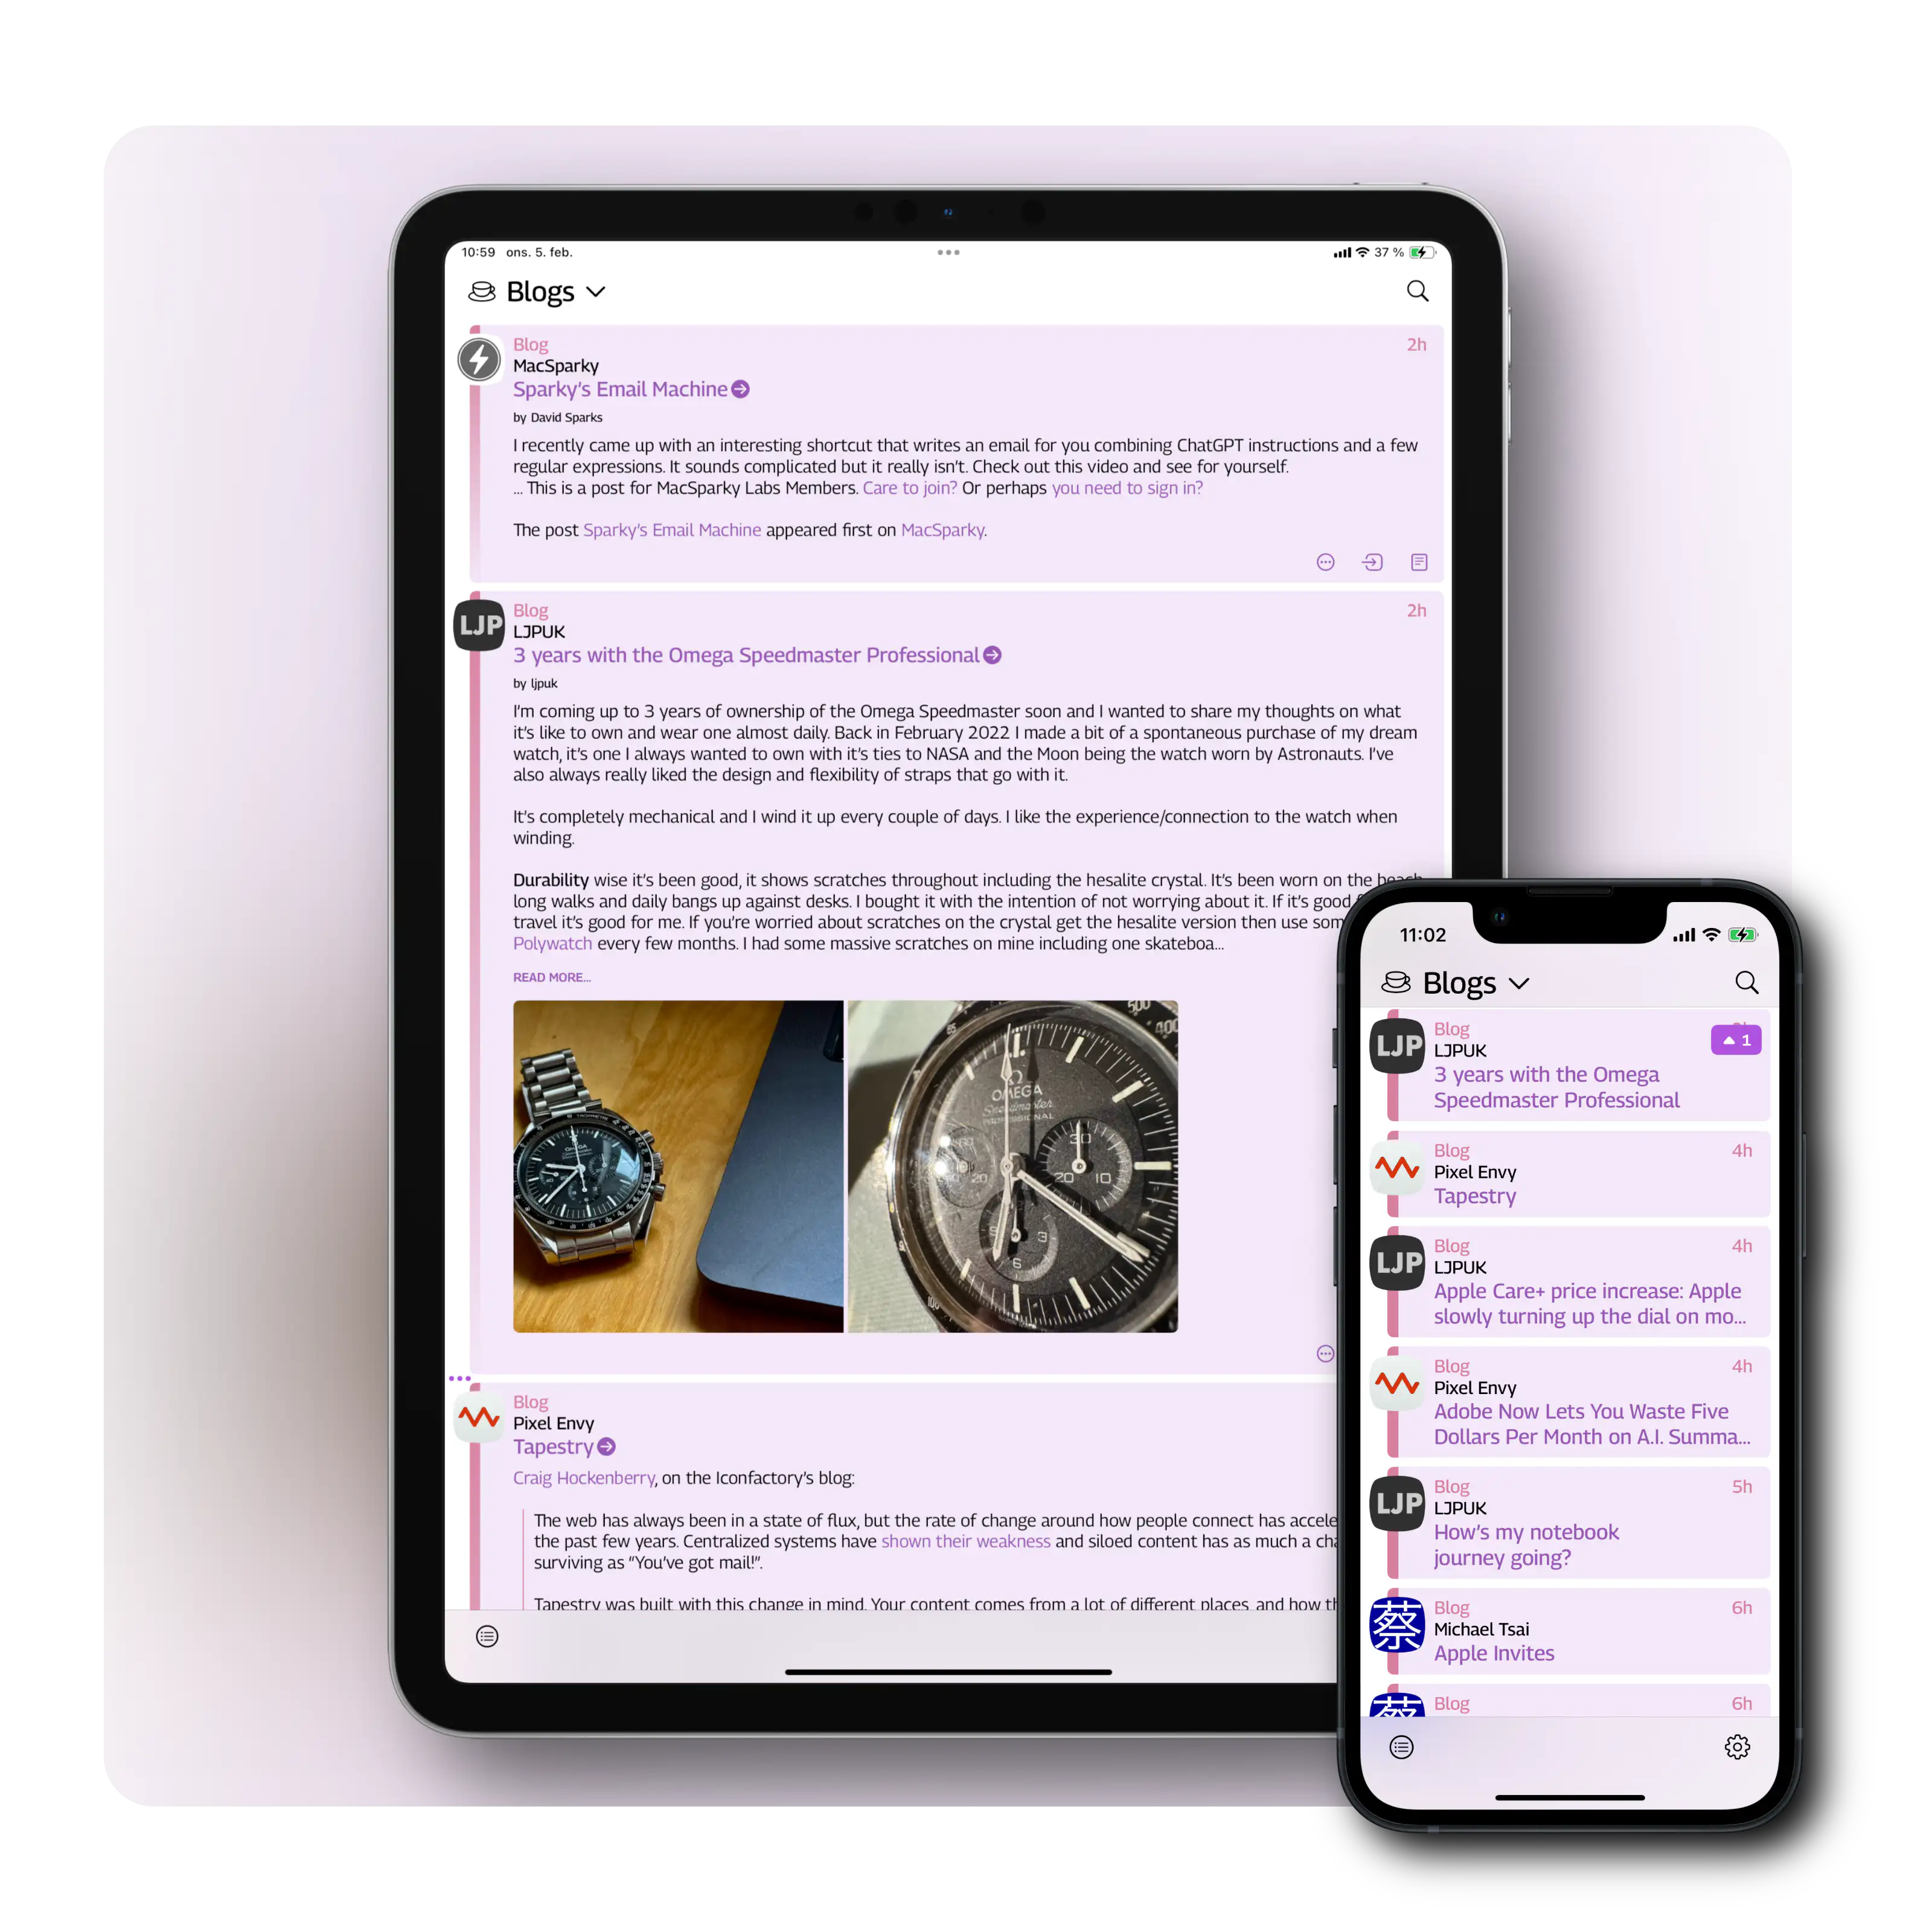
The 1.0 of Iconfactory’s latest app, Tapestry, just landed. Like the new Reeder, it’s a “unified timeline app”, that collects feeds from many different sources, like RSS, Reddit, YouTube, Mastodon, and more.
Some really like this idea (for instance for collecting Bluesky, Mastodon and Micro.blog in one place), while others don’t. I’m not yet sure where I stand.
I backed the Tapestry kickstarter way-back-when, so I’ve been able to beta test it. I like a lot of the ideas – and the way it handles feeds/connectors and default apps seems fascinating and robust. But due to some issues with the visual design, I’ve never been able to get into it… This post is my feedback letter to the devs, which might also be interesting to others.
Edit:
I got some feedback from Iconfactory on this post. That, and my response back, can be read in this blog post.
Great designers
I spent €40 on the Kickstarter – but even if I’ll never get into the app, I won’t call it a complete waste. Because Iconfactory is a cool company, that I don’t mind supporting.
And they are excellent designers! So when I disagree with things about their work, I’m, of course, a bit nervous, heh.
Mini Gang, unite ✊🏻
I’m still rocking my trusty ol' iPhone 13 Mini. And I think part of my issues stem from me using a phone that’s probably smaller than what they’ve optimised for. I also get that it’s a 1.0, and that much of the work has gone into some really cool tech on the backend. So I hope it’s possible to see that this feedback comes from a place of love, and hope for the future!
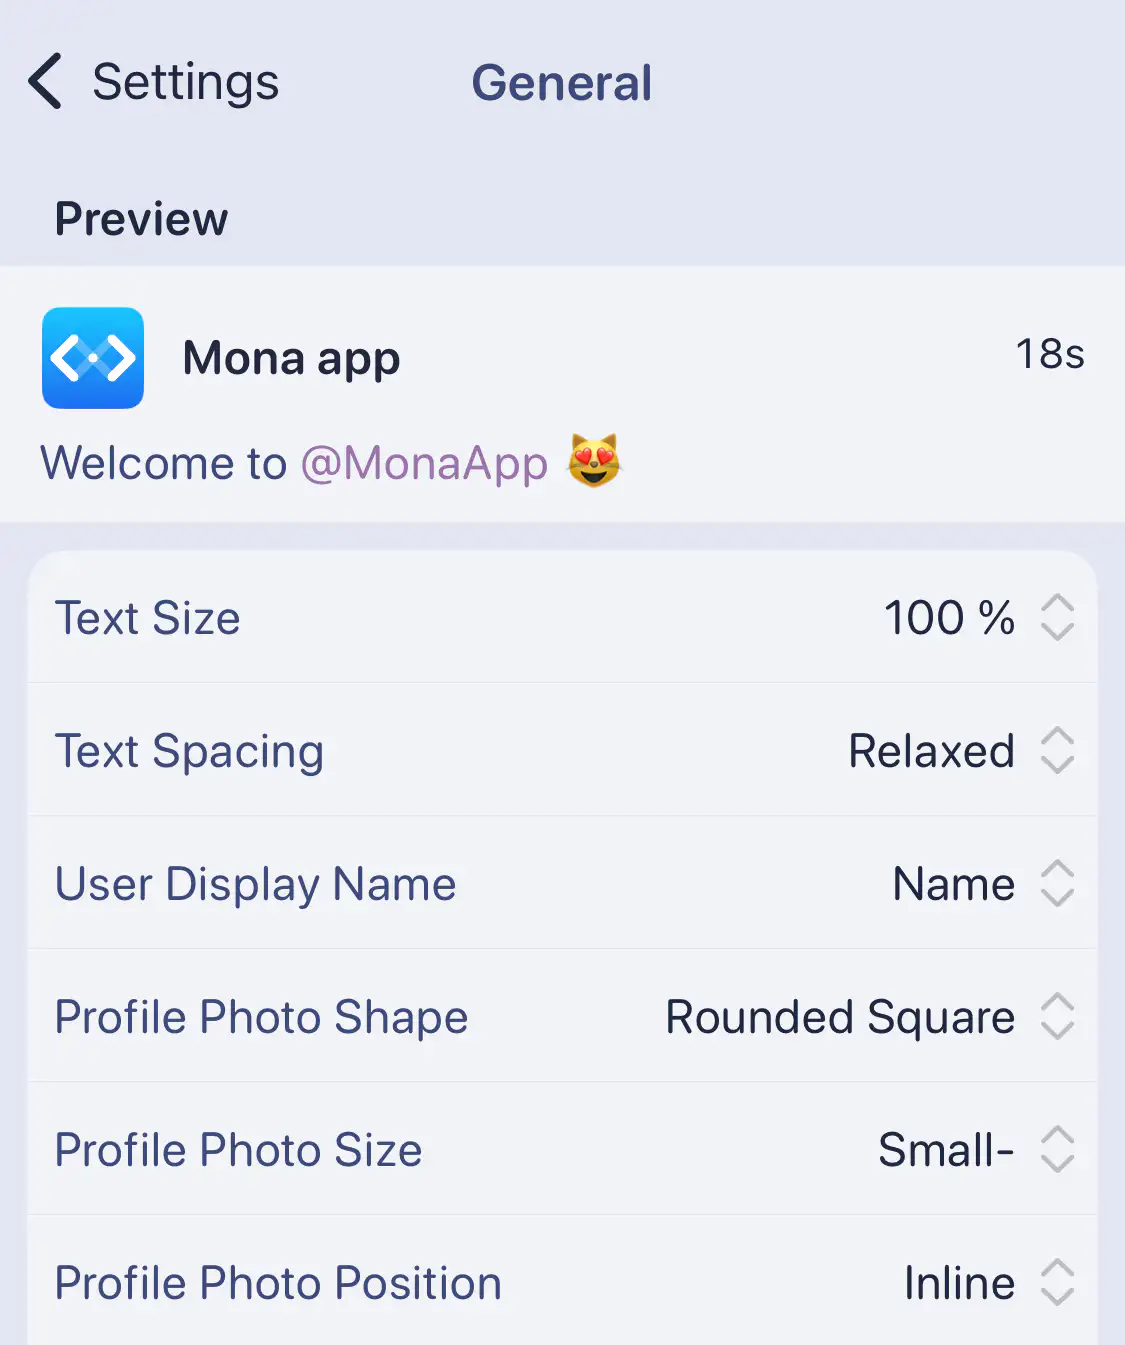
And I get that many might like the things I don’t. So I think the answer is more customisation – like this settings screen from Mona:
Messy and cramped
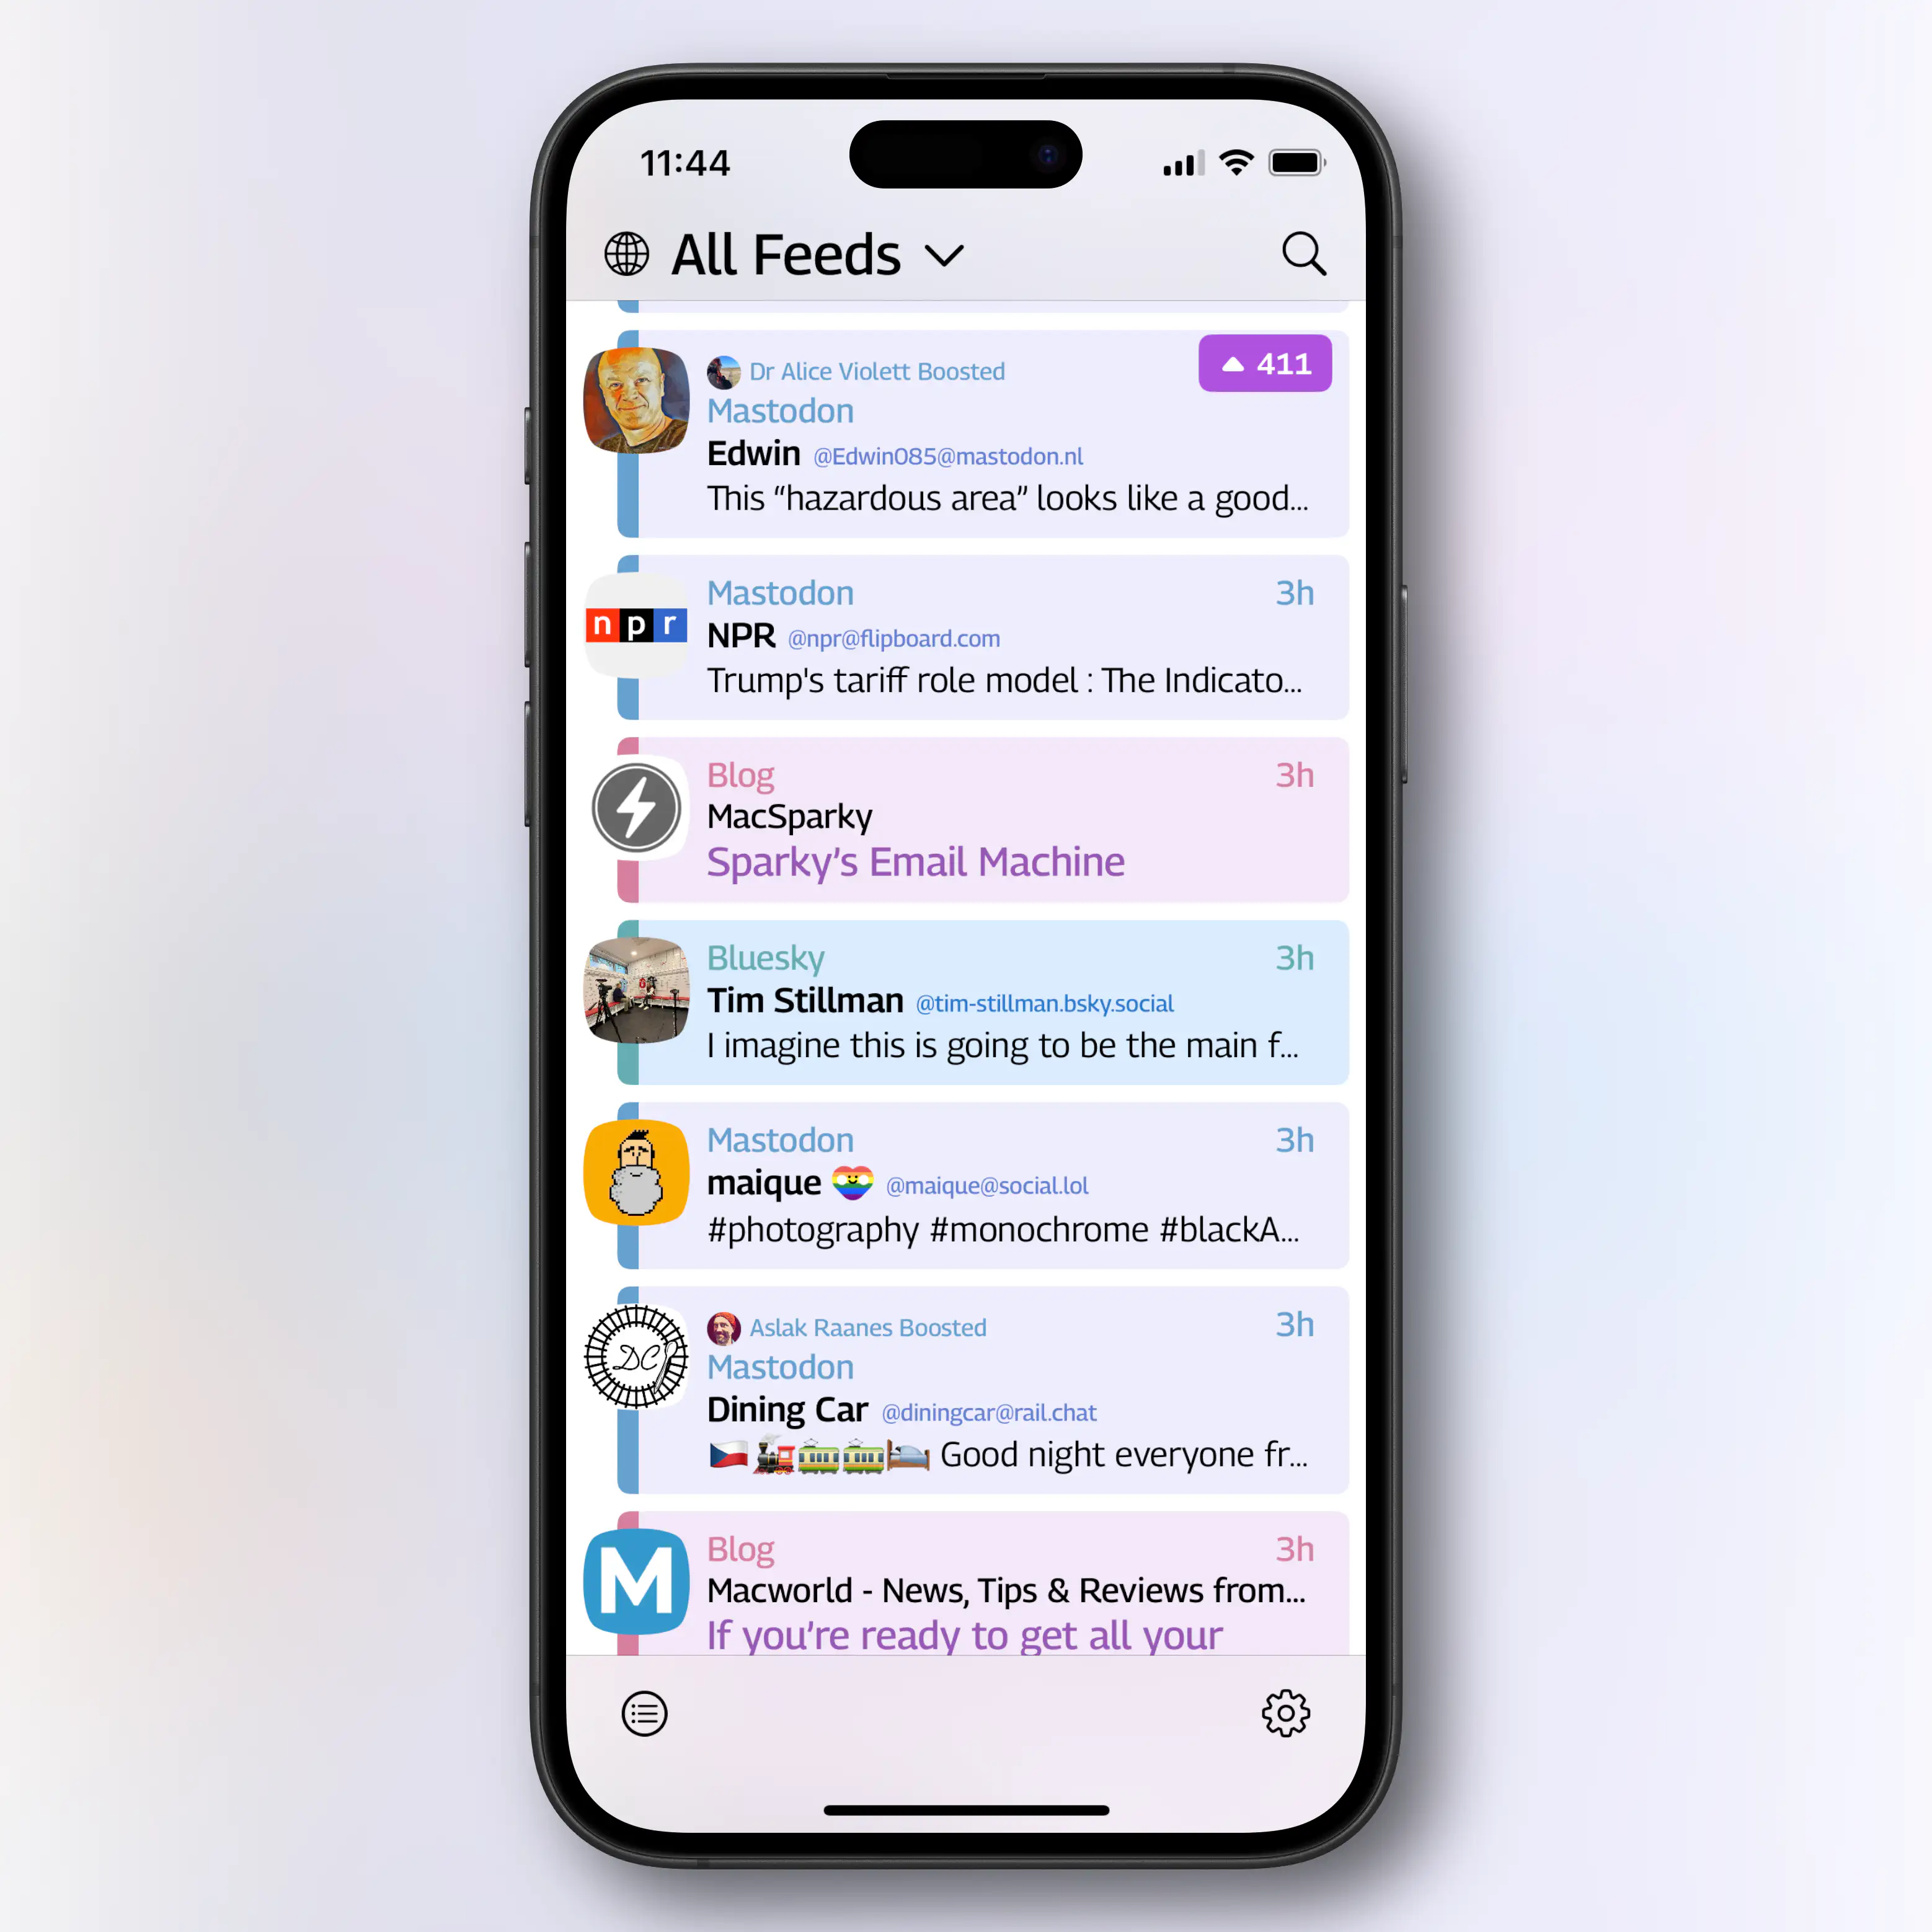
I like colourful designs. And Tapestry has this neat idea, where it gives timeline entries different colours depending on the type.
It might not come across perfectly in screenshots, but with my Mini phone in hand, I find a combination of things here unpleasant.
Hurrah: My Favourite Markdown Editor Just Dropped on Setapp
The magnificent Markdown editor Paper just became available on Setapp 🖇️, making it more accessible for more people to try out! I’ve written a thorough review of it previously, but here are the things you need to know:
So, I wouldn’t primarily say it’s a “notes app”. It’s more of a “writing app” and “Markdown editor”. You could, of course, use it as a notes app – but then you have to rely on Finder/Files and x-callback-URLs for the organisation.
I highly recommend giving it a go, and play with the settings to make it behave like you want! Perhaps my favourite feature, is the combined Typewriter Mode and Focus Mode:
The Terminal – For Noobs (Like Me), Part Three
A More Noob-Friendly Terminal
This is the third, and final, part of my terminal guide.
I’m not saying these things are stuff everyone should do – but they are things that have helped me like the terminal much more. And feel free to just pick-and-choose the things you want to try out.
Also, as I’m a Mac user, this might be a bit Mac-centric. But I think all of the programs I’m mentioning also exist for Linux – and many of them for Windows as well. (And installation is probably similar.)
Choice of app
One thing that has tripped me up quite a bit, is that terminals adhere to different text manipulation conventions than the rest of the OS. For instance, Shift+Command+Left will usually select text from the caret and all the way to the left – but it doesn’t in terminals. To be fair, the hotkeys in the terminal are probably better, if you know them. But to me, it’s just impractical that they’re different when I spend so much more time with “regular” bindings. (Here’s a video showing some of the default bindings in most terminals!)
The only terminal I’ve found that behaves like regular apps, when it comes to text, is Warp 🖇️. It also has several helpful AI tools integrated. However, this is a controversial recommendation. Among other things, it has gotten a lot of flack for the fact that you used to have to log in to use it, and that it’s quite bloated compared to other terminals. But I still think it’s a good choice for beginners!
If you want something leaner, either to start with or if you’ve graduated from Warp, I recommend Ghostty.1 I’m currently using Ghostty – and the screenshots in these posts are from it. I don’t miss the AI features, as I prefer to keep a chat going in Raycast 🖇️ anyway. And I’m getting by with the, in my opinion, poorer text manipulation.
Customising
The Terminal – For Noobs (Like Me), Part Two
The Why and What
In part one, I tried to establish the basic concepts, like terminal emulator, shell, prompt, and CLI. In this part, I want to go into why people use the terminal – and in the next part, how to make it more noob-friendly.
“But why do people use this archaic thing?”
As mentioned in part one, I’m absolutely not one of those who live in the terminal. But if I were to guess (and this applies to my basic usage as well), I’d say two things are the most important: It’s fast, and it’s powerful.
One way it can be fast, is that CLI programs are computational efficient, as there’s a lot of stuff (like graphics) they don’t need to render.
Another way is that you can do quite complicated tasks in a single* command. For instance, I’ll sometimes run this:
for dir in */; do
(cd "$dir" && mkdir -p .Originals && cp * .Originals/)
done
This will
I use this to create backups of files before editing them (in a specific workflow), and it happens instantly. 👌🏻
CLI tools are both powerful in terms of what they can do, and also in that they’re usually highly customisable. They’re also generally easy to combine with each other, because they often do one thing.
And the combination of being fast and powerful, if you know what you’re doing, makes it a valuable tool in which to invest.
“But what can you use it for?”
The Terminal – For Noobs (Like Me), Part One
The Basic Concepts
If you’re like me, from time-to-time you’ll come across tasks that should be done in the terminal. But as you’re not very familiar with it, you wince a bit, and then just paste whatever they say, and hope for the best. The guide might also assume you know a bunch of concepts, that you don’t really understand. Like, why do some commands start with $?
Hopefully, this guide can answer some of the questions you’re too afraid to ask, and make you less afraid of the terminal. I’ll never be a person who lives in the terminal (especially as I’m not a programmer) – but I’ve managed to get to where I like it, and will be happy if a task can be done there.
Sorry that this will be a bit Mac-focused. But hopefully, it can be useful for more than Mac users!
Basic concepts
To me, things get much less daunting if I understand some basic concepts. And here are some of the basic things you won’t necessarily see explained on guides that include some terminal stuff.
CLI vs. GUI
More on Using a Mac Mini as a Secondary Computer
Remote Access, RSS, and Storage and Backups
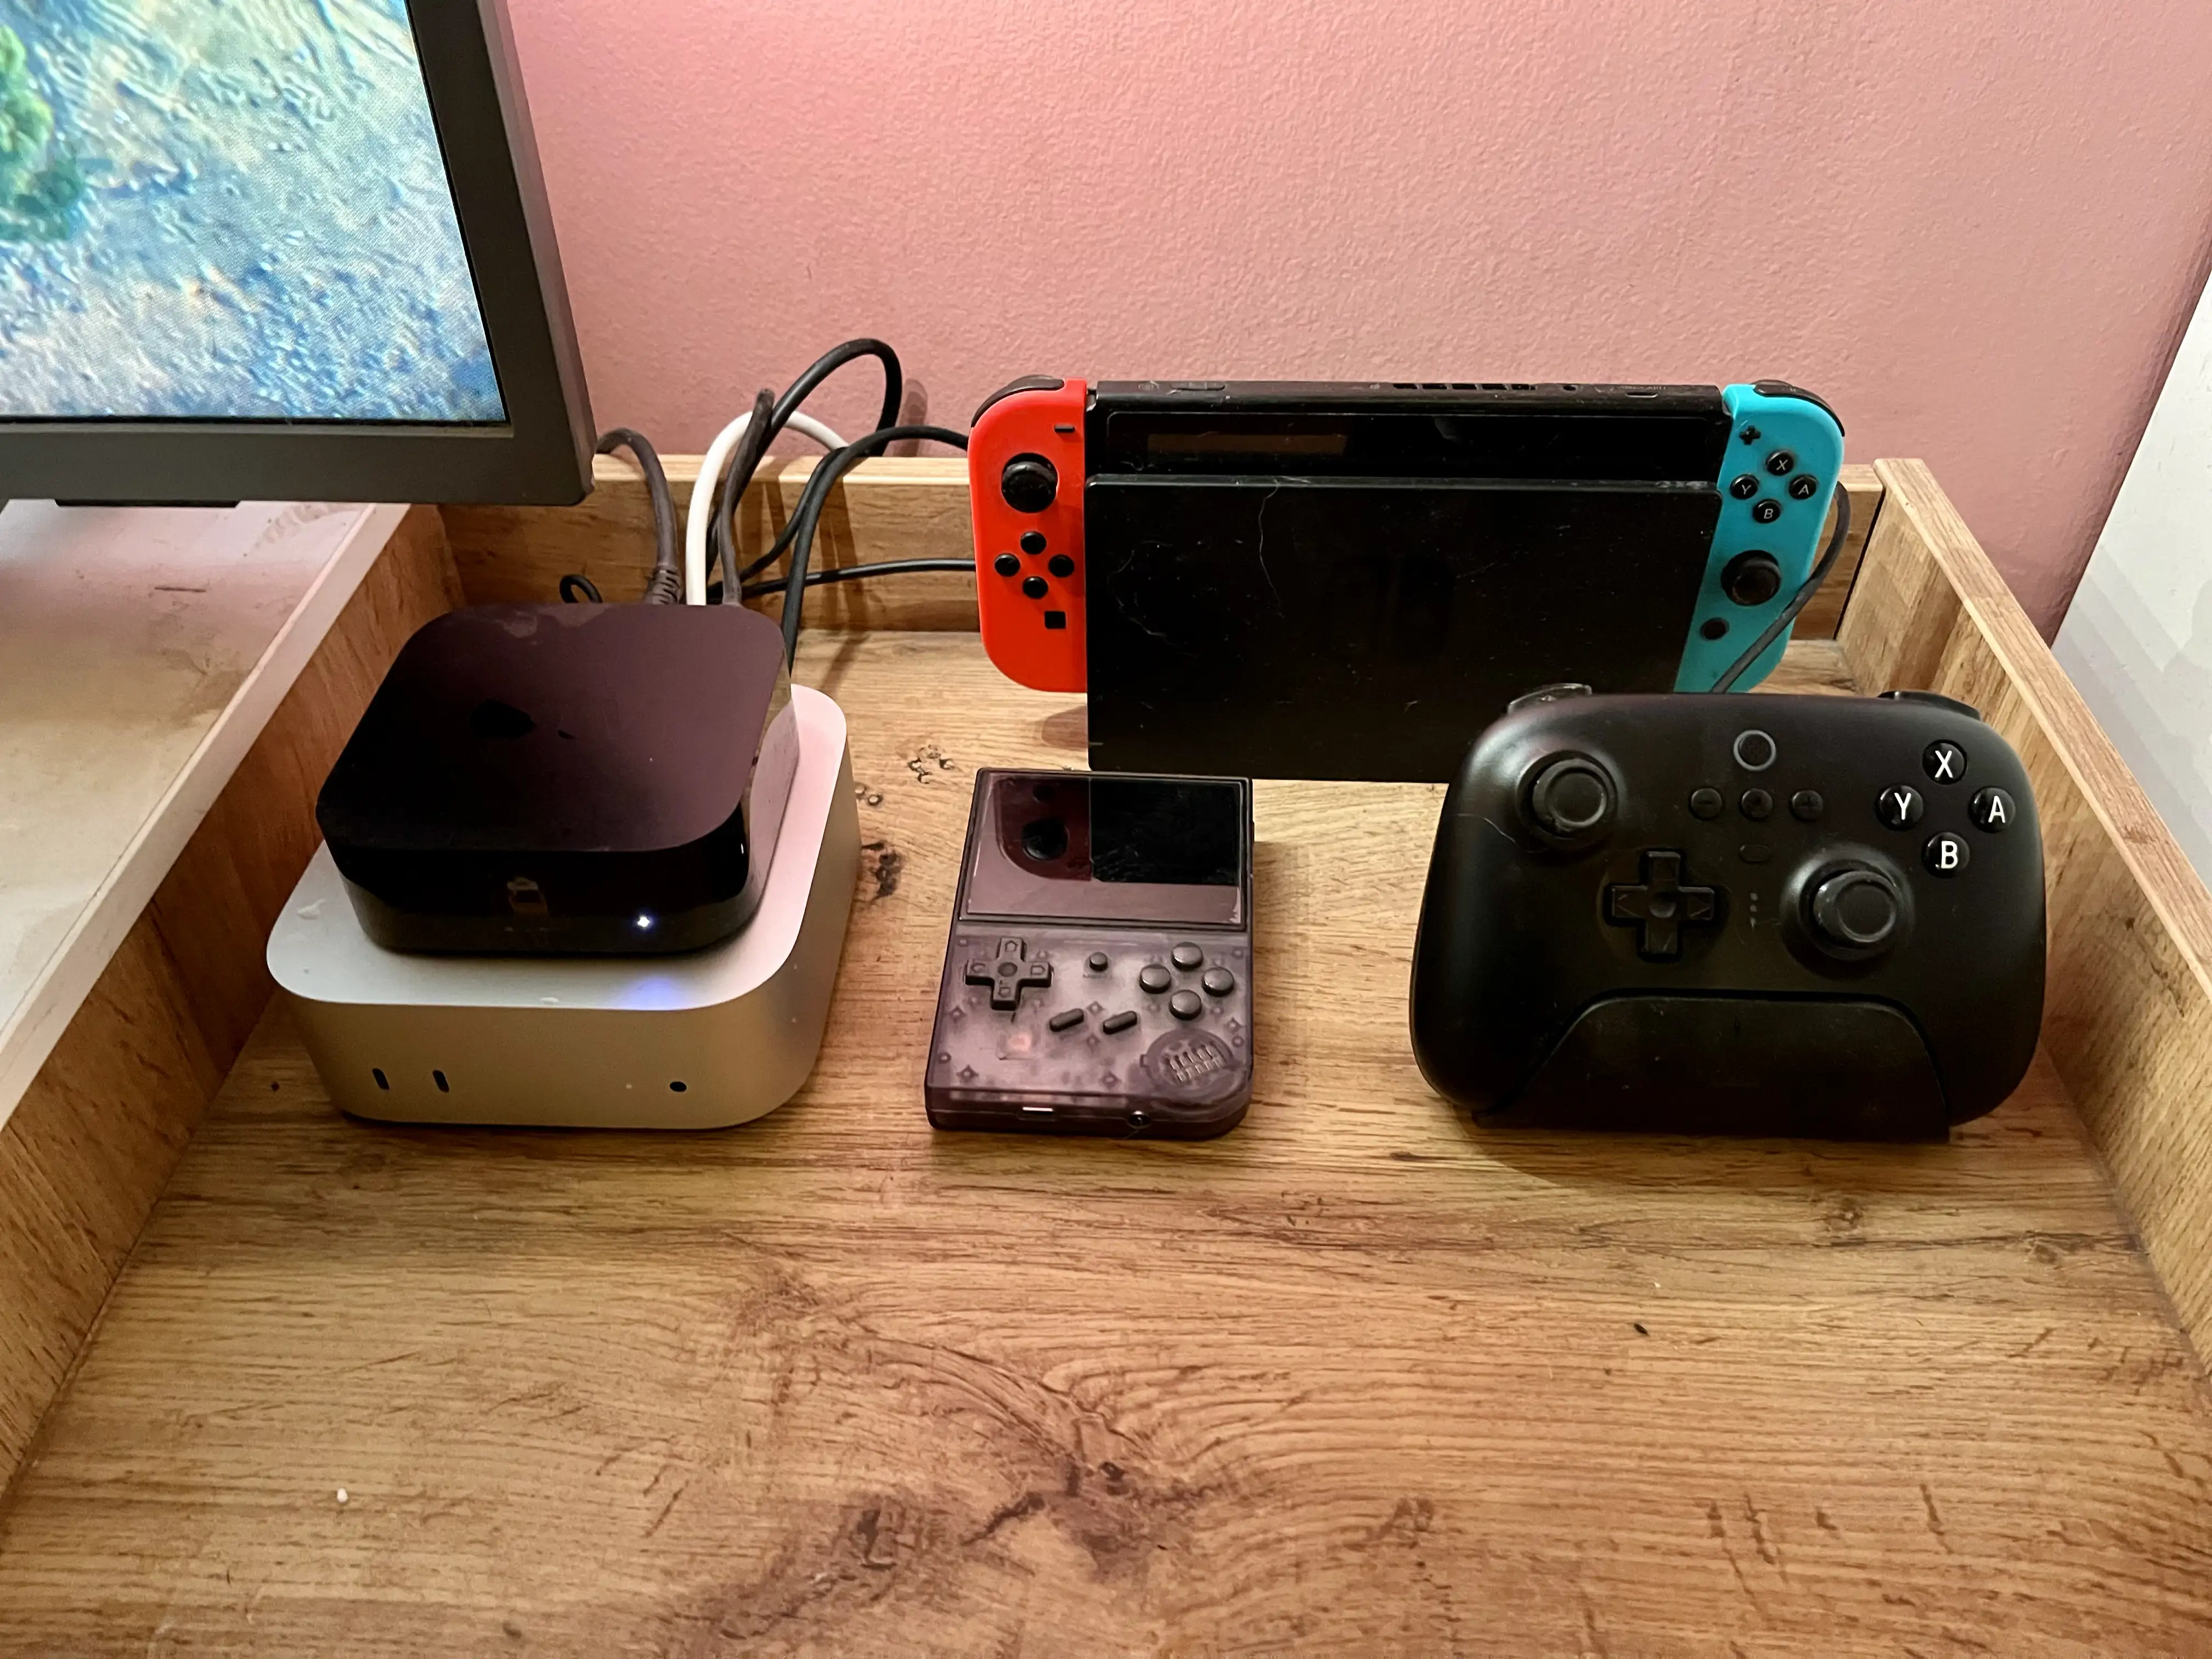
Last November, I started using an M4 Mac Mini as a secondary computer. I’m still pleased with it! And I wanted to provide a little update with some more things I’ve learned.
Remote access
Using the Mini, has been pretty simple. I’ll usually use Continuity, via my MacBook or iPad, if the TV the Mini is connected to is on. And I’ll use Screen Sharing if not.1 (I can recommend keeping something like an integrated keyboard and trackpad nearby, if you have the space – which I don’t.)
But I’ve also figured out something else! And I get that this is very basic for many of you, but probably not for all.
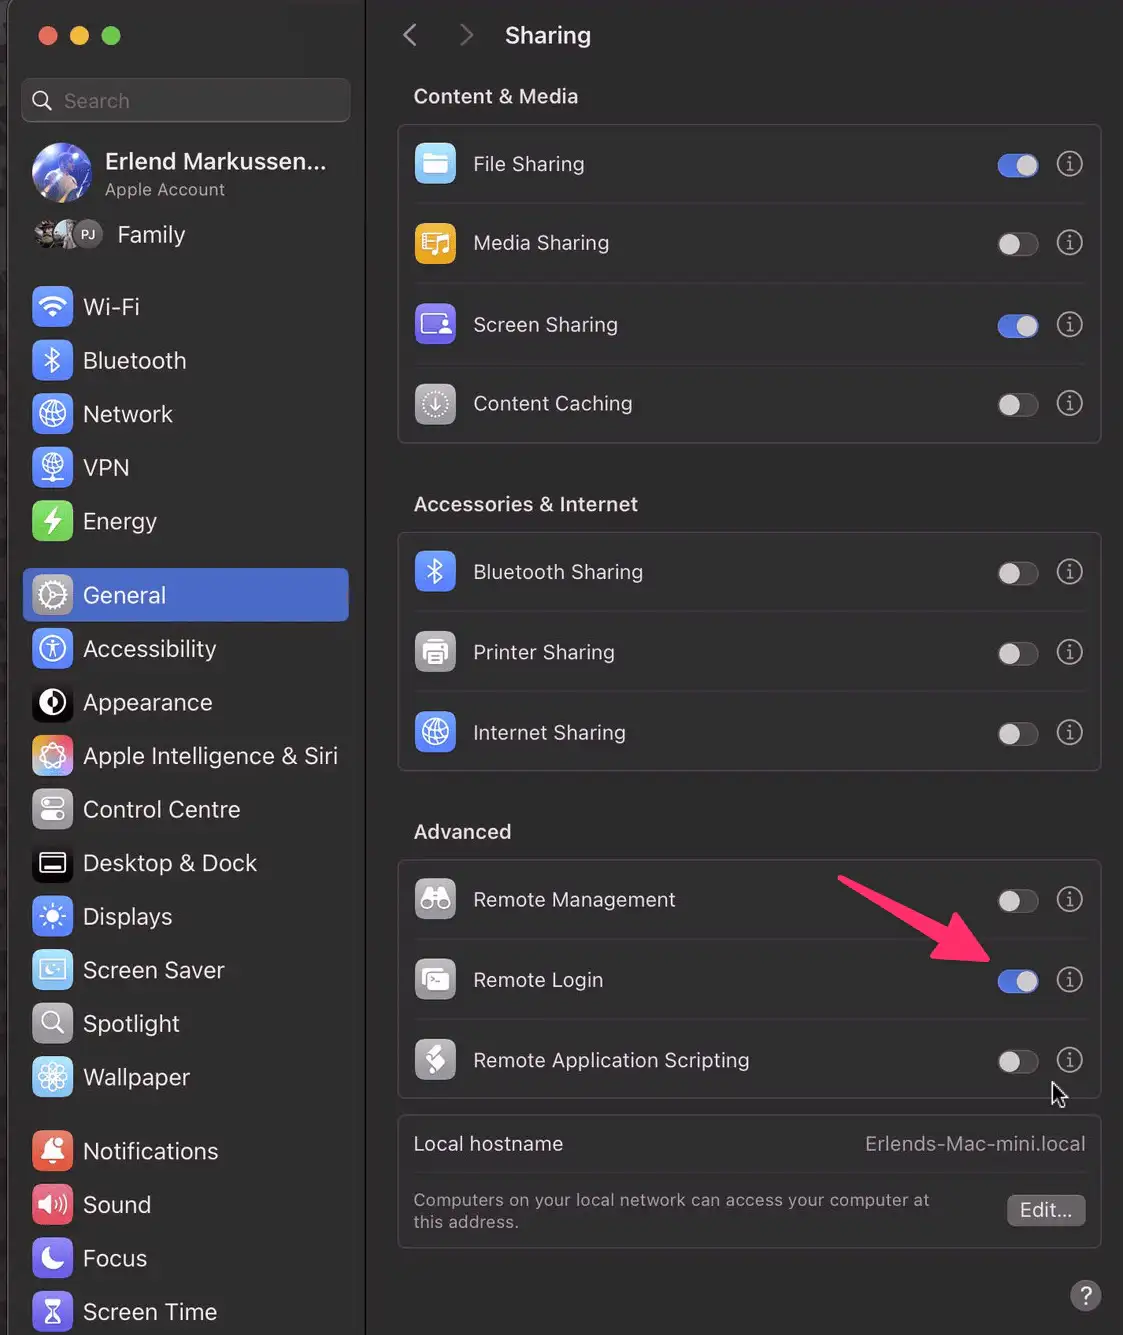
On the Mini, I’ve gone into System Settings → General → Sharing → Advanced → Remote Login, and turnet it on. Now I can paste in something like this, in my Macbook’s terminal: ssh erlend@192.168.12.34
The terminal instance, on the MacBook, will now be like if I was running it locally on the Mini. This allows me to reduce the number of times I have to control the Mini directly – as it’s nicer to just use the MacBook.
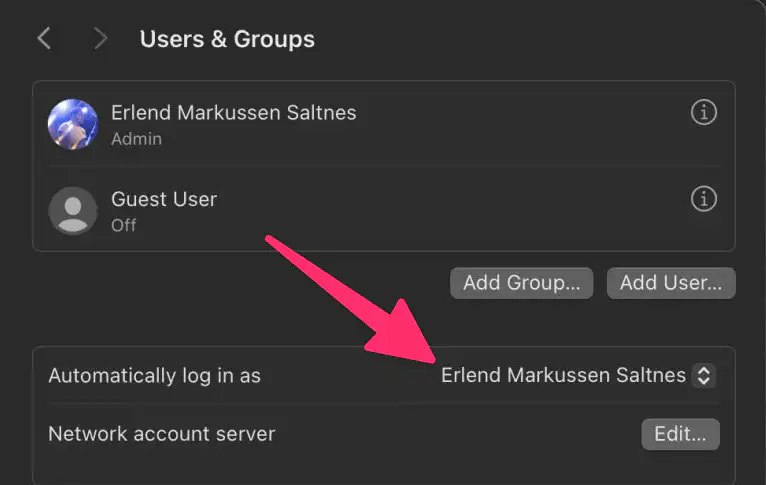
I also think this is an important setting – even though it’s not as secure:
This means you can’t have FileVault turned on – but it makes it so the Mac will log in (and start all login items) on a restart. This is important to keep services running – but if there’s another (more secure) way of doing this, I’m interested in hearing about it.
RSS
Sharing an Open Letter to Mark Zuckerberg
From Pixelfed – an Open Alternative to Instagram
Link to the post.
Dear Mark,
I hope this finds you well. I noticed something interesting today - it seems Instagram is blocking links to my little open-source project. You know, the one that lets people share photos without harvesting their personal data or forcing algorithmic feeds on them.
I have to admit, I’m flattered. Who would’ve thought a small team of volunteers could build something that would catch your attention? We’re just trying to give people a choice in how they share their memories online. No VCs, no surveillance capitalism, just code and community.
Remember when Facebook started? It was about connecting people, not maximizing engagement metrics. Our project might be tiny compared to Instagram, but we’re staying true to that original spirit of social media - giving people control over their online presence without turning them into products.
You could’ve ignored us. Instead, by blocking our links, you’ve given us the best endorsement we could ask for. You’ve confirmed what we’ve been saying all along - that big tech is more interested in protecting their walled gardens than fostering genuine innovation.
Every time you block a link to our platform, you remind people why we built it in the first place. Your action tells them there are alternatives worth exploring, ones that respect their privacy and agency. So thank you, Mark. You’ve turned our little project into a symbol of resistance against digital monopolies.
Perhaps one day you’ll remember what it felt like to be the underdog, building something because you believed in its potential to make the internet better. Our doors are always open if you want to remember what that feels like.
Best regards,
Daniel Supernault
P.S. Keep blocking those links. Every error message is just free advertising for the social web.
My Adaptive Smart Light Setup
A Guide, and a Glimpse Into the Mind of a Madman (Me)
I’ve previously written about why I think Smart Bulbs > Smart Switches.1 And one of the reasons I think that, is that I (for some reason) really love having the colour temperature of my lights change throughout the day.
Sadly, I’ve found the automatic systems for this really lacking. But here I wanted to show how I’ve created a system I like.
The goals:
I want a smart home. But, in use, I want it to be as simple as a dumb one. I want guests to be able to operate things at, at least, the same level as they would in another unfamiliar home.3 And then I want to add smart benefits on top of this, like colour temperature, automations, some hidden button features, and being able to override stuff with things like a phone.
My most used switch is the Flic 2. And when the light is off, I want one click to turn on to a setting that’s almost always the right one. But as the “right setting” changes throughout the day, I have to do some adjustments in the background…
While you can adjust the brightness in Home.app, I also wanted to be able to do it with a dimmer switch at some places. So I’ve bought a couple of Flic Twists 🖇️ as well.4 HomeKit/Matter, sadly, hasn’t delivered support for dimmers, though – so I had to be a bit creative to get these to work as I wanted.
The principle
I’ve created three “moods” (which correlates to brightness and colour temperature):
And, currently, my home moves through these moods at these times:
If you turn on a light during “Cream time” it will turn on to that setting, and so on. And when the mood changes (during the day), it will go through the lights that are turned on, and adapt them to the current mood.
The how
My Wishes for NotePlan
I like and use NotePlan (via Setapp 🖇️), and feel good recommending it to people. But there are a couple of reasons why I don’t love it. So while I keep all my notes and tasks in Markdown files in the NotePlan folder, I prefer editing those in other apps – like Paper. Below are the changes and improvements I would need for me to love it.
The basics needs to be improved
The NotePlan developer is very active, seems like a great guy, and is pumping out updates. Some of these are really ambitious (like more collaboration and a web editor). But the app is, at its core, a Markdown editor – and I think this core requires some improvements, and that getting this right is foundational for the rest.
I get that I can’t expect it to be as good here as the dedicated Paper, and some of the more advanced features, like the Typewriter Mode:
But NotePlan should be better…
Bold and italics
Why I Value Doing Stuff on My Mac With One Hand
And How I Do It
I get that it sounds shady1 or like a great accessibility story, when I talk about being able to use my Mac one-handed. But it’s neither. Allow me to explain!
My default mode for using my Mac …
… is with my right hand on the trackpad, and my left in the home row position – for instance like this:
I totally get that both hands on the keyboard is the default for many. And I’m there quite a lot as well, and love keyboard-driven software.2 But, for some reason, the tasks I’m doing call for the above even more.
So I’ve optimised my Mac to be able to do a lot with only that left hand on the keyboard, and only that right hand on the trackpad.
I really like the Magic Trackpad, as I can have the “desktop” setup be really similar to the laptop one. I do have a gaming mouse at the ready – but if I had to use a mouse, I guess I would try to recreate as much as possible on the Magic Mouse.3
The right hand and trackpad
I’ve used BetterTouchTool (and some default options) to have the trackpad be extra useful. (I can also recommend Swish, even though it doesn’t fit what I want to do with the trackpad.)
Here are the main gestures I’ve set up, and that work in “every” program:
Quick Recommendation #2: Better Markdown Preview in Finder
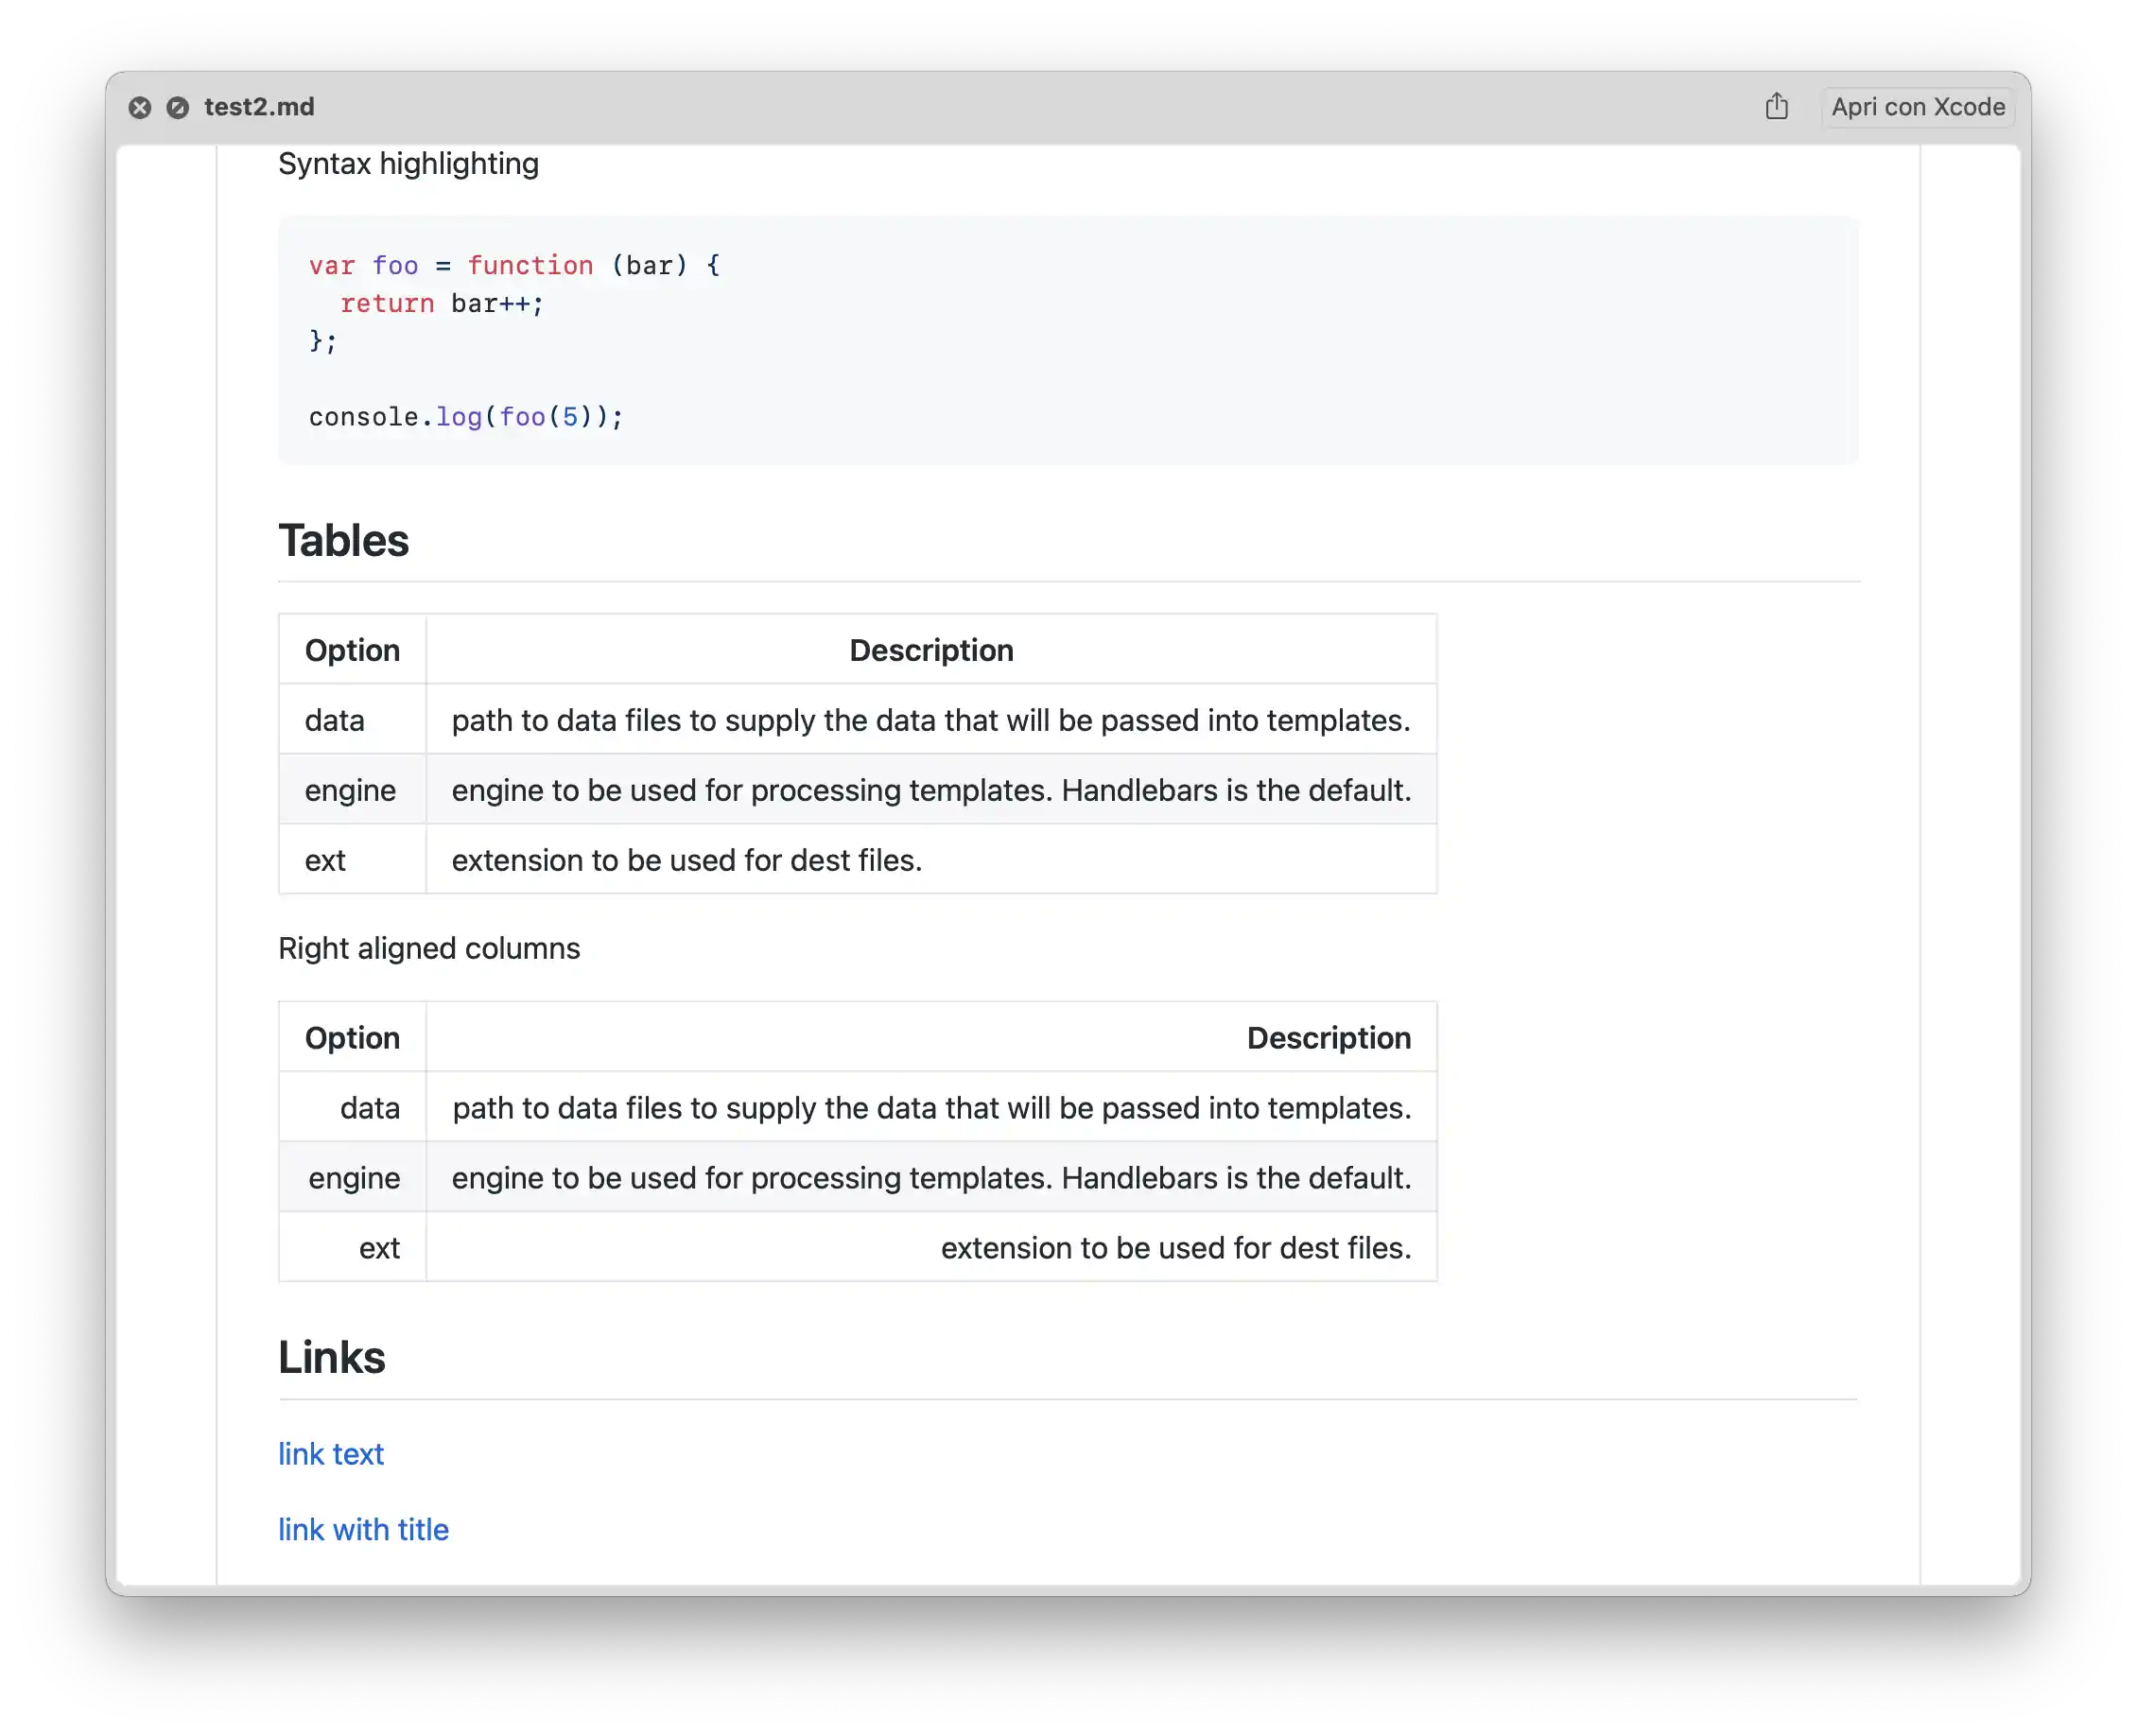
Hitting space to preview files (Quick Look) is one of my favourite Finder features. However, it does a pretty mediocre job with Markdown files. QLMarkdown is a little utility that makes these previews richer.
You can install it from this link, or by using this Homebrew command:
brew install --cask qlmarkdown
The app isn’t signed – so you need to do the little dance to convince macOS that you want to run the app. (This is detailed in the original link share up top.)
You need to open the app once for the utility to work. And that’s also where you change settings.
I get that many Markdown contexts are outside of Finder – but if you do use them there, I hope this little tool can be useful!
Is Apple Forcing Me to Pay Them for Much More Cloud Storage Than I Need?
It’s pretty well-known that the 5 GB of cloud storage Apple includes for free (when you buy a €1,000 phone) is quite pathetic. However, I’ve actually found the 200 GB plan for 39 NOK (€3.33) a month to be decent value. But as I’m close to reaching the limits of that plan – I think it’s highlighting some anti-competitive issues.
My use
I’m currently using 86.7% of my storage.
My default cloud storage provider is Dropbox
In my opinion, the largest tech companies have far too much power already. So I like to use services from other companies if I can.1 I also like how, in general, using third-party alternatives can give you flexibility. So, since we’re using Dropbox in my band, and I think it does the job, using this is my default cloud storage provider makes sense to me.
However, some pros of using third-party alternatives can be thwarted by first-parties, like Apple:

